This layout came together by accident. I was just playing with paper from DLS Design and was cutting papers apart and then putting them back together and before I knew it I was sitting at my sewing machine creating this piece of paper. Of course while I was playing I had no camera capturing the process, so you need to imagine how it all came together before the video starts.
So there I was with a beautiful background paper. I then decided to use this photo of my son as a tag in a vellum pocket with the journaling on the back. Absolutely love this layout.
You can watch the process video at the end of this post.
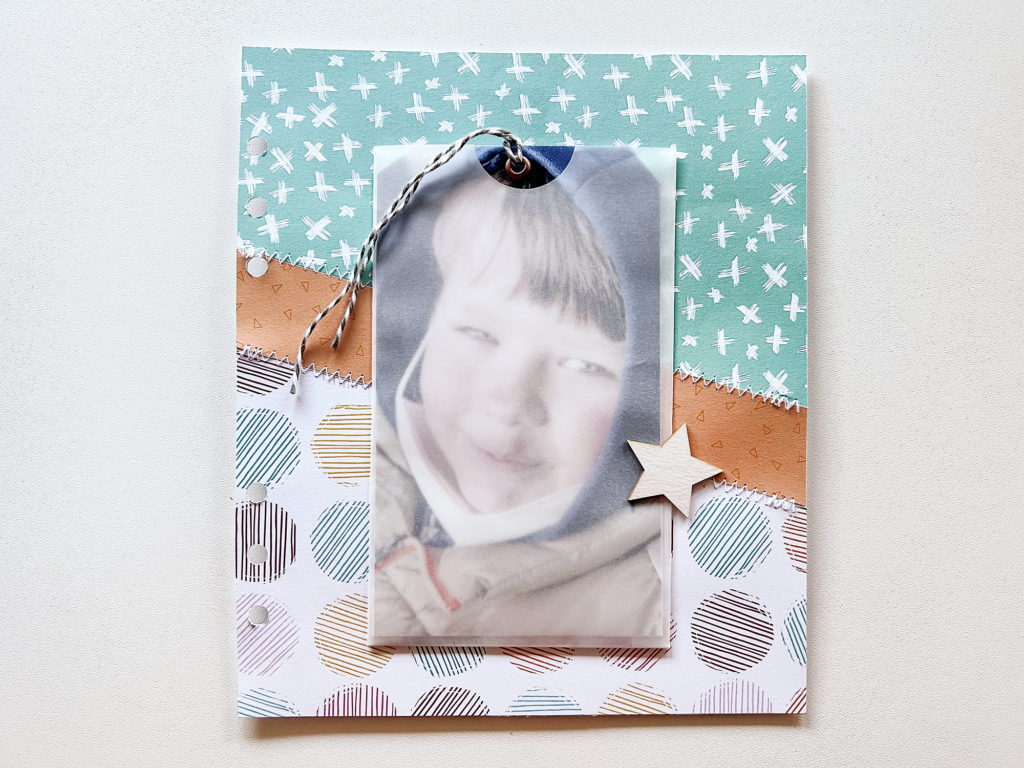
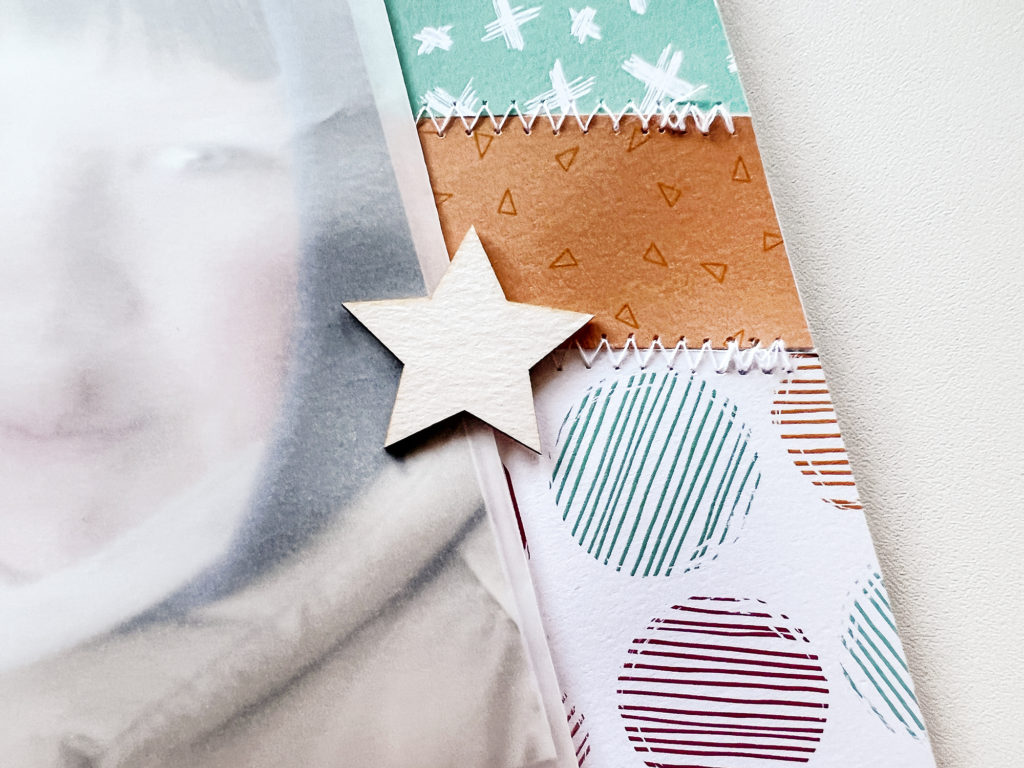
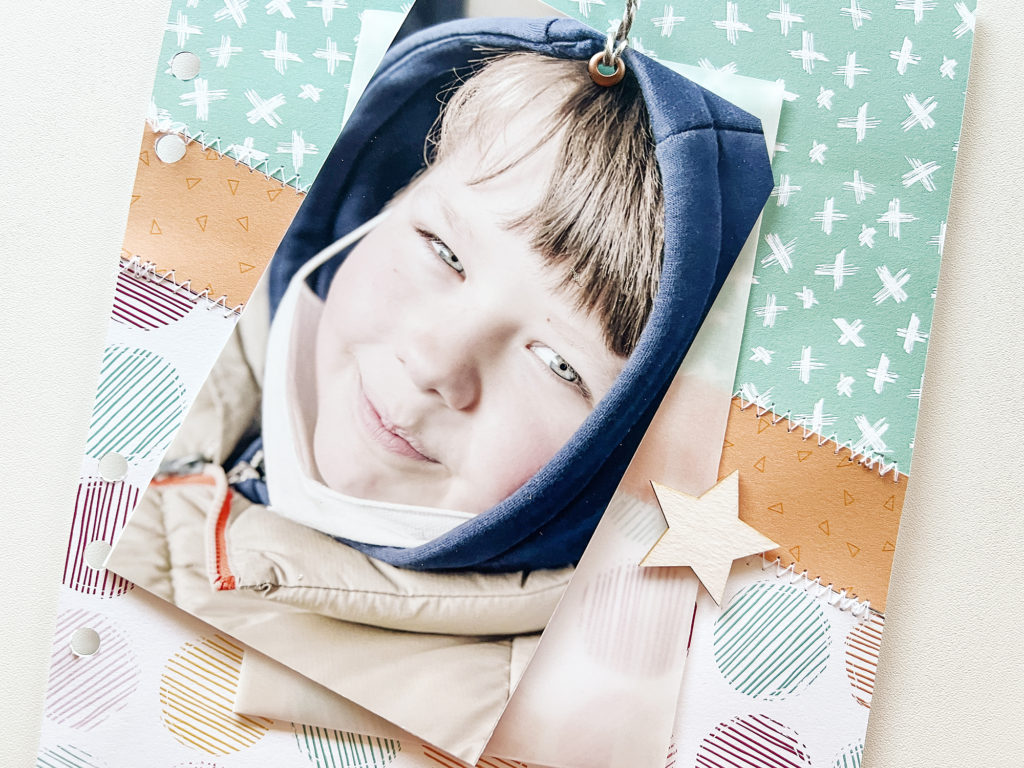
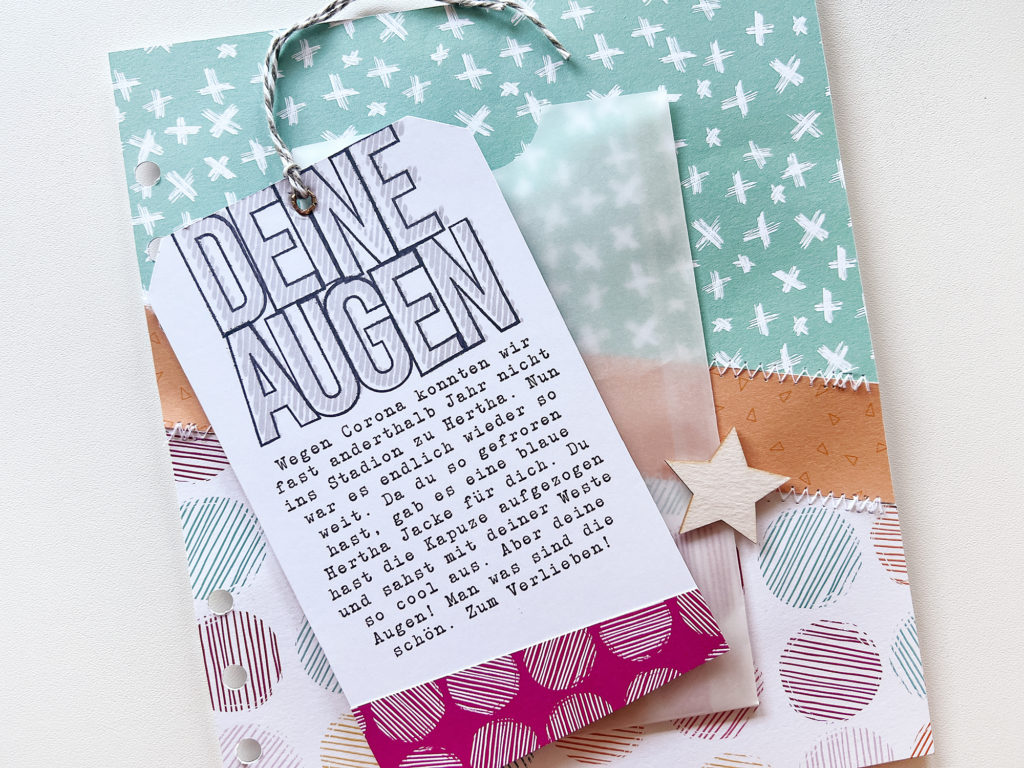
When I was stamping the title, my son wanted to know why I started stamping the letters in the center of the words first and not with the first letter of each word. i had to explain to him that this makes centering the words so much easier.
Watch the process video below. For the German version check here.
[SUPPLIES]
- DLS Design – EXCITED: https://bit.ly/3w6LQms
- DLS Design – Clear Stamp Gilmo Big Stripes: https://bit.ly/3QkiatE
- DLS Design – Clear Stamp Gilmo Big Outline: https://bit.ly/3ASOXA9
- Printer: https://amzn.to/3rw81y0
- Photo Paper: https://amzn.to/3tAbCNe
- Paper: https://amzn.to/3tCyhbR
- WRMK Multi Hole Punch: https://amzn.to/3QDqAfX
- 12″ Fiskars Paper Trimmer: https://amzn.to/3Fy2ApS
- Tweezers: https://amzn.to/30L1HXX
- Fiskars Small Scissors: https://amzn.to/3AiezHB
- StaZon Black Ink: https://amzn.to/3BaoP5o
- Aleene’s Tacky Glue: https://amzn.to/3A3BSn8
- 1″ Circle Punch
Want to support my blog and YouTube channel? Buy me a coffee here. Your donations keep all my videos and tutorials free. Every cent is greatly appreciated and is used to cover expenses.
