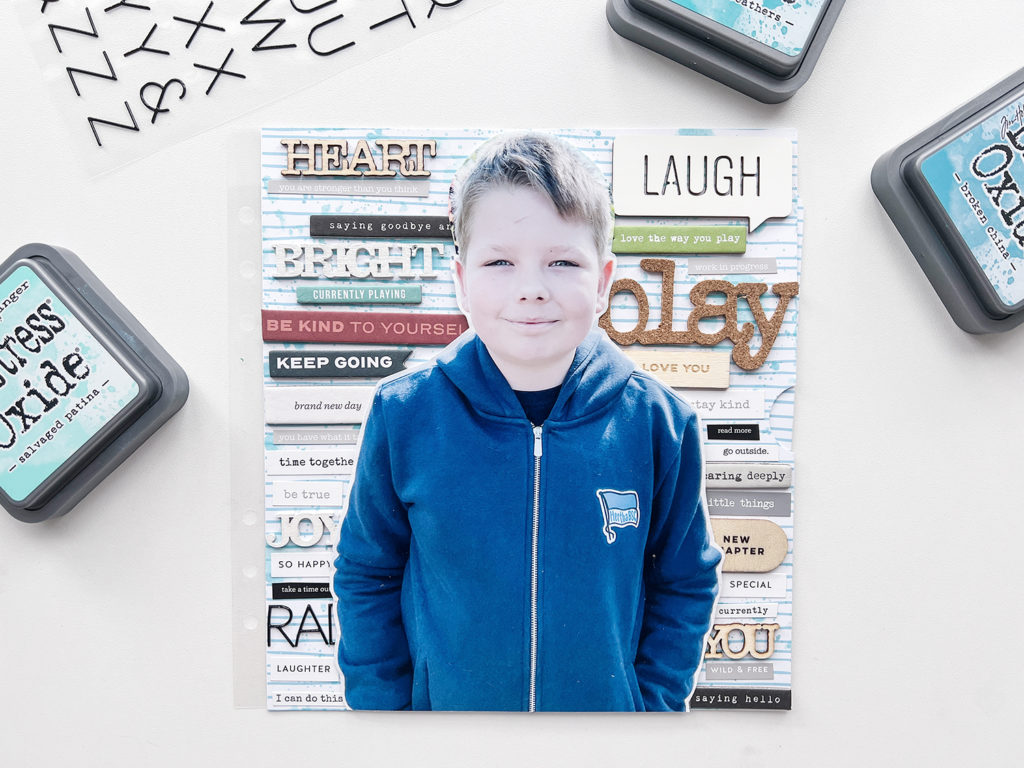
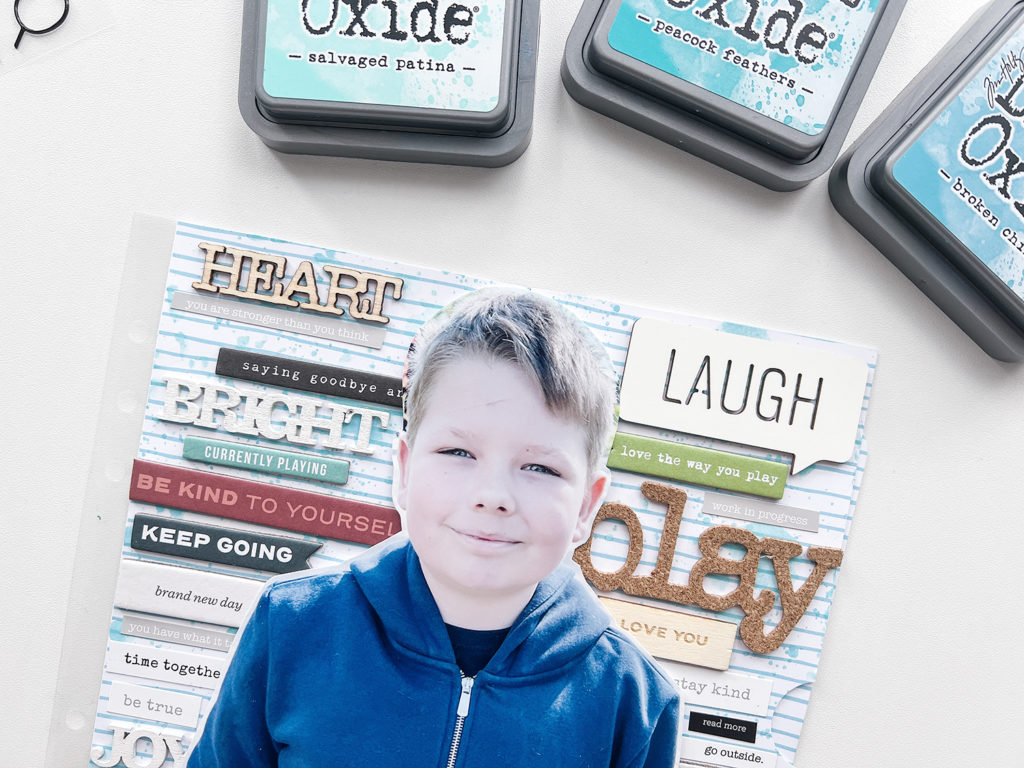
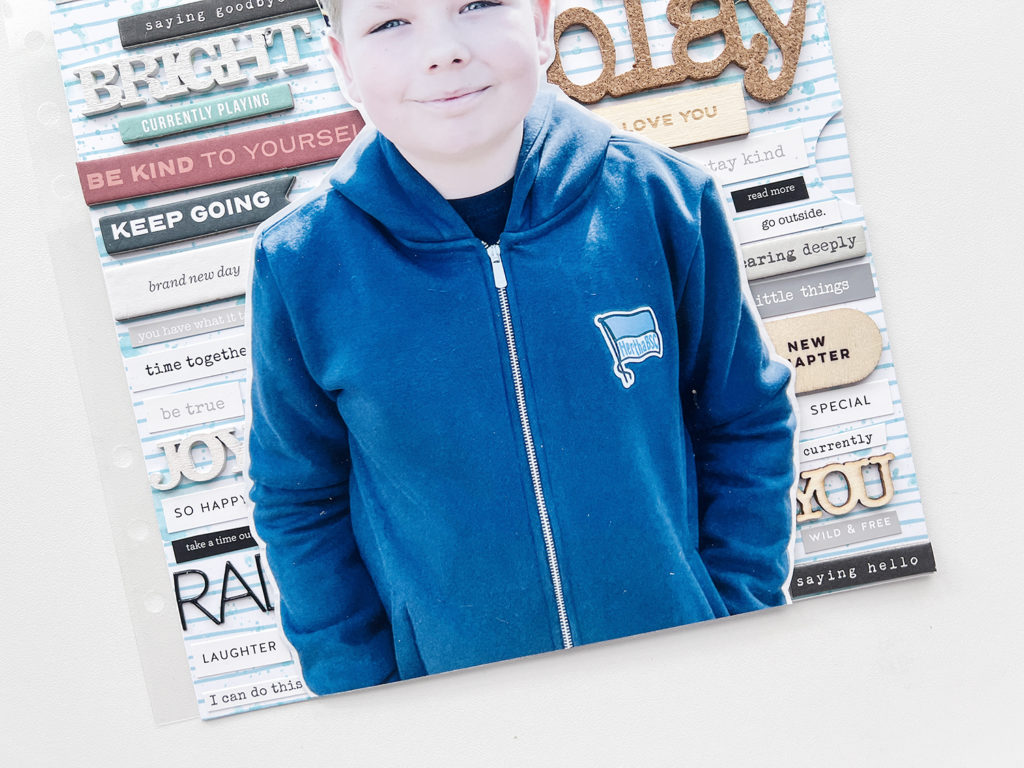
Even though I made a million mistakes, I am so in love with this layout. I don’t know when I decided to throw my original idea overboard during the process and changed my layout completely. I guess holding the paper pieces in your hands does make a difference!
So originally I had planned to use two 3×8 papers to add flip ups to the left and right side of the photo, which I sized to being outside of the page protector. I wanted to add my journaling to the inside of the flip ups. But then I decided to cut out the photo and then I went embellishment crazy.
You can watch the process video at the end of this post.


I added the journaling to the same patterned paper as the background of the photo and it can be pulled out from the right side of the layout.

I loved going through my stash to find embellishments that would fit the layout.
Watch the process video below. For the German version check here.
[SUPPLIES]
- Ali Edwards – Digital Story Class: https://bit.ly/35glEew
- Printer: https://amzn.to/3rw81y0
- Photo Paper: https://amzn.to/3tAbCNe
- Paper: https://amzn.to/3tCyhbR
- 6-hole Punch: https://amzn.to/3plPFhC
- 12″ Fiskars Paper Trimmer: https://amzn.to/3Fy2ApS
- Tweezers: https://amzn.to/30L1HXX
- WRMK Corner Chopper: https://amzn.to/3kfVUn5
- Fiskars Large Scissors: https://amzn.to/3EVdFRT
Want to support my blog and YouTube channel? Buy me a coffee here. Your donations keep all my videos and tutorials free. Every cent is greatly appreciated and is used to cover expenses.
