


Today I am sharing my process of how I plan my pages for my Project Life® 2022 album.
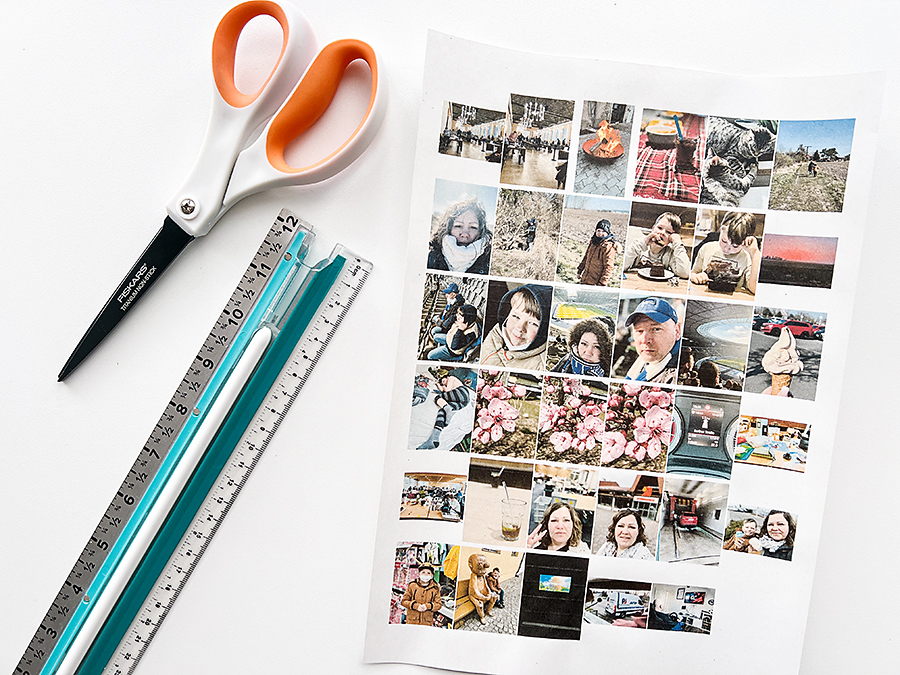
Every month I start by creating a folder on my computer where I collect all the photos throughout the month. Once the month is over I create a PDF file with all the photos and print having multiple photos on one page.
On a Mac I simply do the following steps:
Select all photos > Right click and save a PDF > Click print > Choose multiples in your printer’s panel > Adjust the rows and columns
Since I wanted to get 35 photos on one piece of paper I had to use 6 rows x 6 columns.
Then I choose the kits that I am going to work with. Luckily Ali Edwards has previews available in her digital kits so I just print those. Usually when I work on my Project Life® I use the digital versions of the current Stories by the Month and Story Kit.
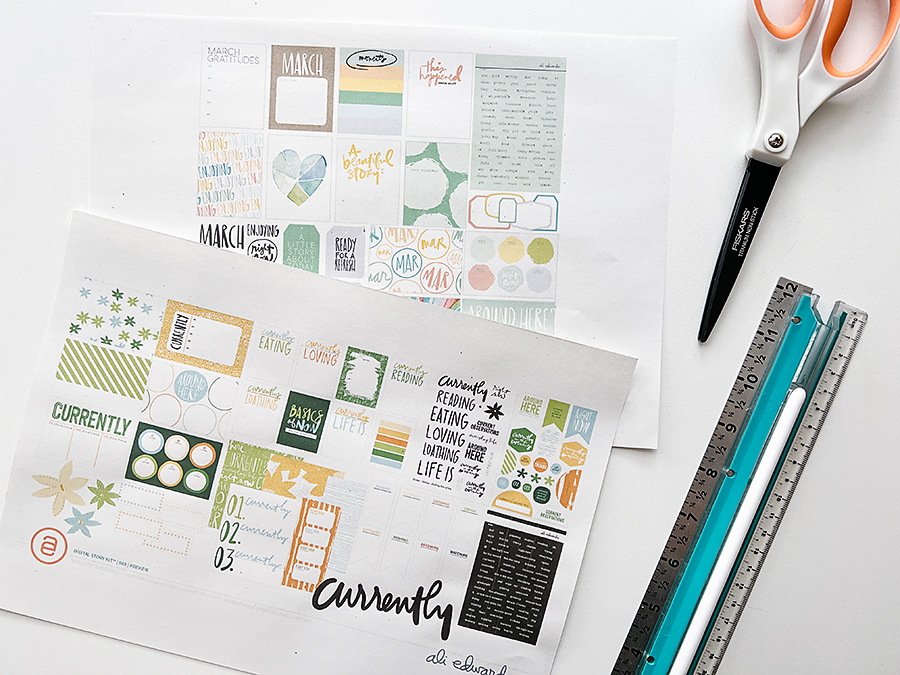
Since I am only working with the digital kits I had to find a better way to have a full view of what is included in each kit. For me, printing out the previews is the best way.
Next up, I take a closer look at my photos. I choose what stories I want to tell and what photos I want to use. Looking at the kits at the same time usually sparks ideas.
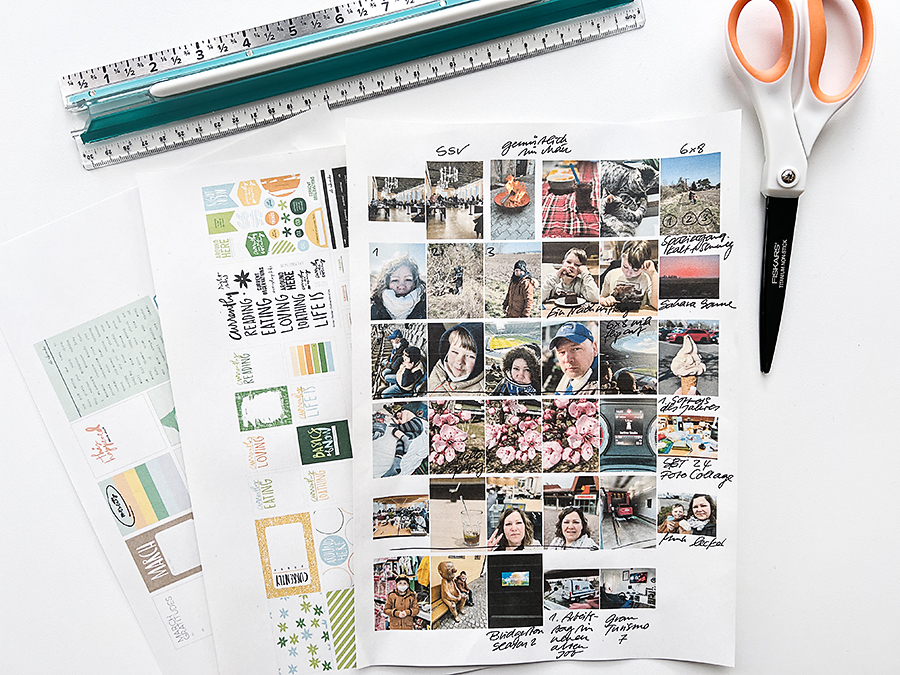
I take notes, decide on photo sizes and also check what page protector configurations I need to incorporate. I also decide which photos and stories will not make it into the album and can be saved for other projects.
Once I’m done with the rough planning I sit down on my computer, open Photoshop and try to get the ideas from my head onto the screen. While I work in Photoshop I often record tutorials explaining how I do what to achieve a certain look.
After everything is printed the last phase of my Project Life® pages begin: putting everything together. These process videos are also recorded and later shared here on my blog and my YouTube channel.
Want to support my blog and YouTube channel? Buy me a coffee here. Your donations keep all my videos and tutorials free. Every cent is greatly appreciated and is used to cover expenses.