


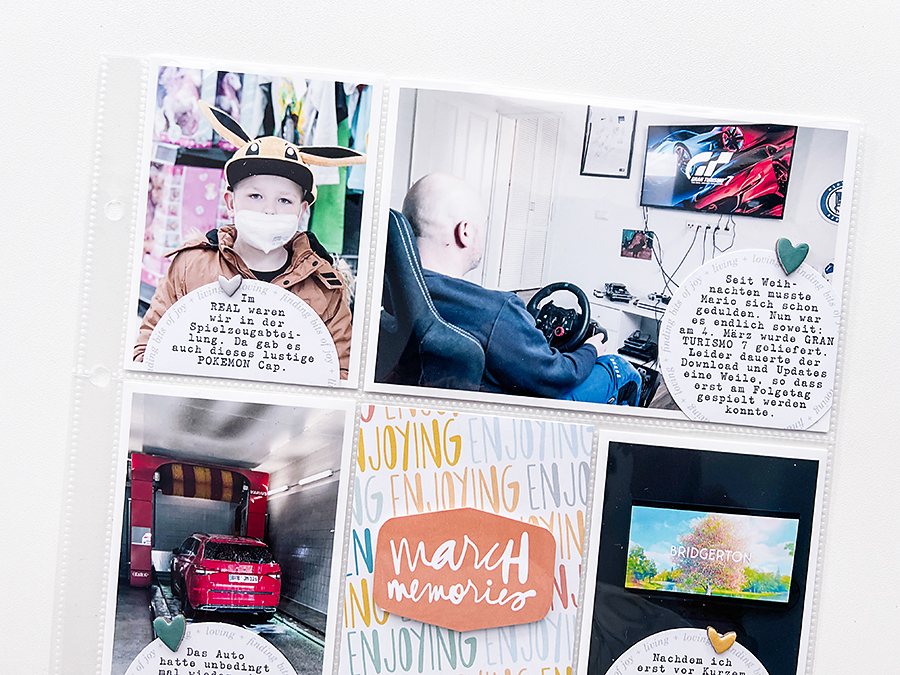
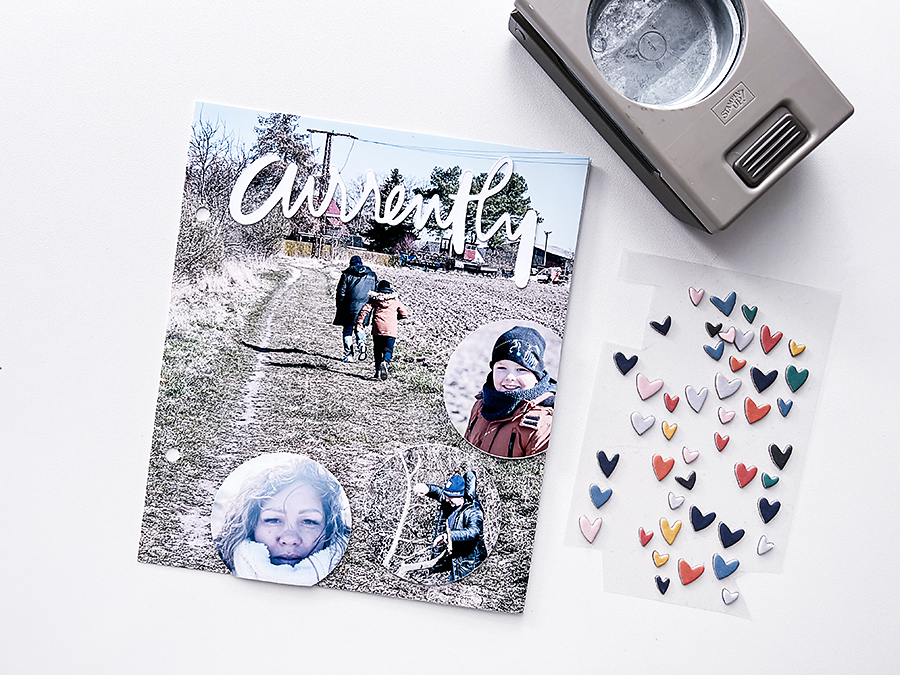
Creating my March Project Life® 2022 pages was a really quick process on the computer. The Around Here card made me want to add circles. And when I say circles I mean lots of circles. For layouts I used Ali Edwards’ Digital Stories by the Month Kit March and the Digital CURRENTLY Story Kit.
You can watch my process video at the end of this post.

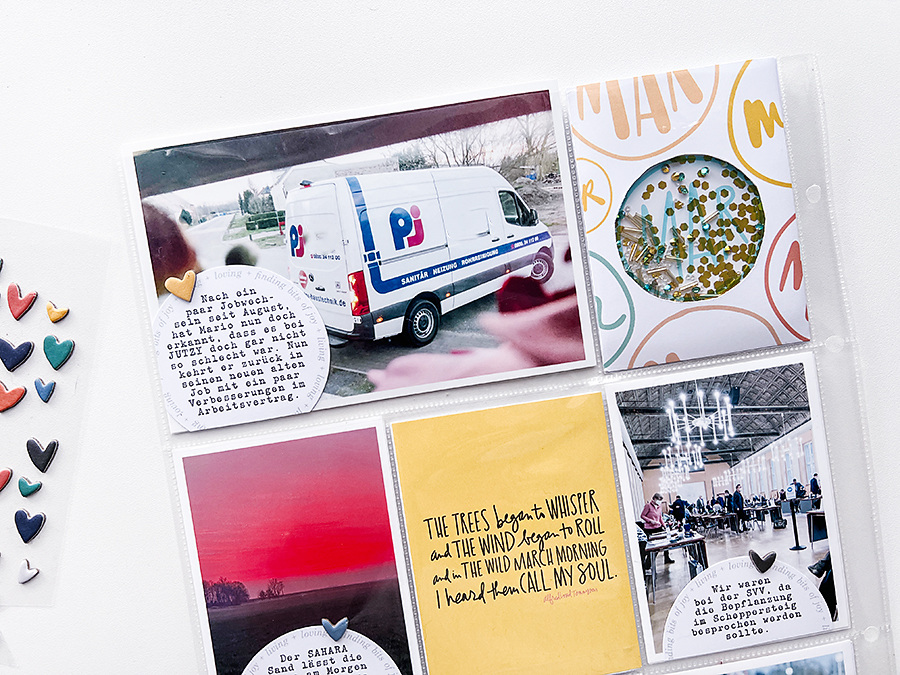
To create the monthly card I printed the card twice: once on cardstock and once on transparent ink jet paper. Since the transparent ink jet paper has a smooth side and a coated side (that’s the side you print on), I always print mirror inverted. This way the smooth side is on the outside. I love how the monthly shaker card turned out!
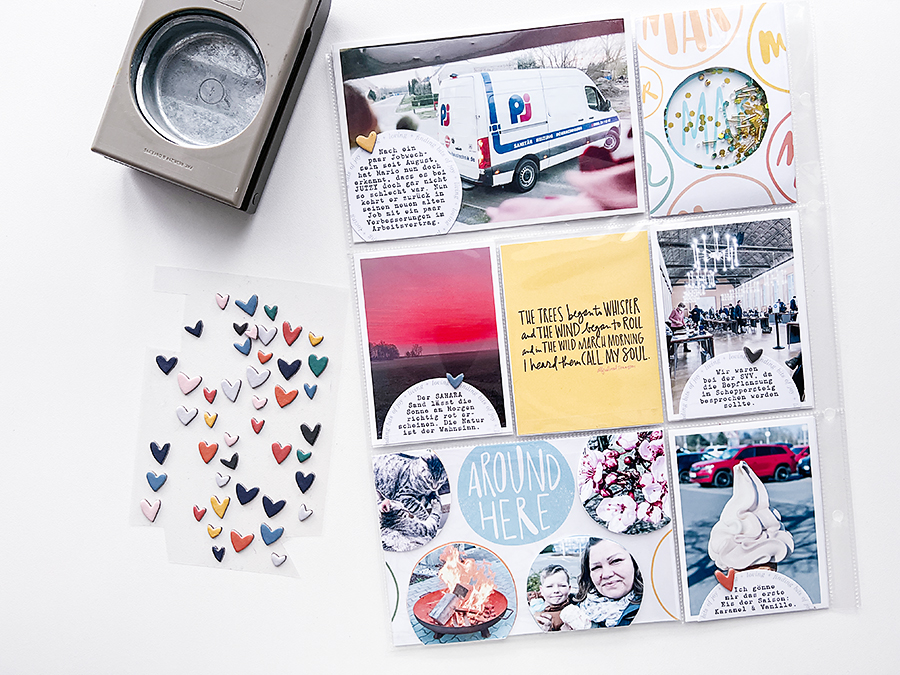
For my journaling I created a circle with text from the Digital CURRENTLY Stamp Set. I then printed it on cardstock and punched it with a 2 1/2″ circle punch.
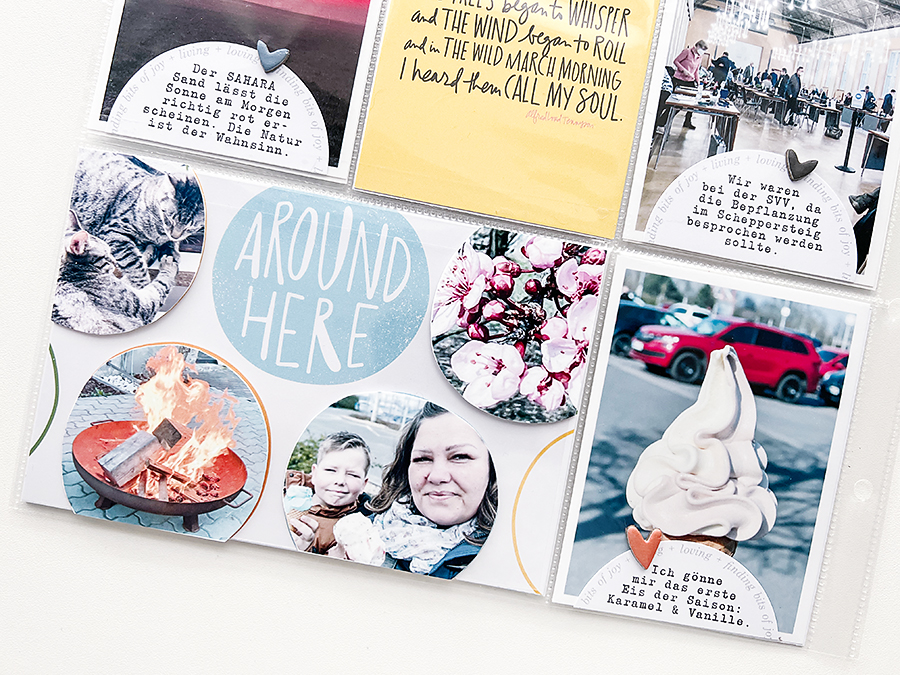
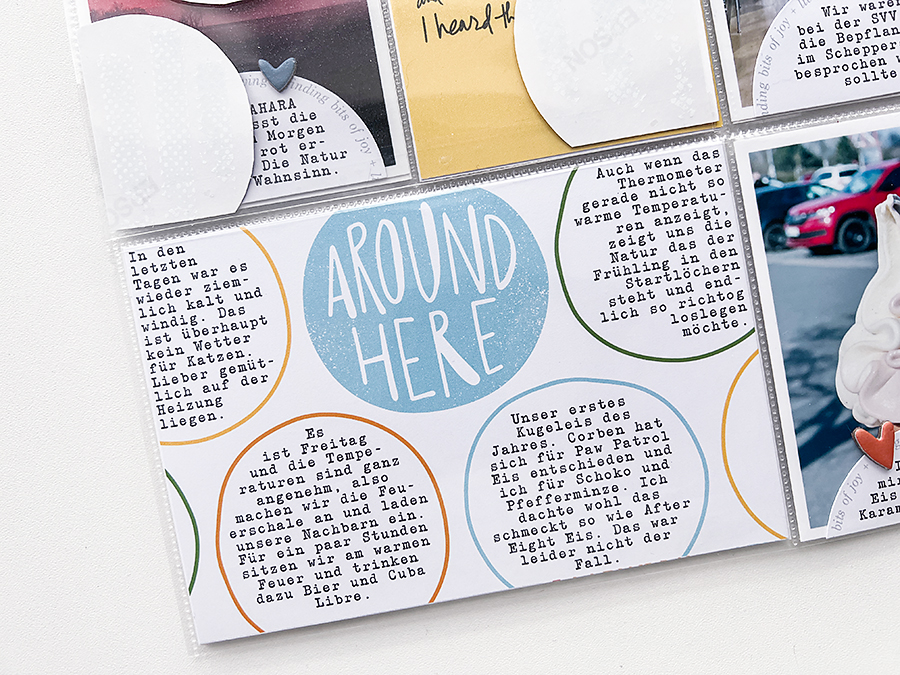
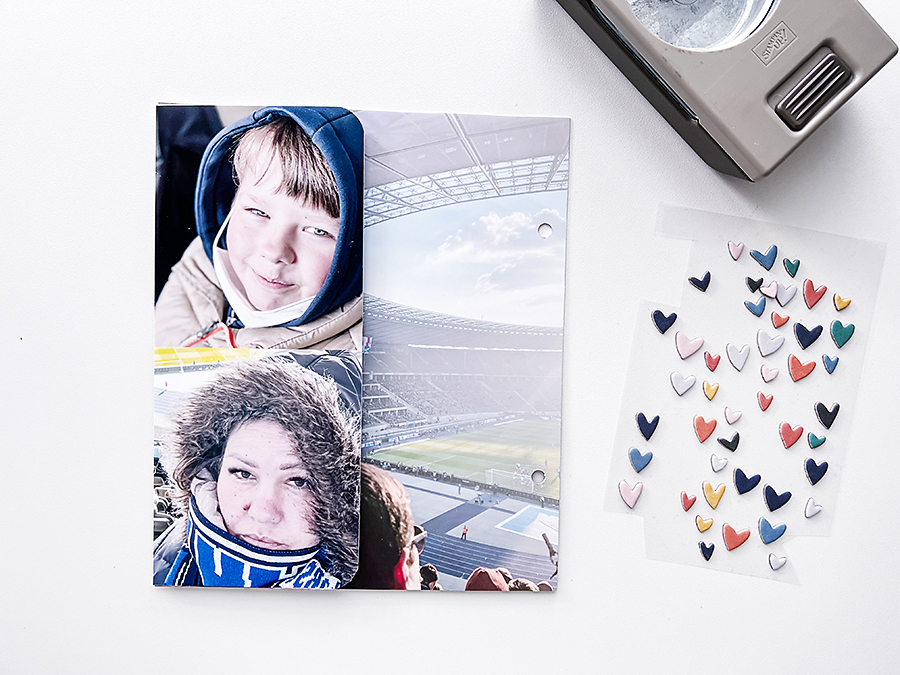
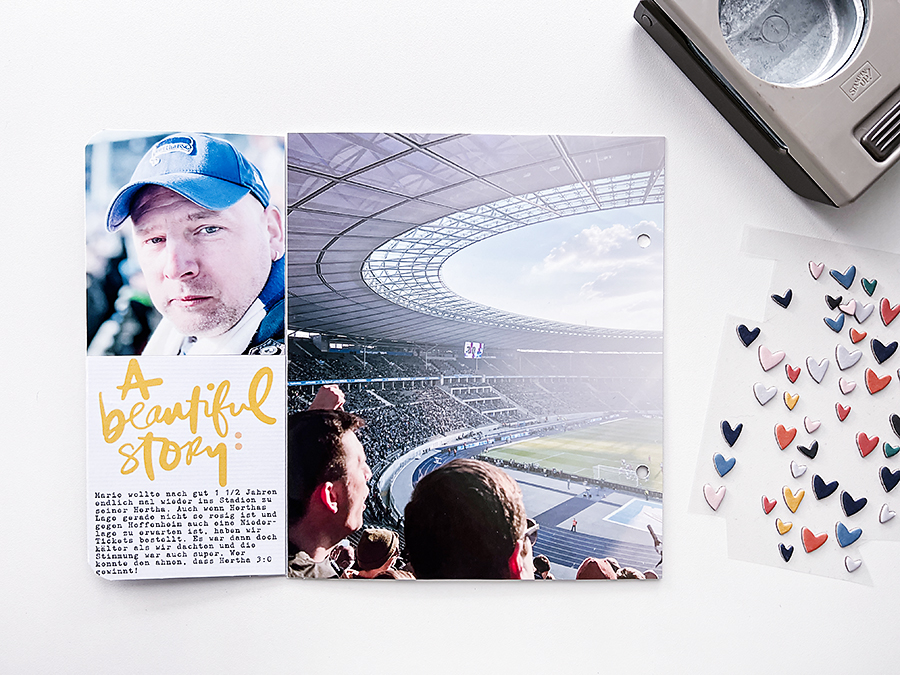
When I saw the Around Here card I knew I wanted to create a flip up with photos on a transparency and the journaling underneath.
You can learn everything about clipping masks in this tutorial:
How to HYBRID in Photoshop | Clipping Masks
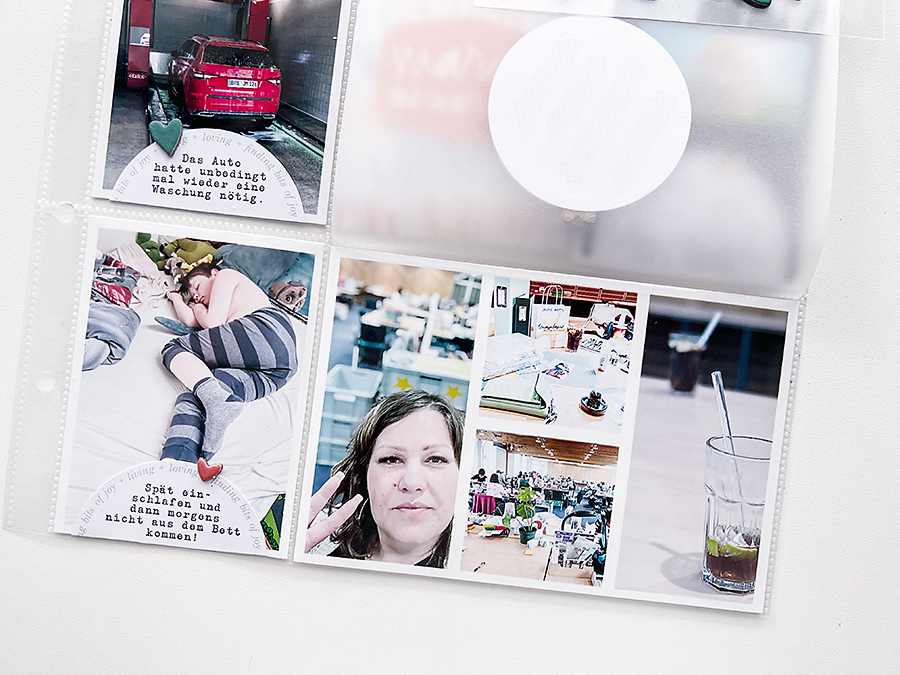
For the transparent flip up I used the left over transparent ink jet paper and cut it down to 4×6″. I then adhered it onto the page protector with Scotch Crystal Tape. You can’t see it!
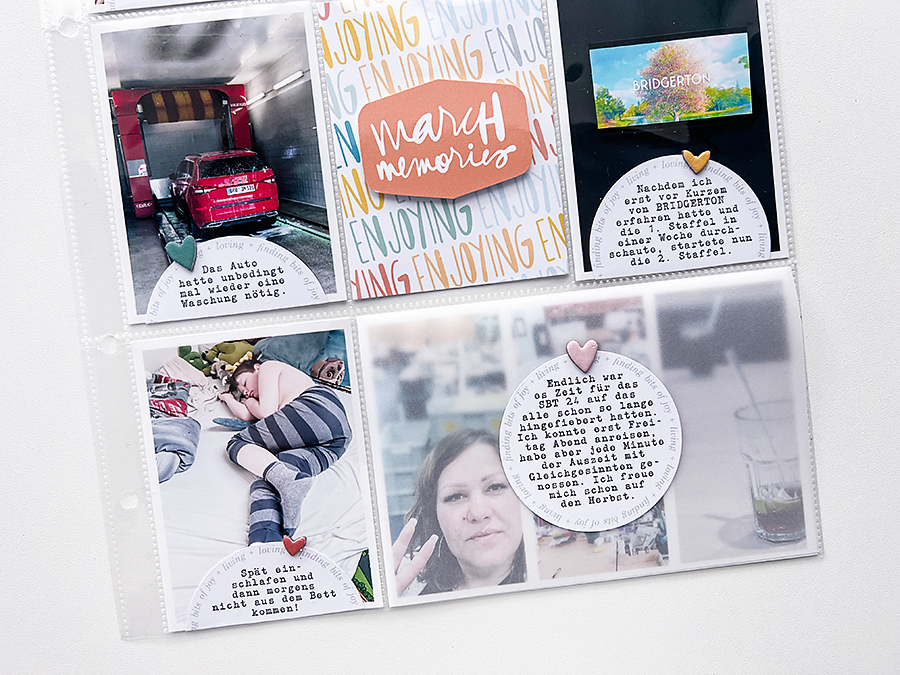
For my weekend crop I created a 4×6 photo collage and added a vellum flip up to adhere my journaling
I then added two 6×8 layouts outside of the page protector to complete my March stories.
I am not sure if I want to add more embellishments to both layouts. I like the clean and simple look.
Watch the process video below. For the German version check here.
[SUPPLIES]
- Ali Edwards – Digital Stories by the Month Kit: https://bit.ly/3HZinhC
- Album & Page Protectors: https://bit.ly/36QISpM
- Printer: https://amzn.to/3rw81y0
- Photo Paper: https://amzn.to/3tAbCNe
- Paper: https://amzn.to/3tCyhbR
- 6″ Fiskars Paper Trimmer: https://amzn.to/3r7LcC1
- Fiskars Big Scissors: https://amzn.to/3Al7C5q
- Fiskars Small Scissors: https://amzn.to/3ArWOm6
- Tweezers: https://amzn.to/30L1HXX
- WRMK Corner Chomper: https://amzn.to/3MGmZg6
- WRMK Crop-A-Dile: https://amzn.to/3I3MeW7
- Scotch Crystal Tape: https://amzn.to/3risN6m
- 2 1/2″ Circle Punch: https://amzn.to/3rlLTsu
Want to support my blog and YouTube channel? Buy me a coffee here. Your donations keep all my videos and tutorials free. Every cent is greatly appreciated and is used to cover expenses.