


Welcome to the final challenge of the Level 2 Altenew Educator Certification Program (AECP).
This challenge really got me out of my comfort zone and I put a lot of effort into it to impress the folks at Altenew. Like every challenge this one had a couple of requirements:
- Select 3 components from any Level 1 or Level 2 classes.
- Explain the 3 components you’ve chosen for your project.
- Share design tips.
- Create 4 Masculine Cards for the following themes:
- Birthday
- Love/Thinking of You
- Anniversary
- Encouragement
- Altered Item/Upcycled Project: Include an additional project that involves altering or upcycling an item.
For my cards I was inspired by the following classes: Impressive Heat Embossing, Clean & Simple Boutique Cards, Easy Die Cutting Techniques and Polychromatic. I tried to step up the techniques from the classes by adding a twist here and there.
Since this post is going to be rather long I have separated it into preliminary work, the making of each card and a process video of putting all the cards together. Last but not least I have a process video of my upcycled project.
All products used are listed at the end of this post.
Preliminary Work
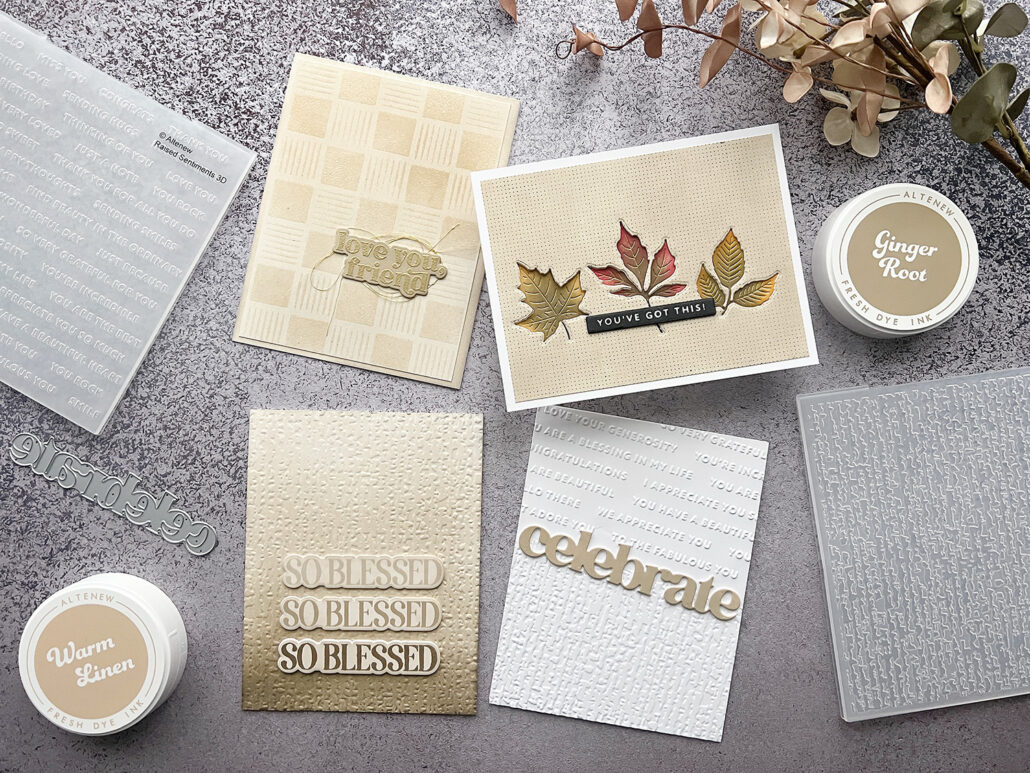
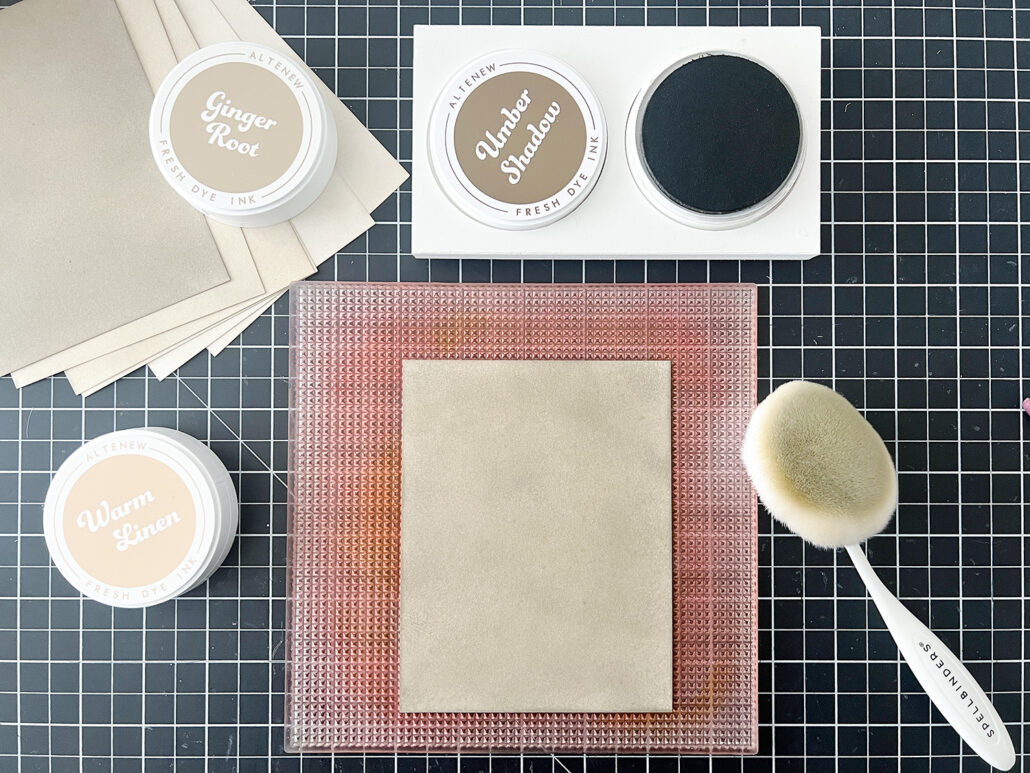
Since I wanted my cards to have a cohesive form I decided on the color scheme and went with the Earth Tones Fresh Die Ink Bundle. So the first step was creating backgrounds with those inks.
Birthday
This card was probably the easiest and fastest card to create.
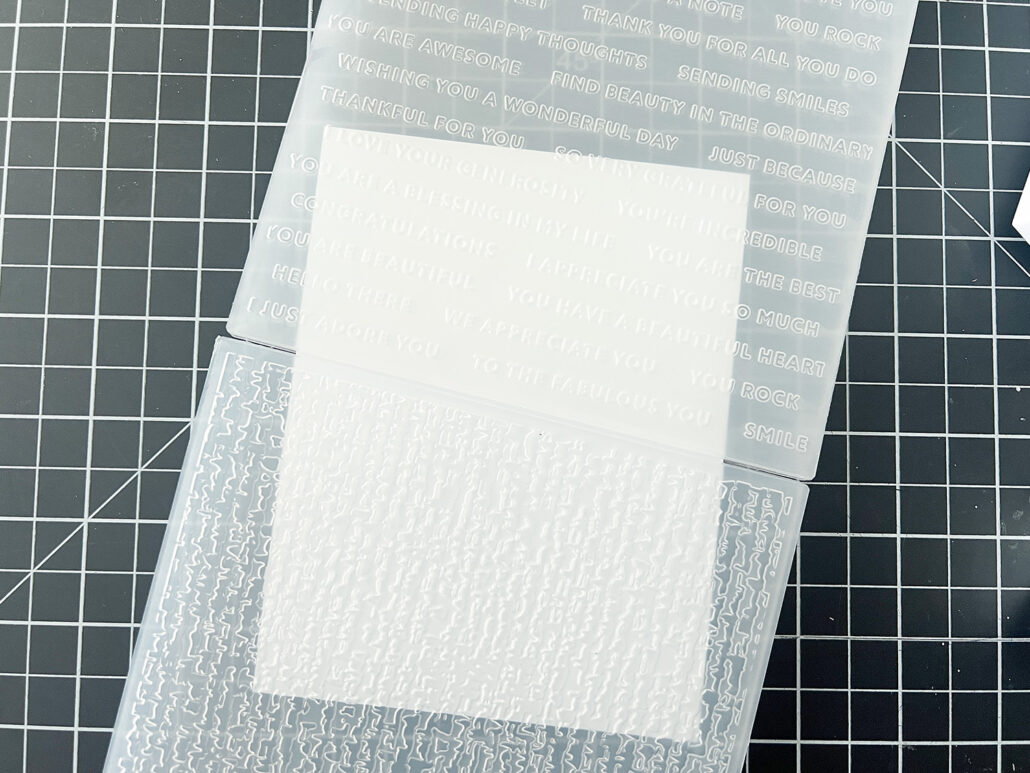
For my background I used two embossing folders together and ran them through my die cut machine. I used my all time favorite Raised Sentiments embossing folder and the Organic Linen embossing folder.
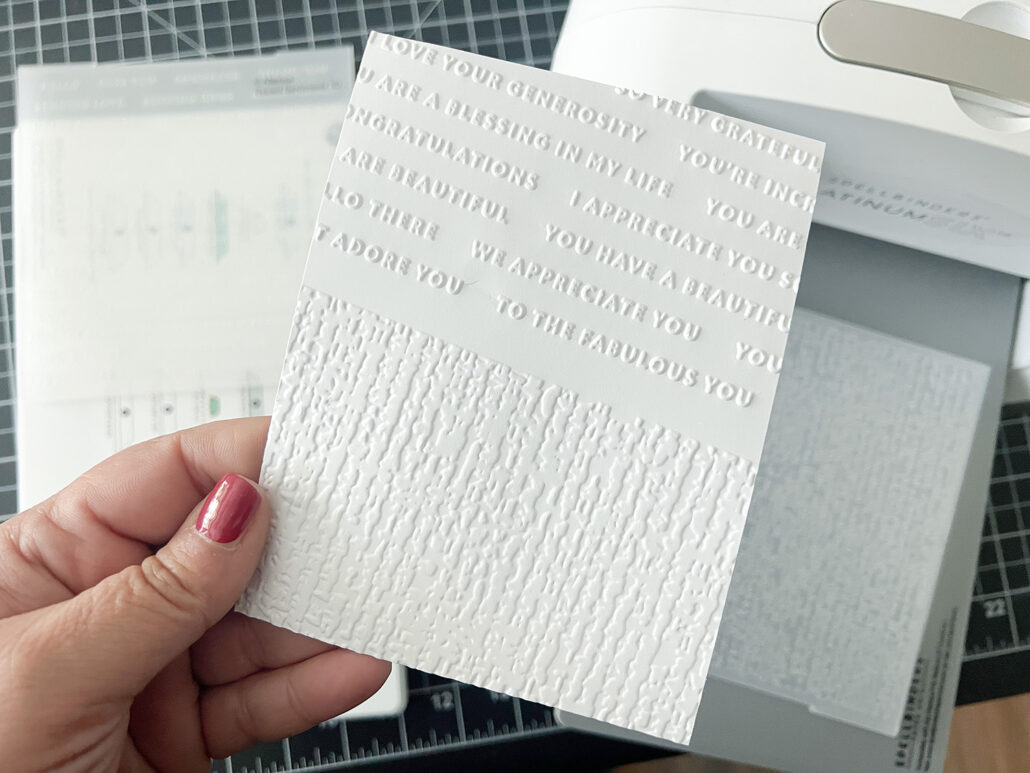
When running both embossing folders through your die cut machine at the same time you get a crisp embossed image. If you run them through individually, you might ruin all of the details you embossed before. Since the design of the embossing folder does not go all the way to the edge, you get a nice gap between both designs, perfect for a large sentiment.
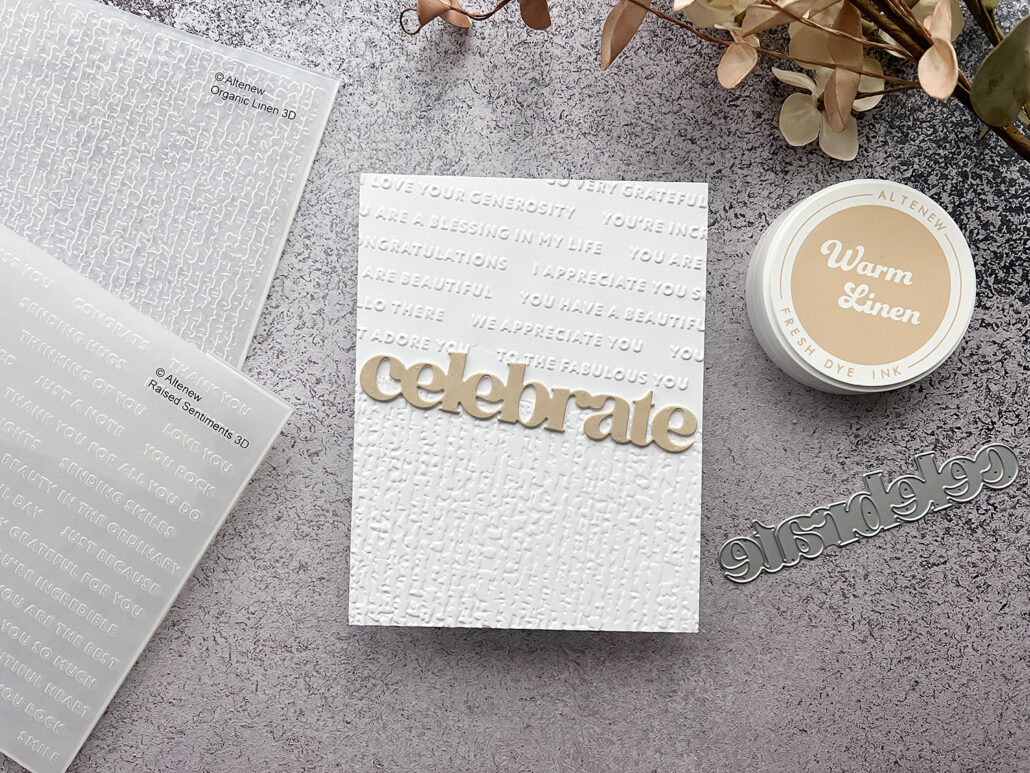
For my sentiment I used the celebrate from the Timeless Sentiments 2 die set. I used Warm Linen from the Earth Tones Fresh Die Ink Bundle to color in the die cut and then stacked it with two more layers.
I love the simplicity of this card yet the effect is just amazing.
Love/ Thinking of you
I was so amazed by my card for the Impressive Heat Embossing class that I knew right away that I wanted to do something similar for my final challenge.
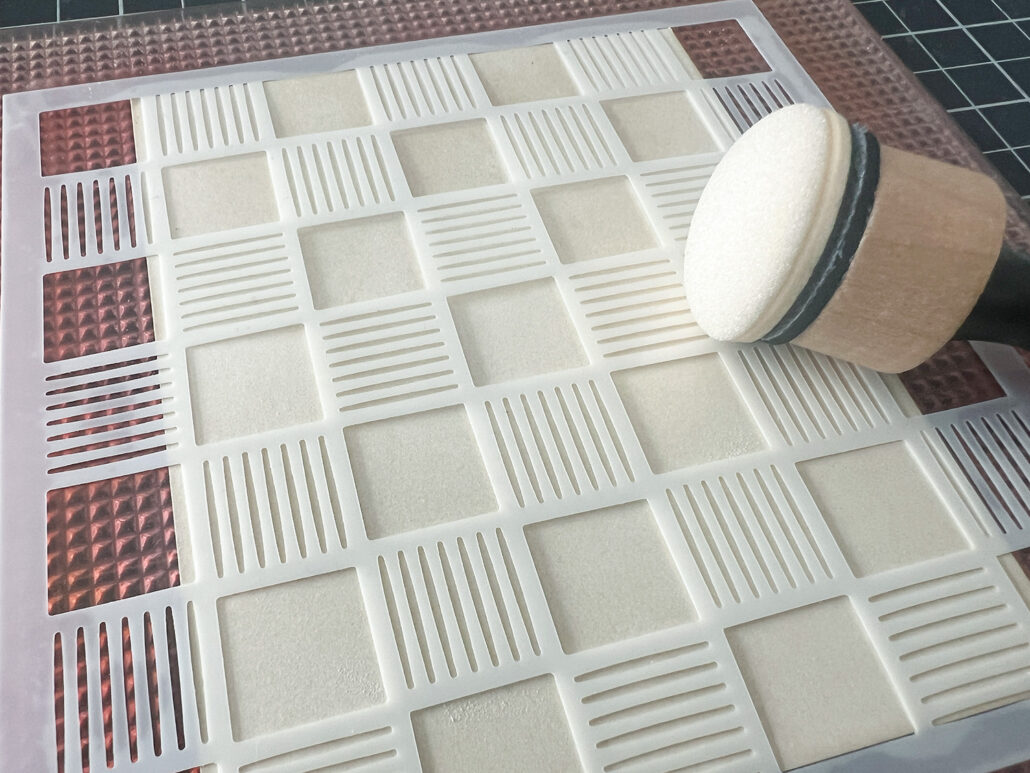
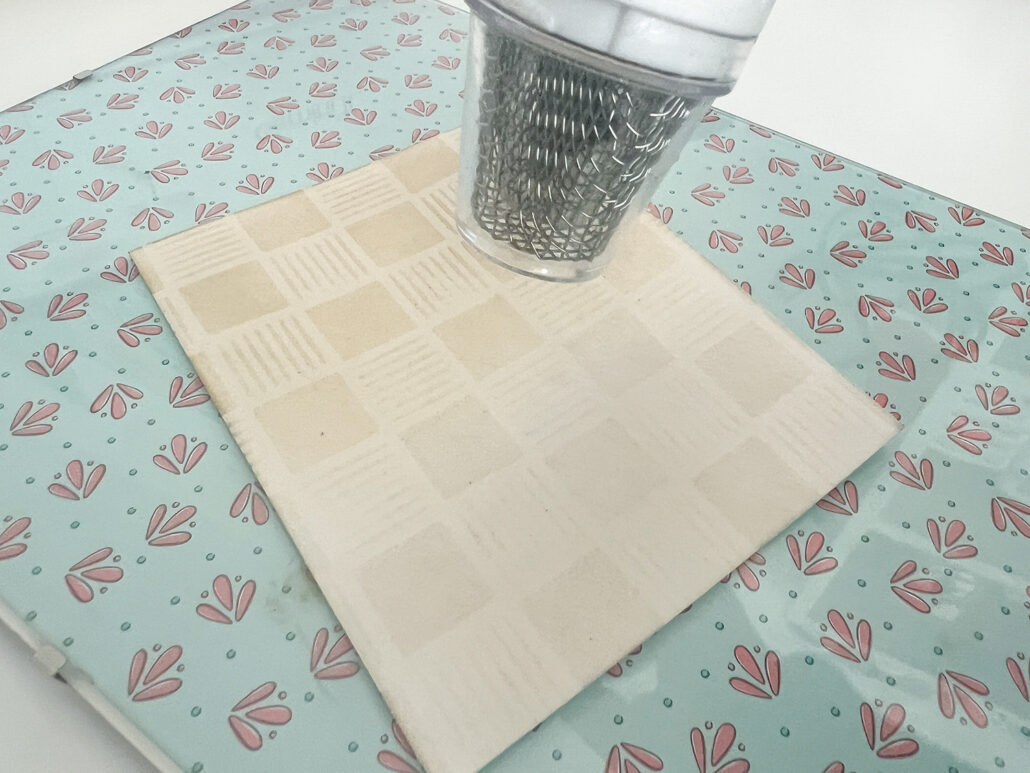
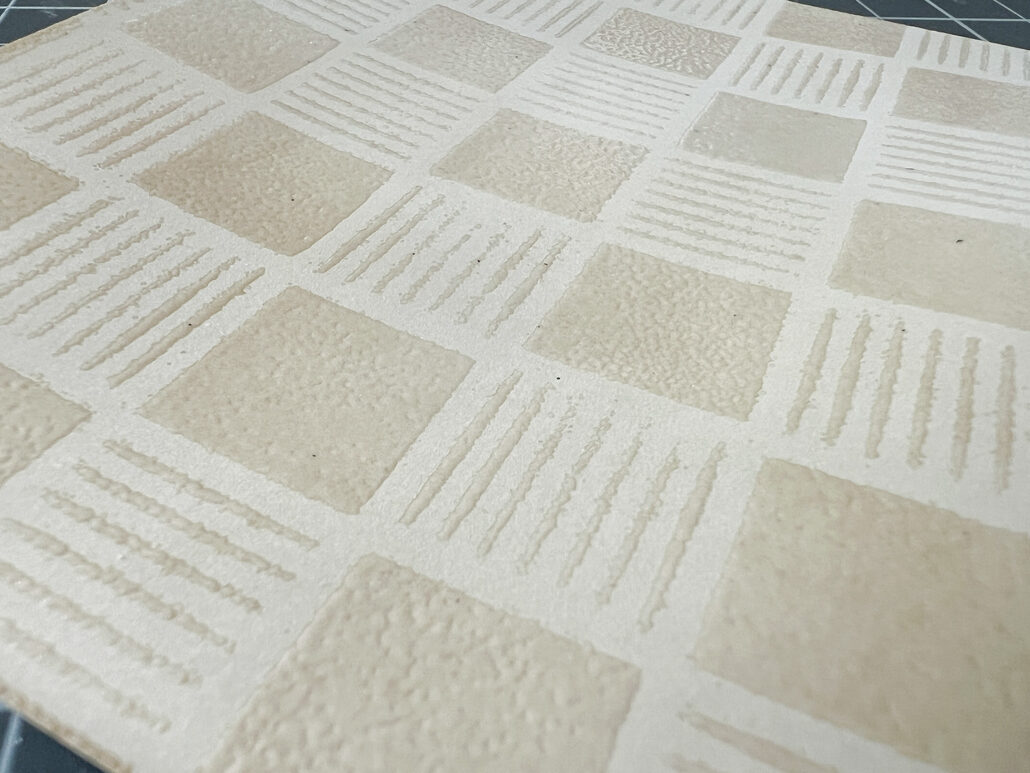
I inked up my cardstock with Shattered Shell at the bottom and Warm Linen at the top and used a sponge applicator to get the embossing ink through the Checkerboard Tiles stencil onto my cardstock.
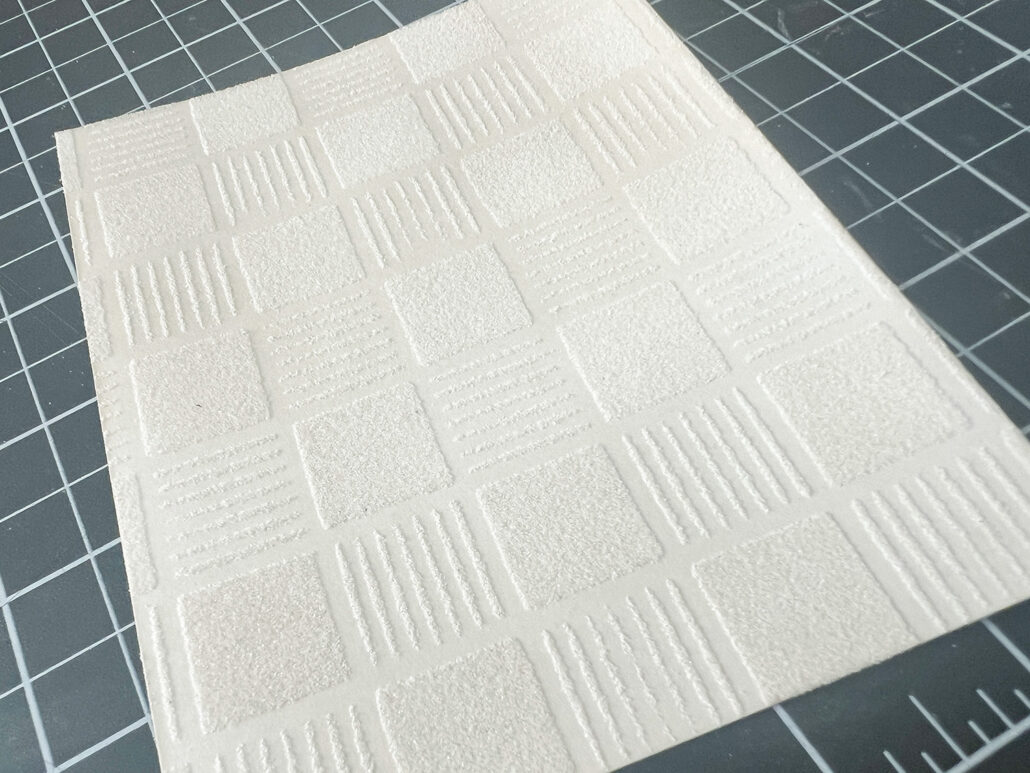
I then added clear embossing powder and heat set it.
Your heat embossing will make any color slightly darker which makes this technique even more cooler.
For my sentiment I used the love you, friend from the Classic Greetings die set, gold embossed it, inked it with Ginger Root and stacked with two more times.
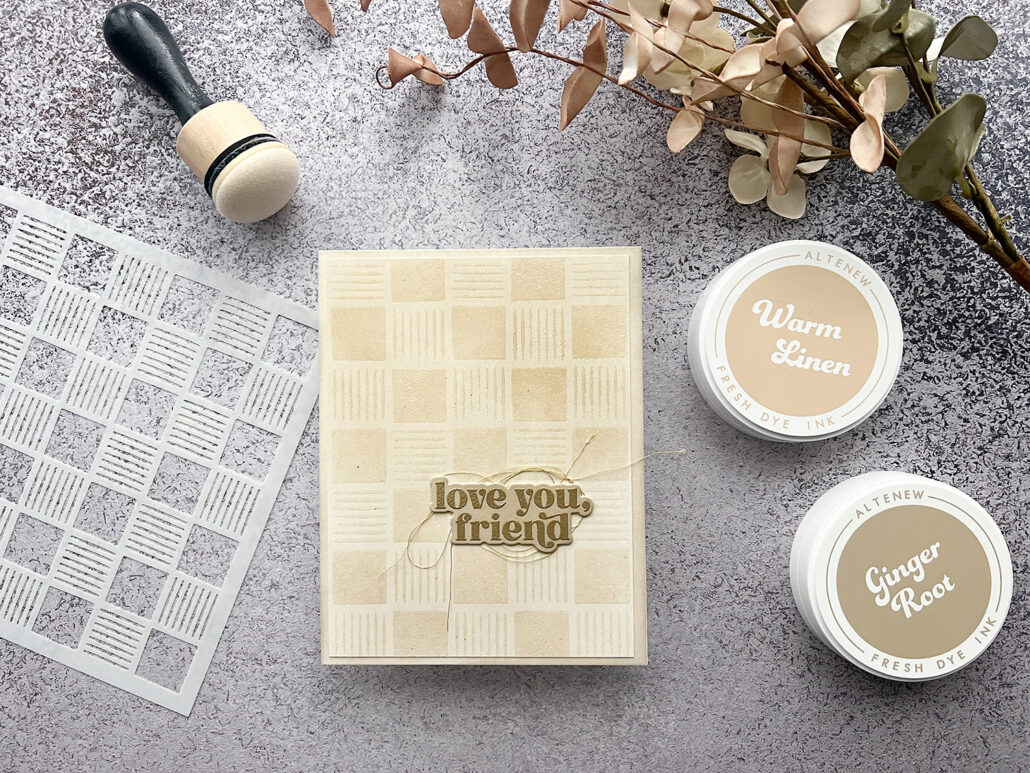
For a little bit of playfulness I added gold string underneath my sentiment before adhering it.
Anniversary
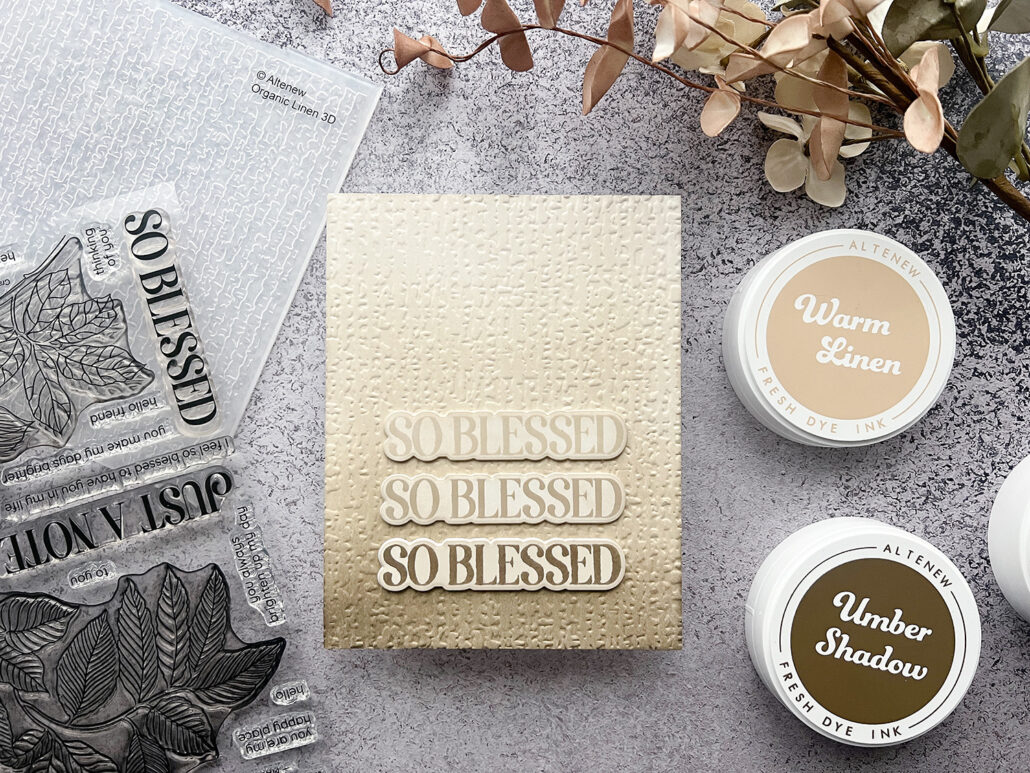
My husband and I celebrate our 13th wedding anniversary on December 6th and I am so blessed to have him in my life. The sentiment from the Arched Floral kit actually inspired this card.
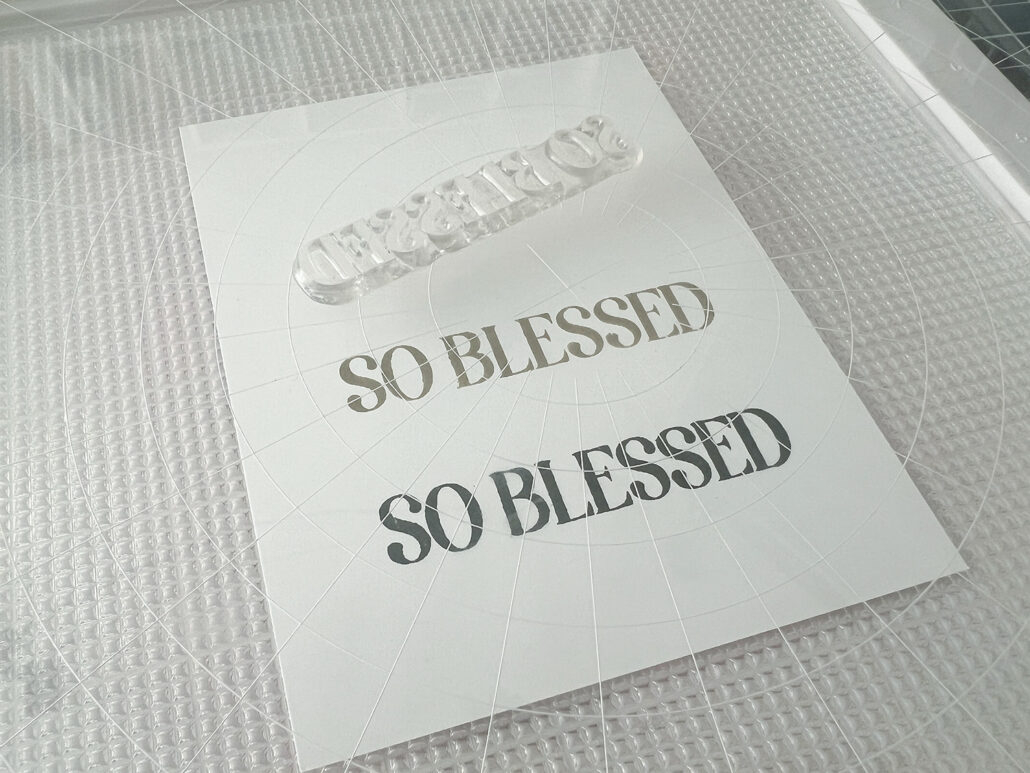
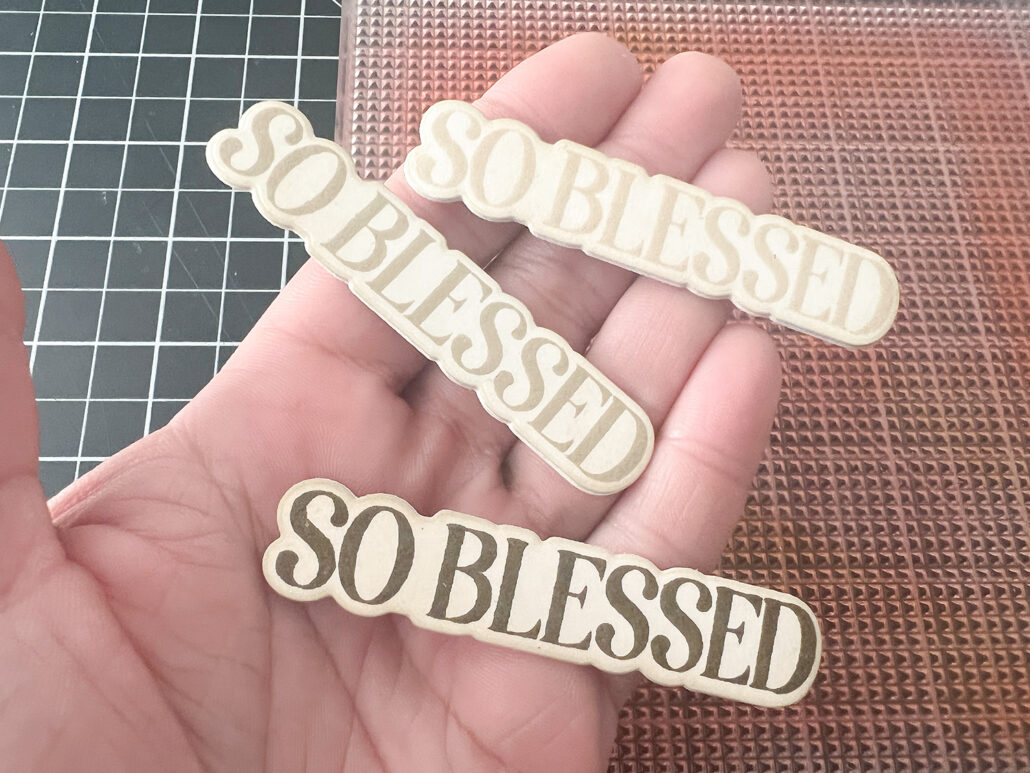
I started by stamping the word so blessed three times with Warm Linen, Ginger Root and Umber Shadow. Then I die cut the sentiment and stacked it two more times.
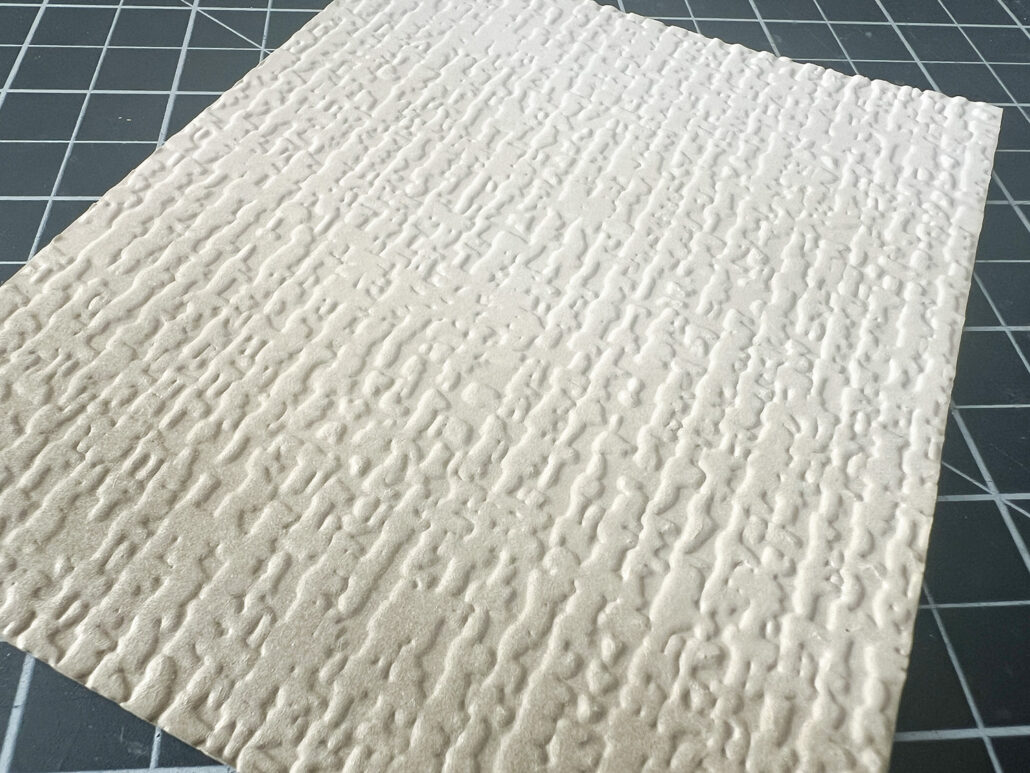
For my background I inked up the cardstock with all the colors from the Earth Tones Fresh Die Ink Bundle going from light to dark. After that I embossed it with the Organic Linen embossing folder.
My sentiments were still on a white background and when laying them on the embossed background it just didn’t look right. So I used Warm Linen again to add some color and make them blend in much better.
To finalize the card I stacked all three sentiments going from light to dark again.
Encouragement
My final card was probably the most time consuming one and includes techniques that you aren’t supposed to do with the products I used but I did it anyway.
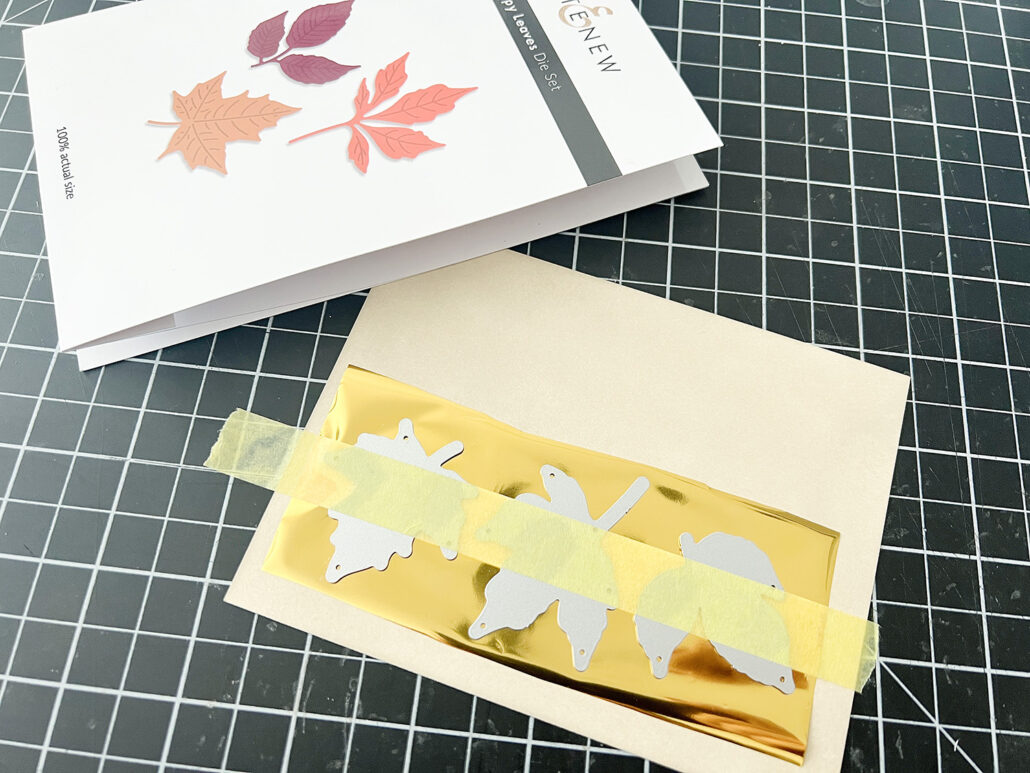
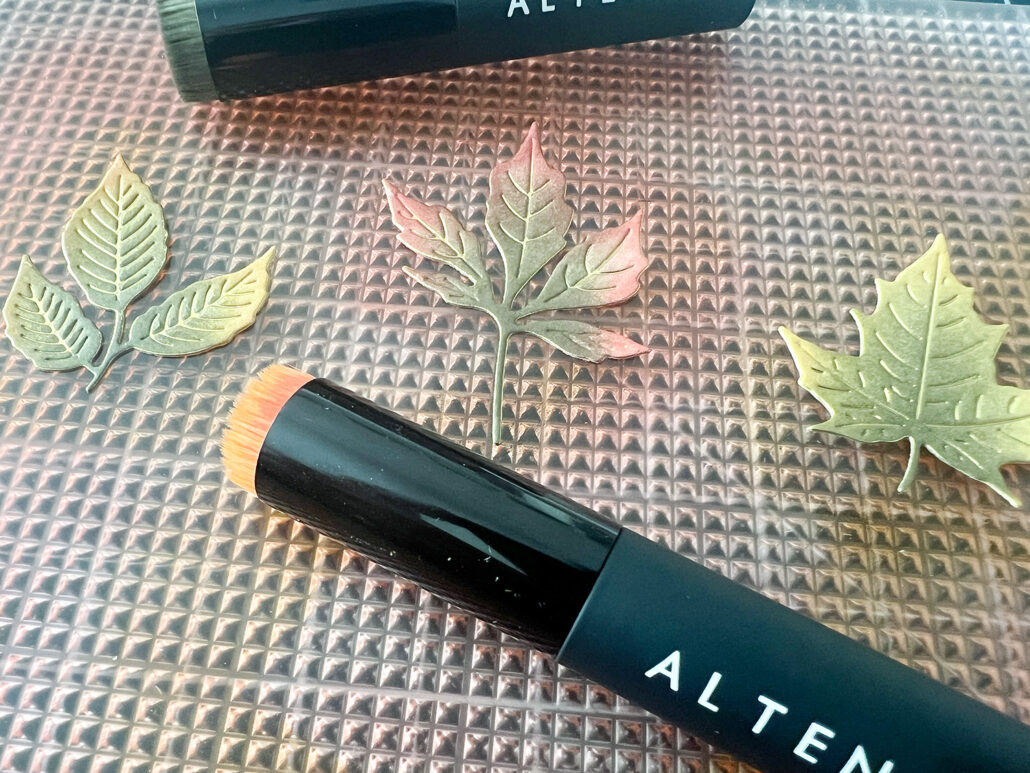
I have been using simple dies for hot foiling with the Glimmer and had a vision for the Crispy Leaves that worked just fine. When I first started hot foiling simple dies I have to admit that I was a little bit scared but I was thinking What could actually go wrong?
What I learned during the process is that dies that are not made specifically for hot foiling need a little bit more pressure so I added a piece of cardstock to my sandwich for the Glimmer machine. As you can see because of the higher pressure there is some hot foil around the leaves. This is not a problem since I am going to die cut them anyway. The leaves however are perfectly hot foiled.

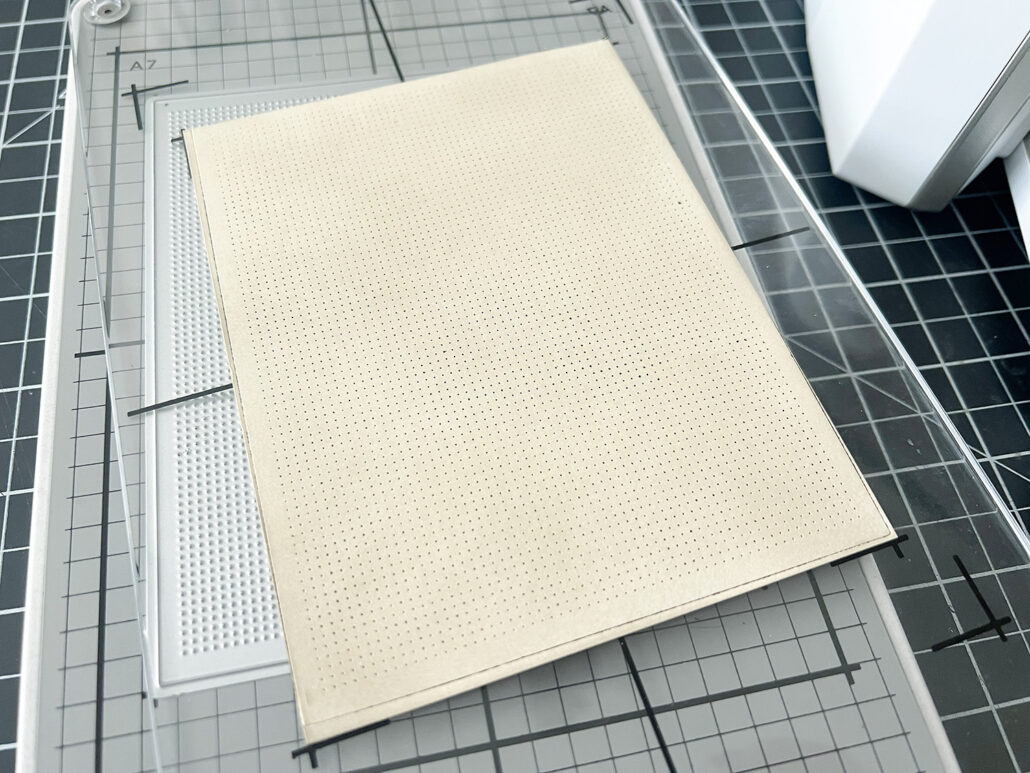
This next step was a first for me. For the background I used the Cross Stitch Canvas die with my BetterPress. Again this die was not made for the BetterPress but again I thought What could go wrong?
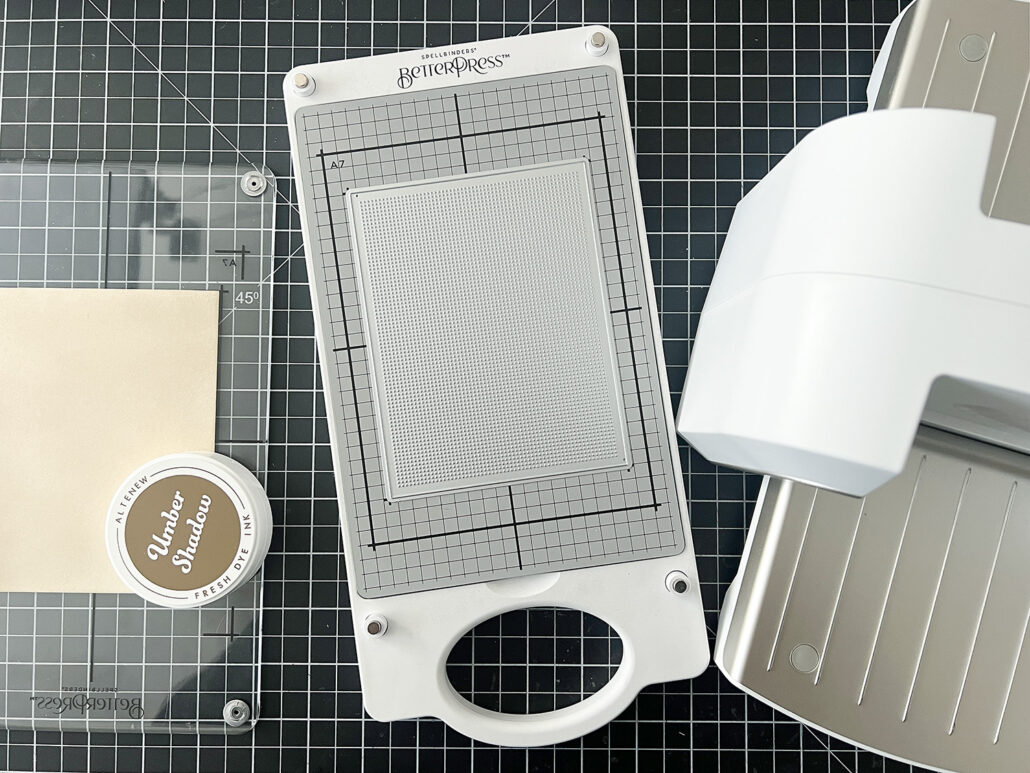
Even though the die is not a press plate you can see Umber Shadow impressed into the cardstock.
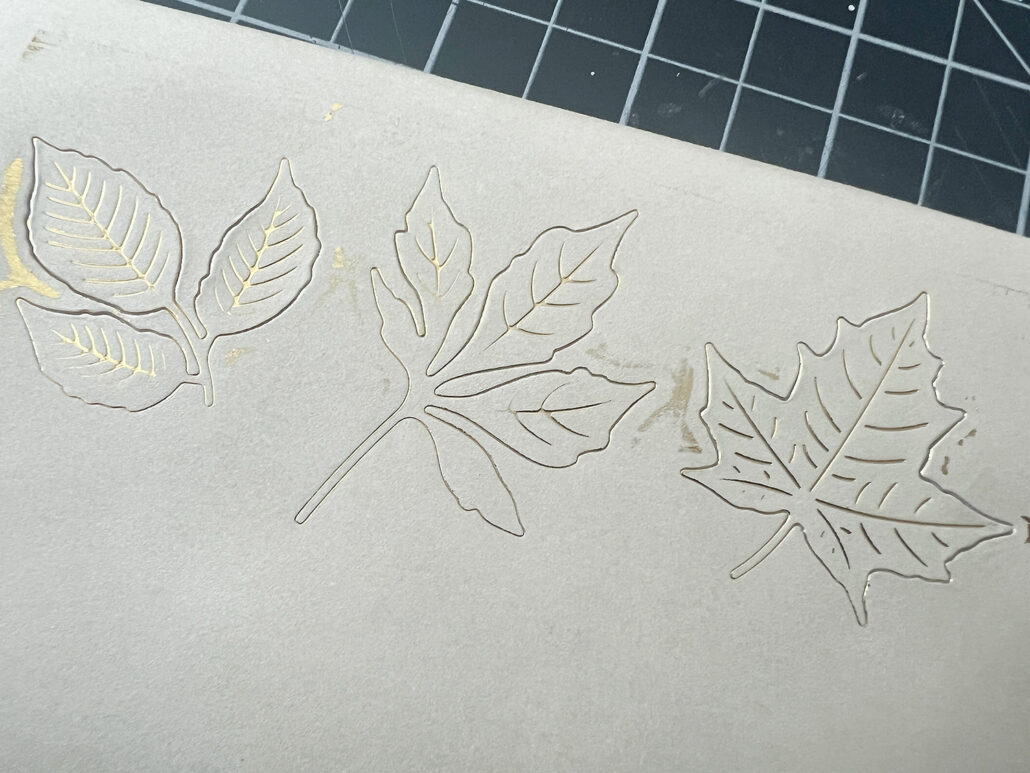
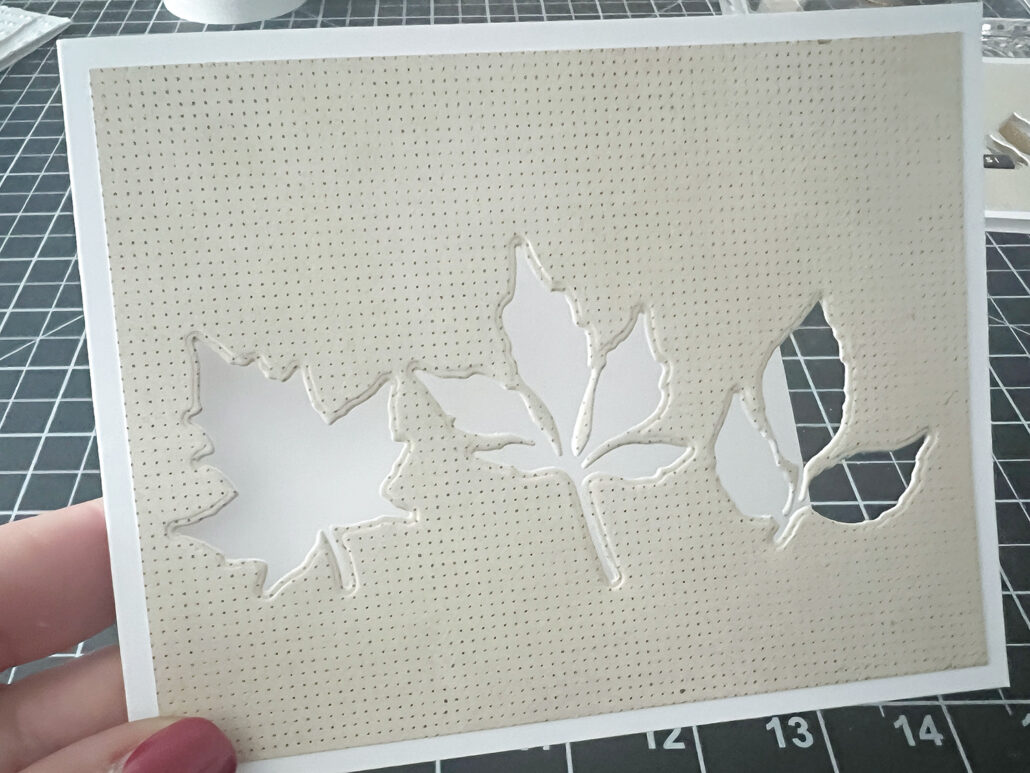
I then adhered the background to my card base and cut out the leaves through both layers.
Hot foiling wasn’t enough, my leaves needed more color so I inked them up with Chamomile, Snapdragon and Velvet and a little bit of Umber Shadow giving them fall vibes which I really like.
I adhered the leaves through the die cut shapes on the front of the card. So when you open the card the leaves are adhered to the inside of the card.
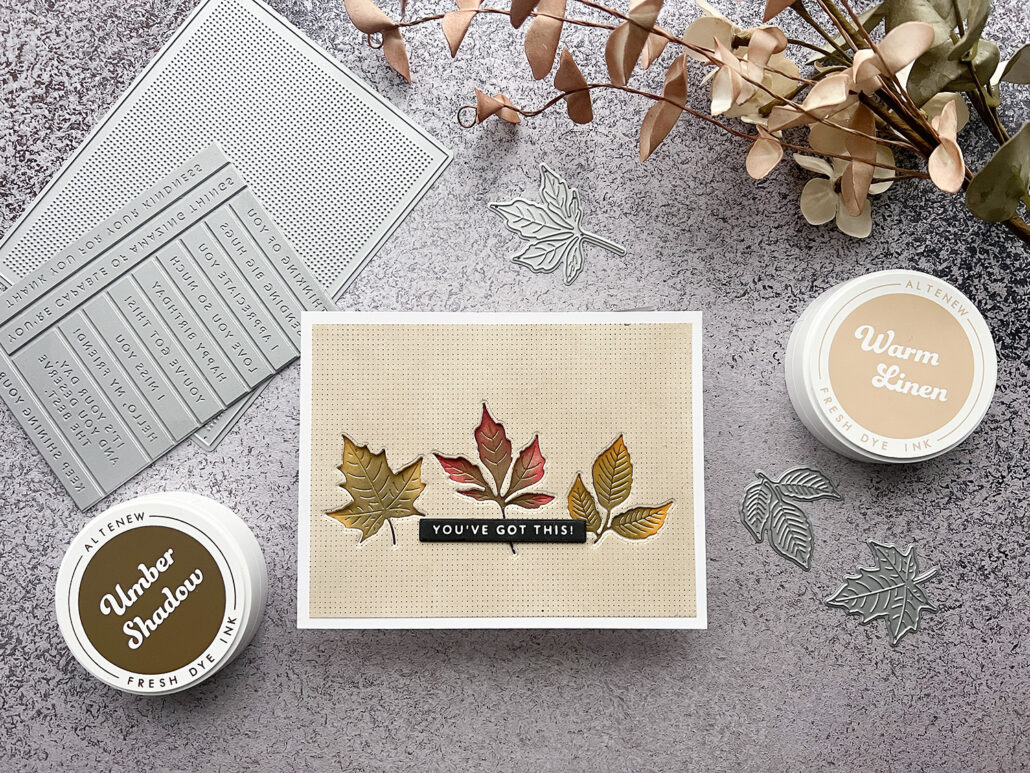
A sentiment stamped in black from the Solid Sentiment Press Plate was all that was needed to finish this card.
Enjoy the process video:
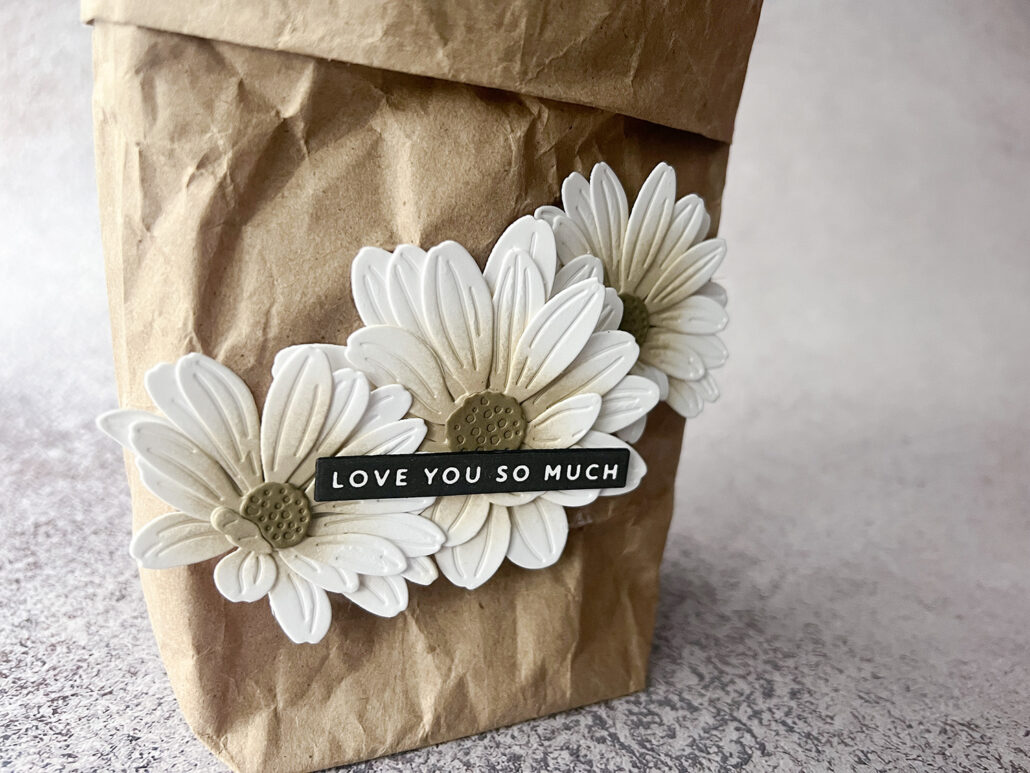
Upcycled Project
For my upcycled project I used a piece of paper that came in a package that I ordered and I turned it into a little gift bag.
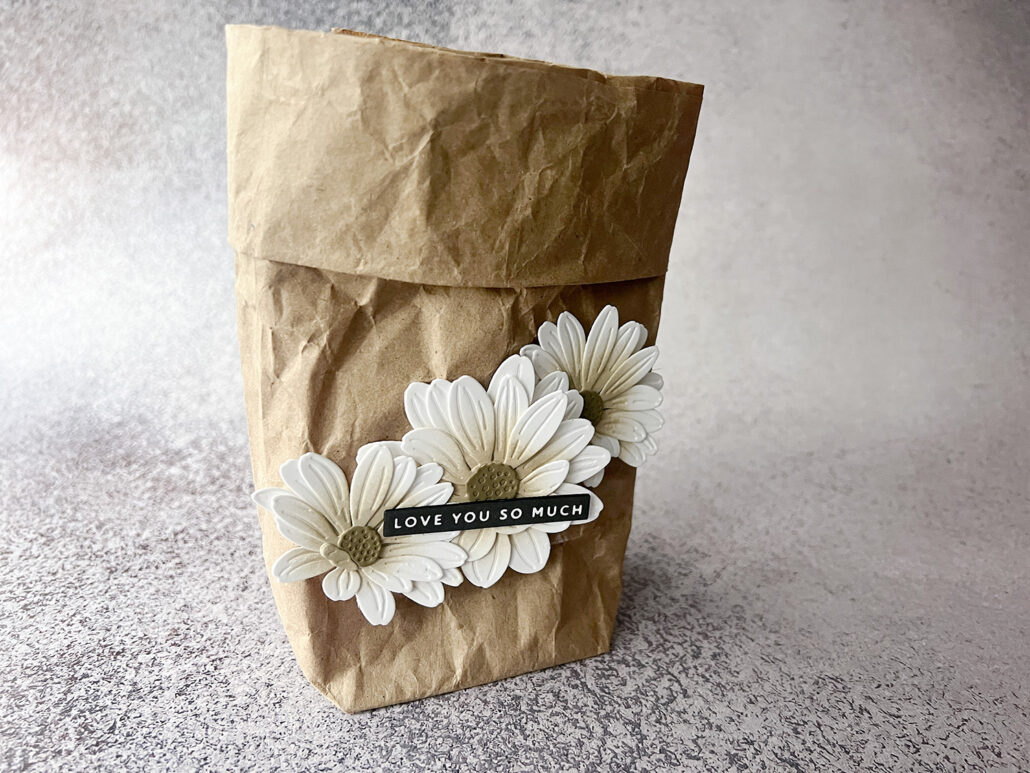
I decorated my gift bag with flowers from the Craft-Your-Flower Cape Marguerite set. This die set uses the keyhole system and the flowers are so easy to make. I used a sentiment from the Solid Sentiment Press Plate again stamped in black and stacked two more times.
I love the crumbled look of the paper.
Enjoy the process video:
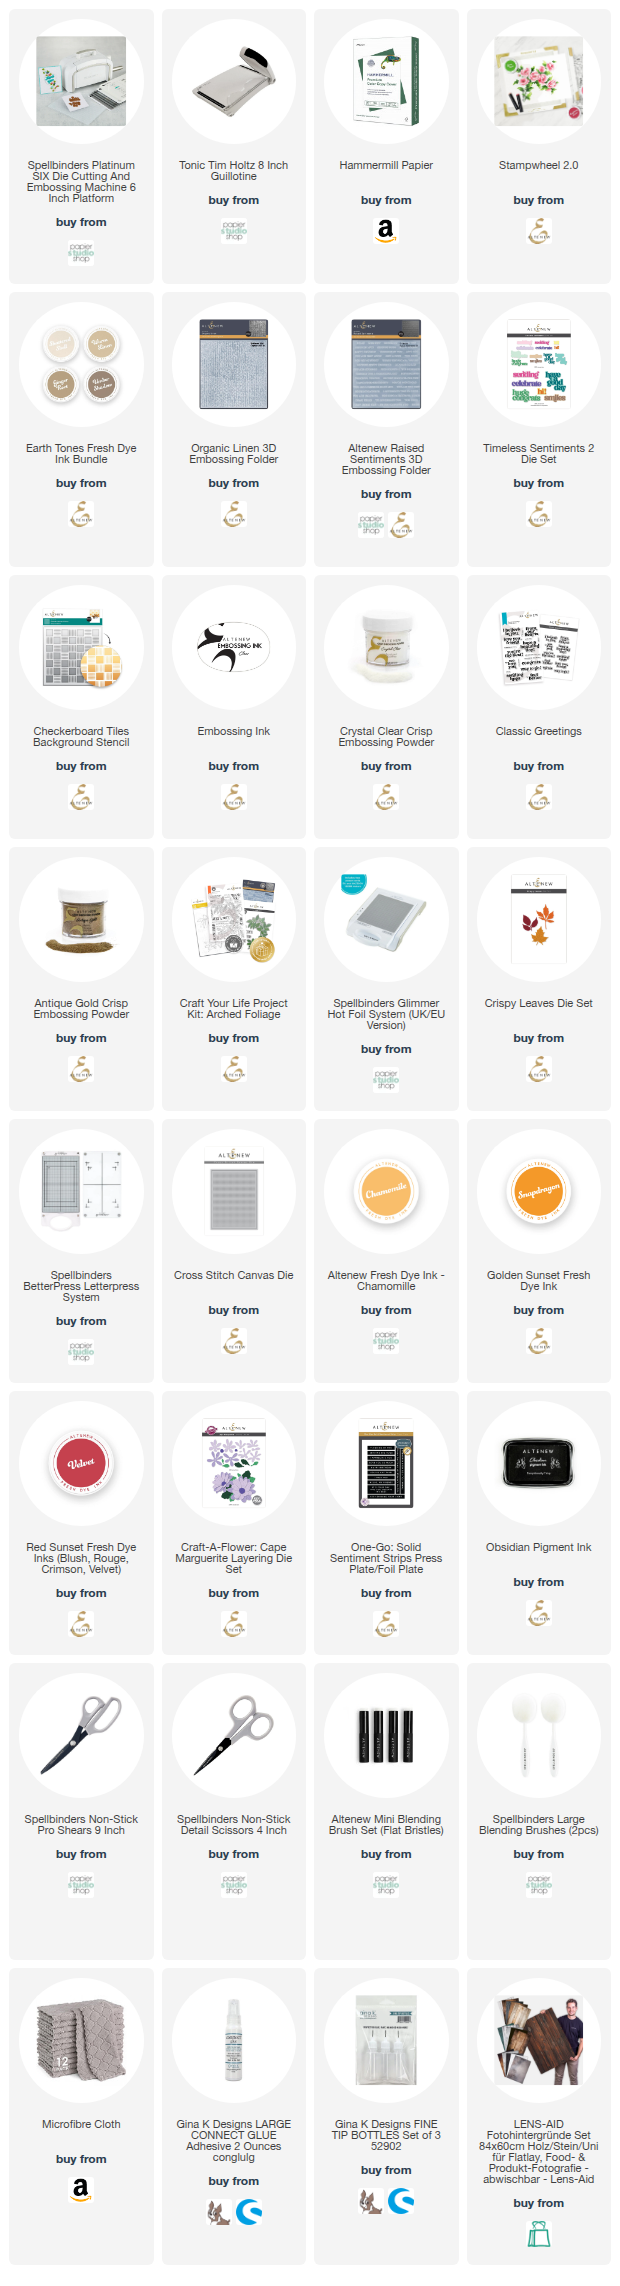
Shop This Post
Want to support my blog and YouTube channel? Buy me a coffee here. Your donations keep all my videos and tutorials free. Every cent is greatly appreciated and is used to cover expenses.
[DISCLAIMER] Only Amazon links are affiliate links. This means if you click on one of the links and purchase through this link, I will receive a small commission at no extra cost for you. This helps support my blog and YouTube channel and allows me to keep making videos. All other links are either links to my own shop or shops where I purchased the products myself or where you can purchase them. These are not affiliate links and I don’t make any money with them. Thank you for your support!
I just love your work!
Thank you so much Erum!