


This is the final challenge for the Level 1 Altenew Educator Certification Program (AECP). If I get through this I will move to Level 2. Cross your fingers and toes for me.
There were a few requirements I needed to fulfill:
- 3 components from any of the Level 1 classes.
- Explain the 3 components you’ve chosen for your project.
- Share design tips.
- Create a gift set of “His and Her” cards:
- Use a recycled element.
- Design a creative packaging for the sets.
- Card minimum: 4 cards per set
I used components from Clean & Simple Boutique Cards, Let It Shine and Irresistible Inking Techniques classes. I wanted a cohesive theme in my card sets so I used the Adore You Bundle on all of my cards. I worked on my cards in batches so I will start off with detailed photos of the process and at the end of this post I will have videos of how I assembled the cards and the packaging.
All products used are listed at the end of this post.

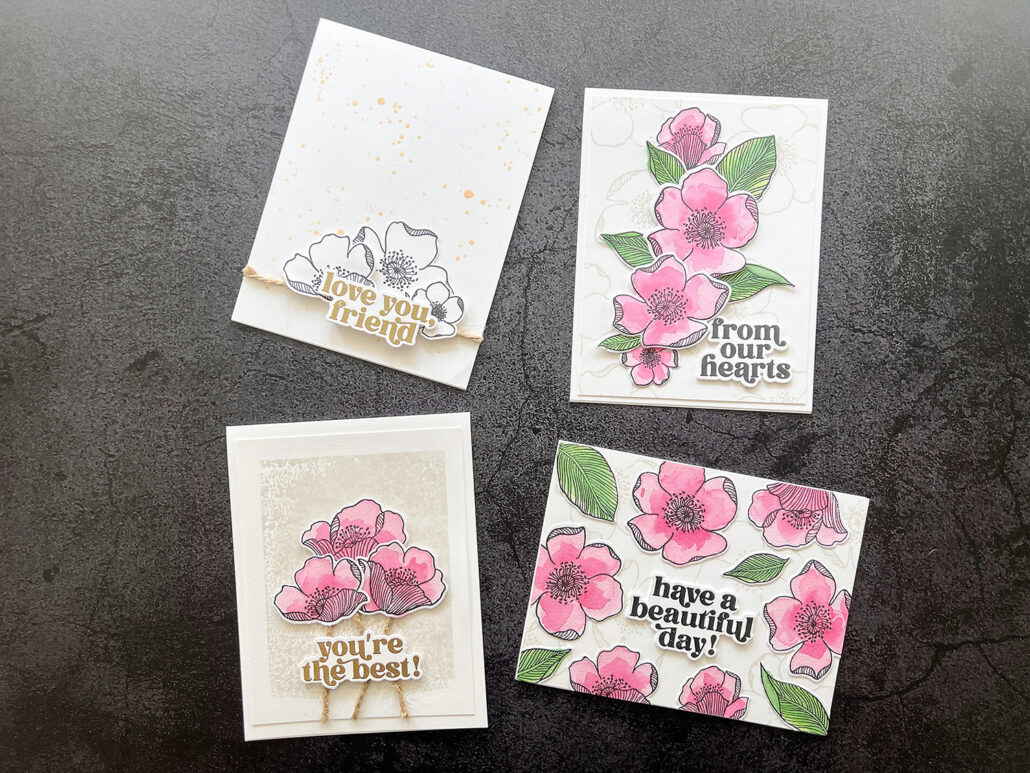
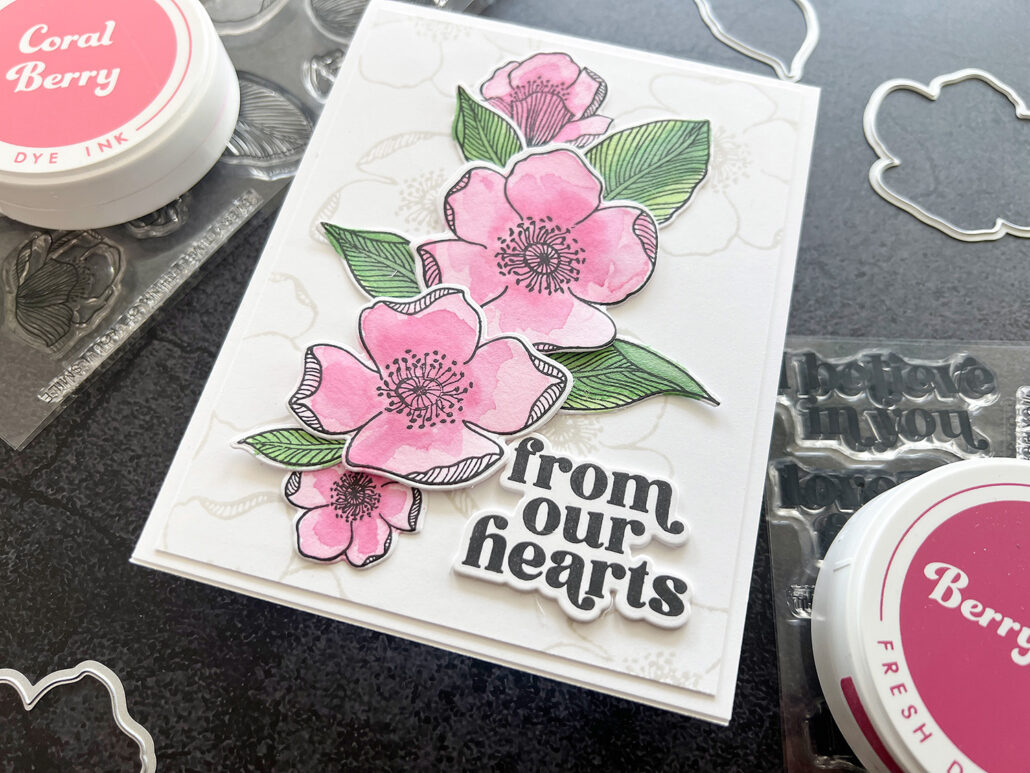
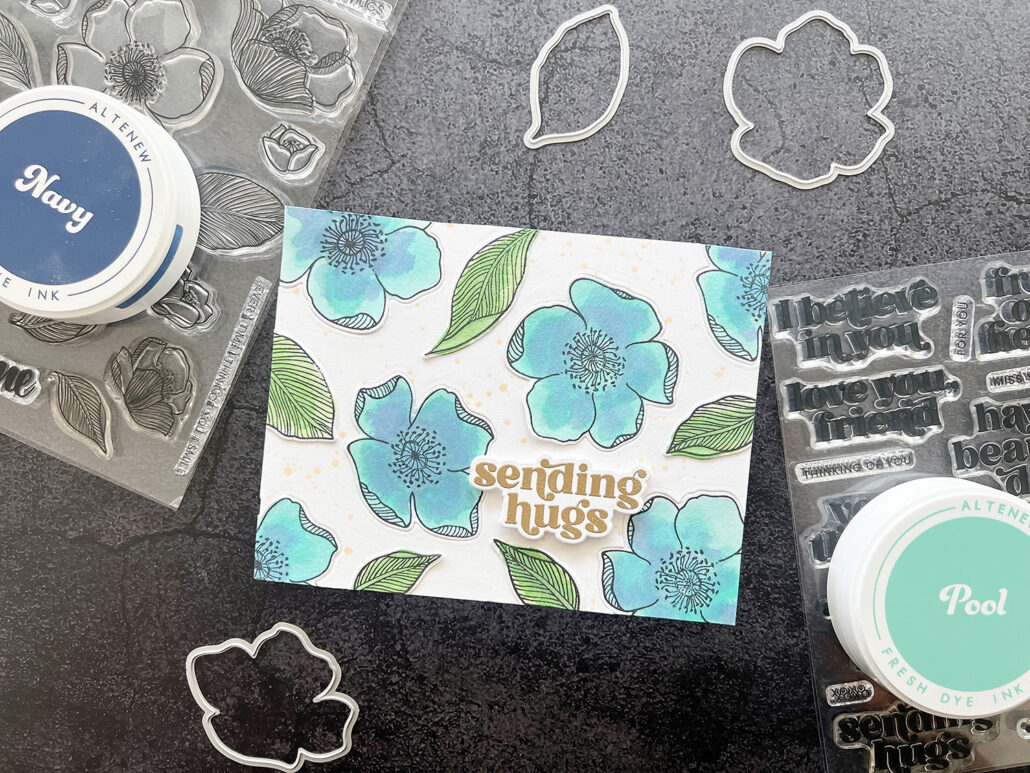
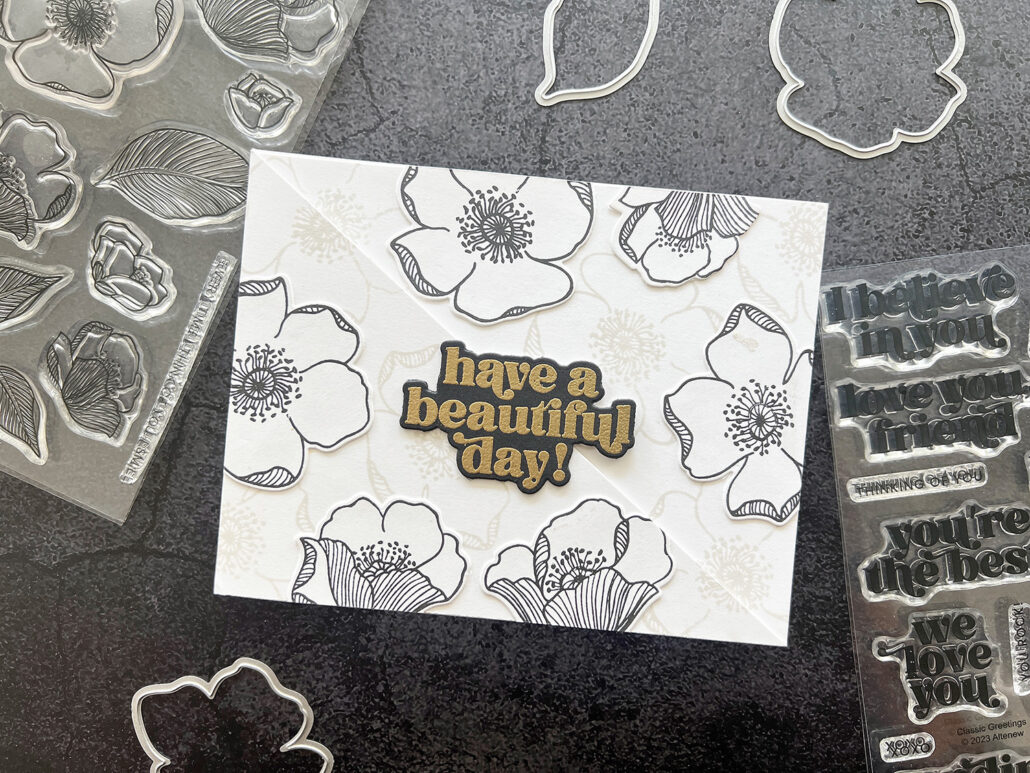
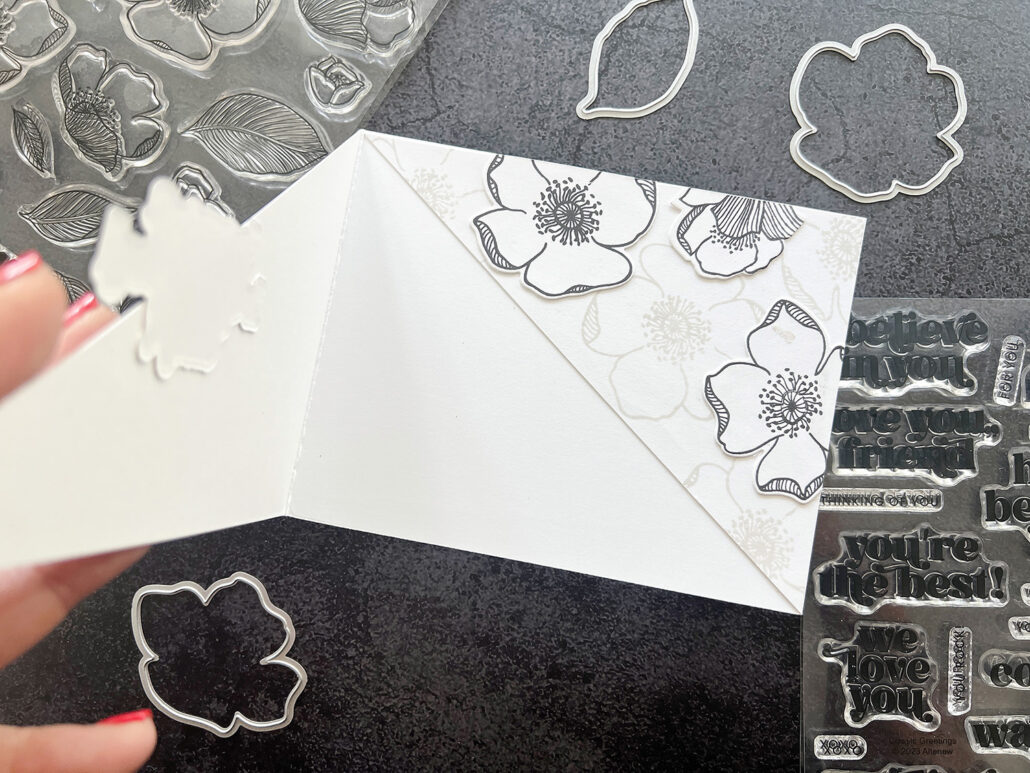
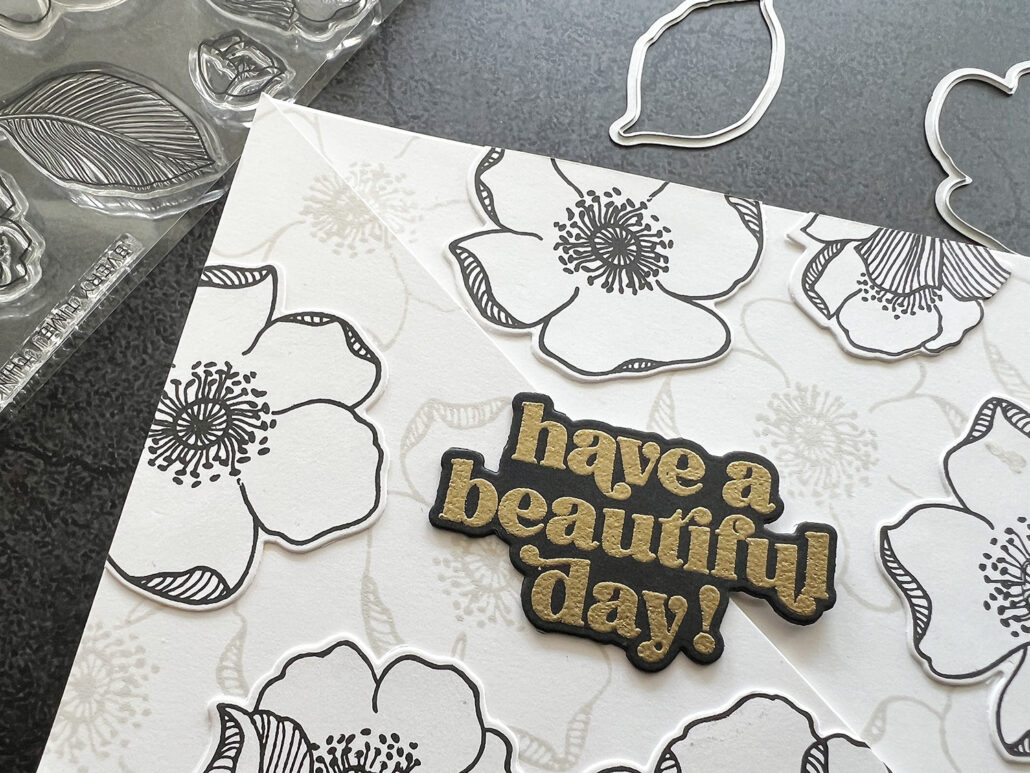
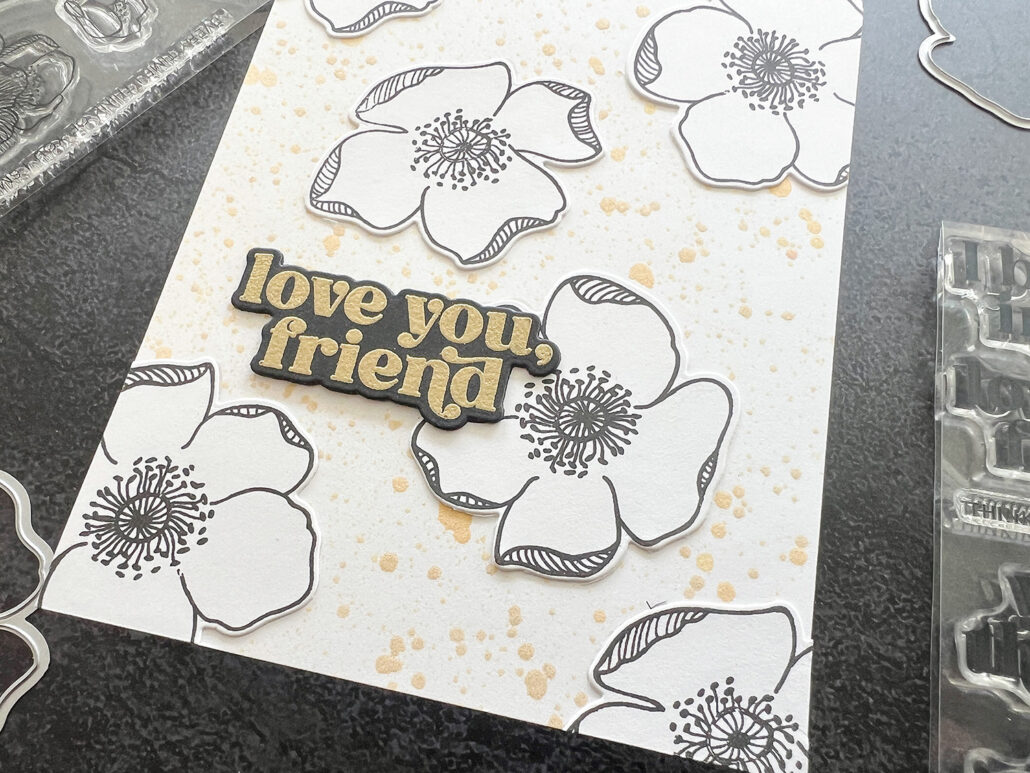
I really liked my cards from the Clean & Simple Boutique Cards class so I decided to use that as the background for some of my cards. I used Morning Frost with two different flower stamps from the Adore You stamp set.
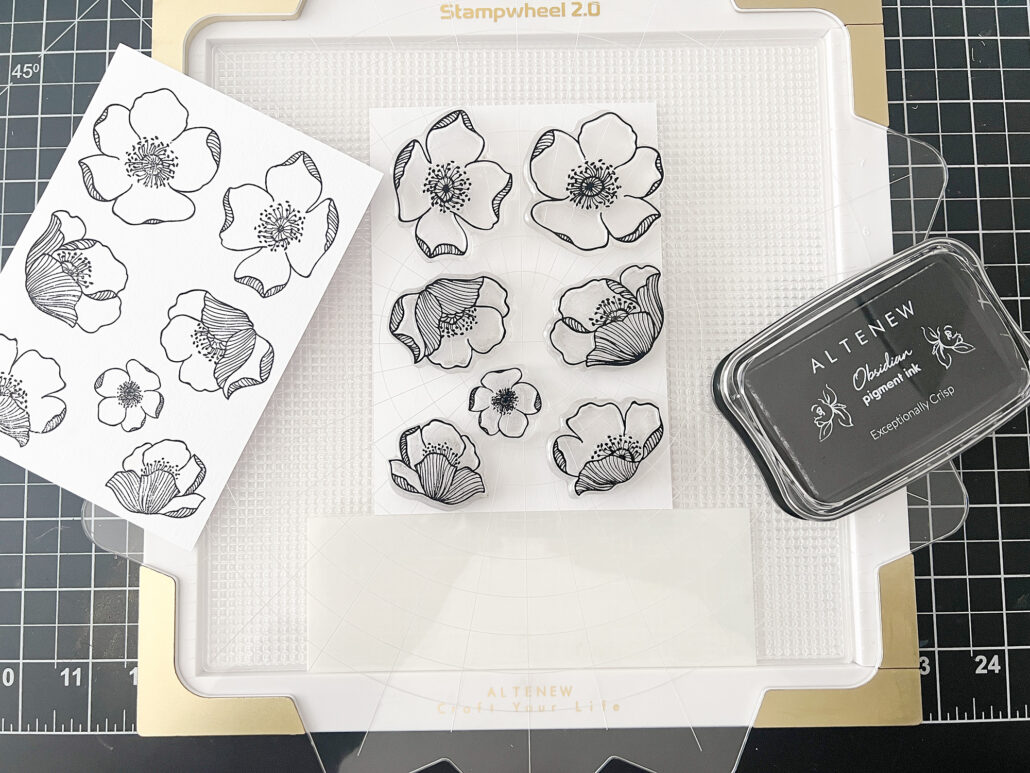
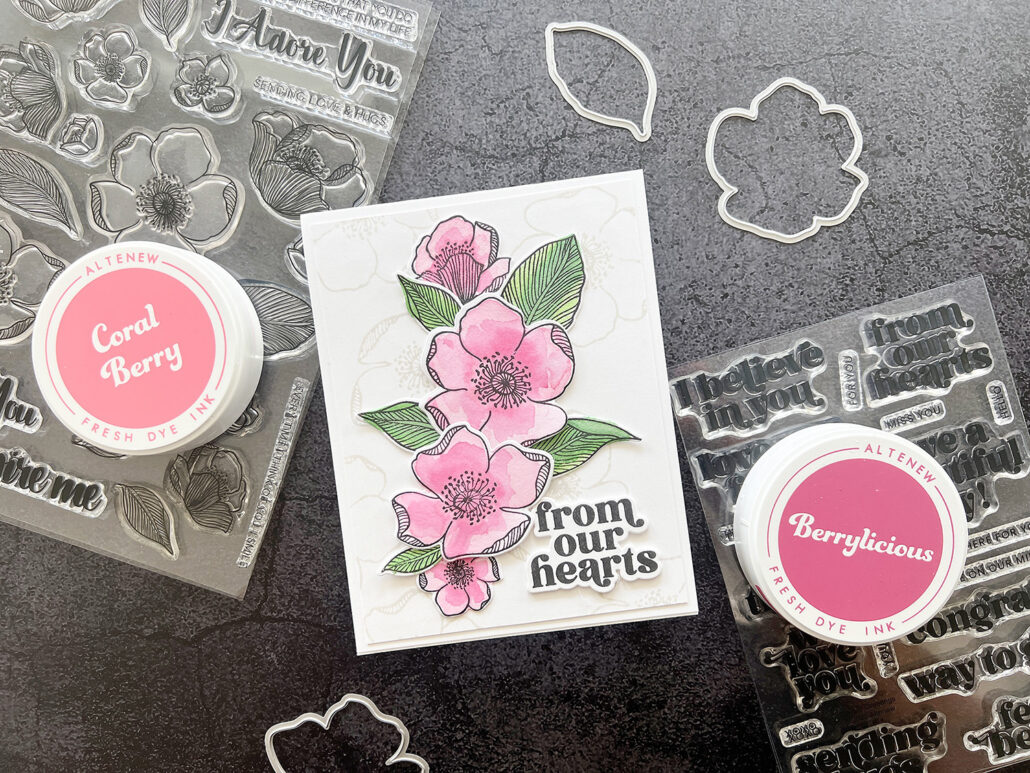
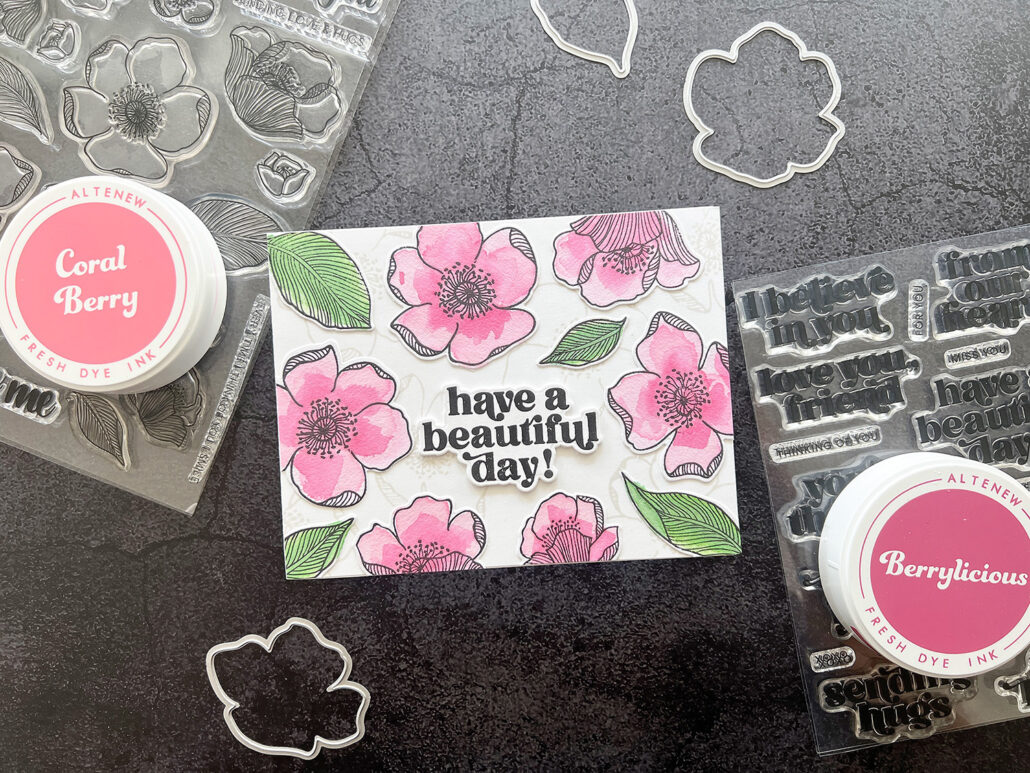
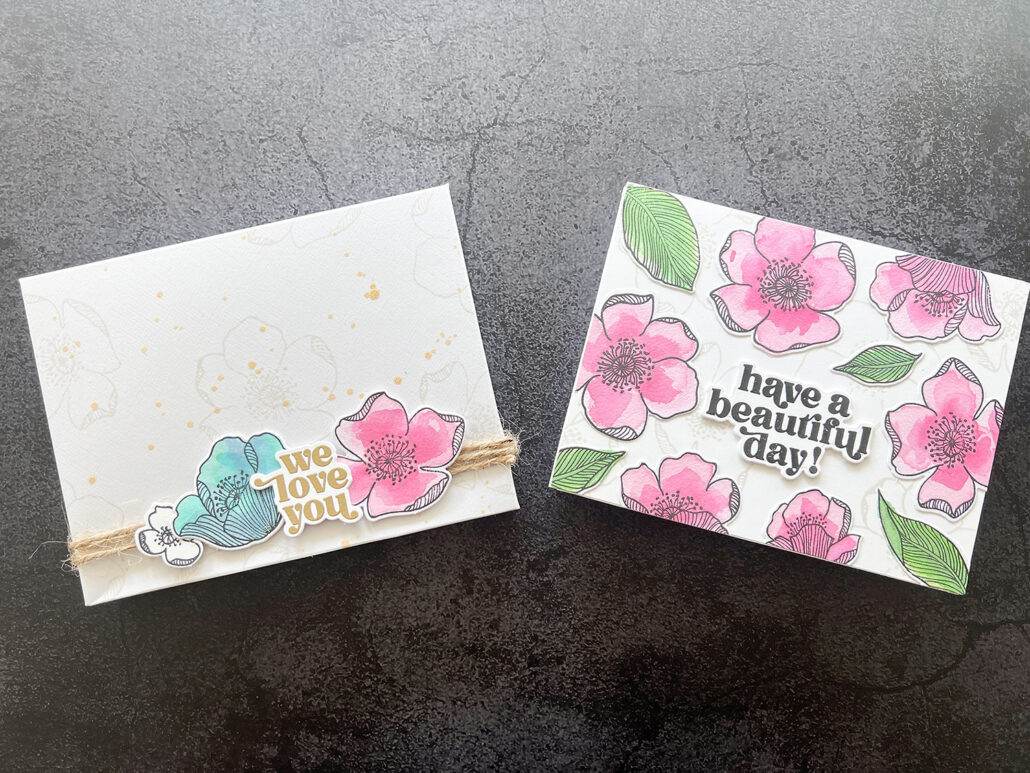
When I first saw the Adore You stamp set I knew right away that this was perfect for Faux Watercoloring using Altenew’s Fresh Die Inks. When it comes to watercolor I do not know what I’m doing. However, this time I used watercolor paper. I have a set of watercolor paper that comes in A2 size so all I had to do was arrange my stamps on the Stampwheel 2.0 and stamp my images multiple times with Obsidian Pigment Ink.
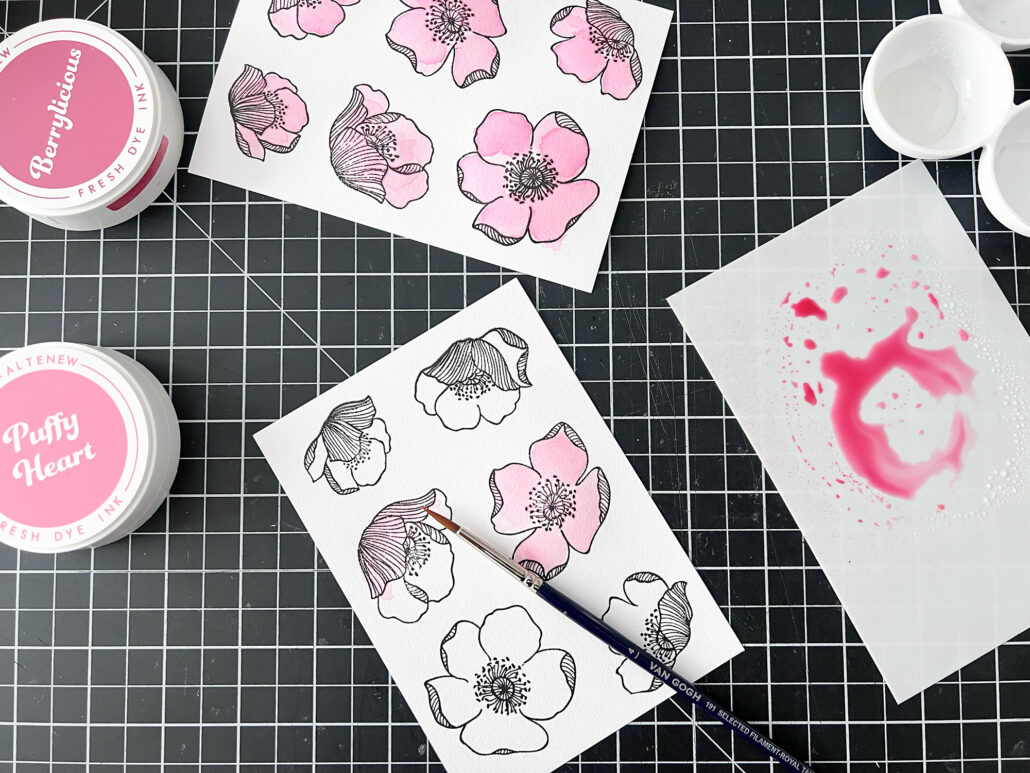
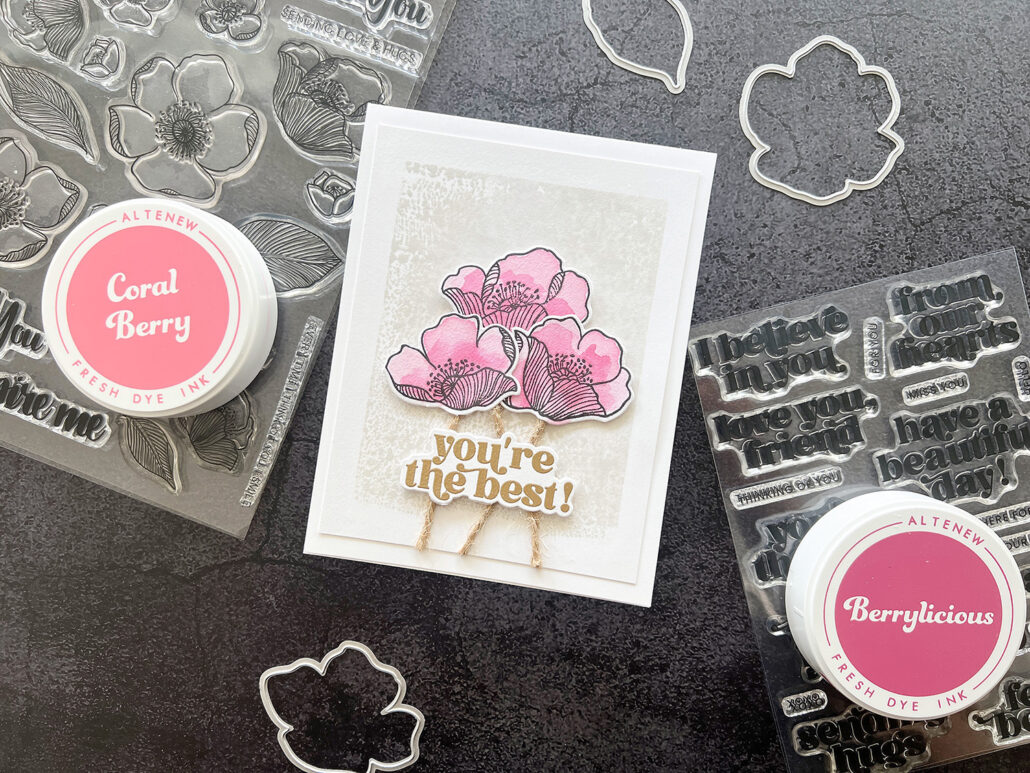
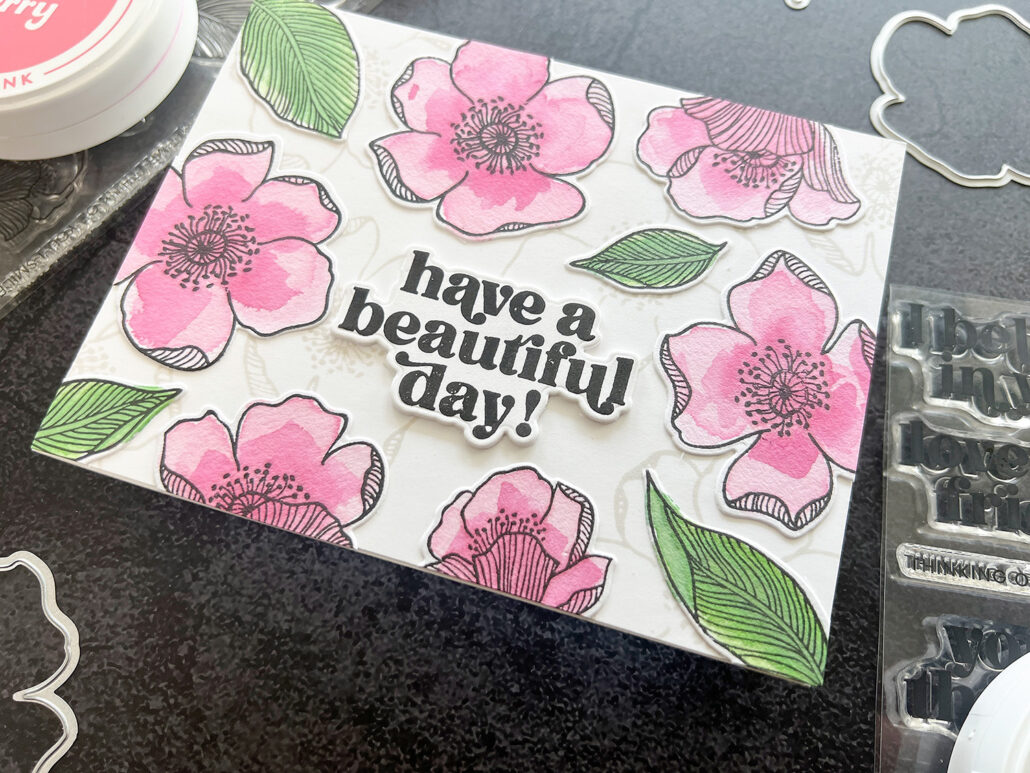
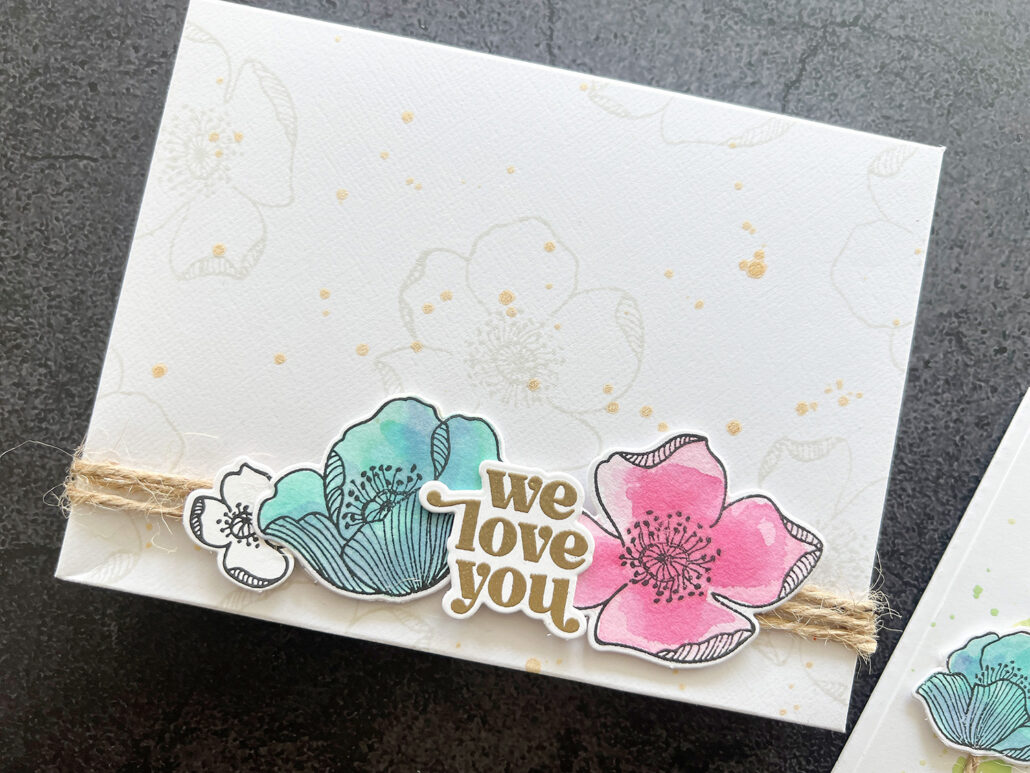
For the Her Set I used Puffy Heart and Berrylicious on my flowers. I worked in layers giving in each layer a bit of drying time in between.
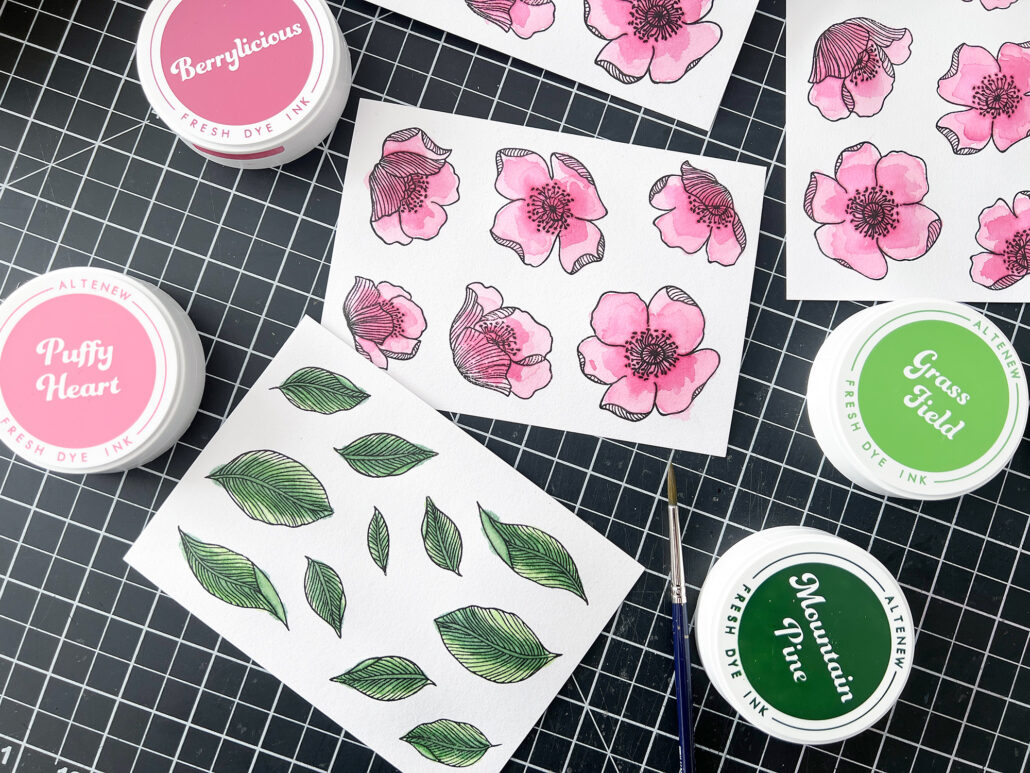
For the leaves I used Grass Field and Mountain Pine.
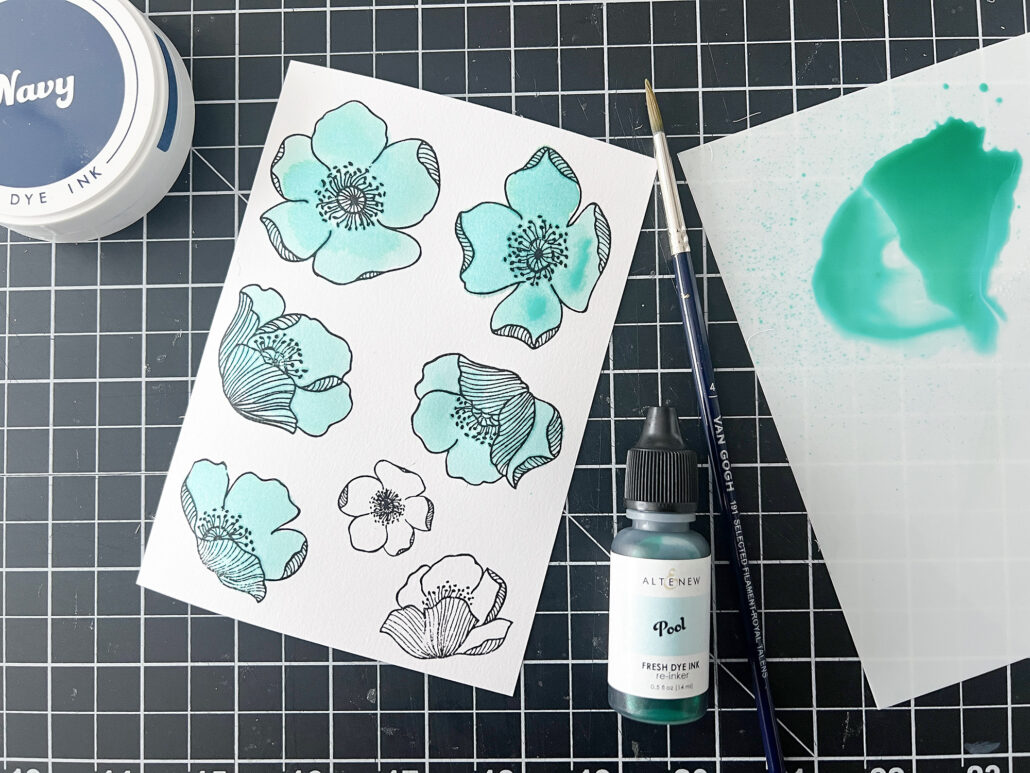
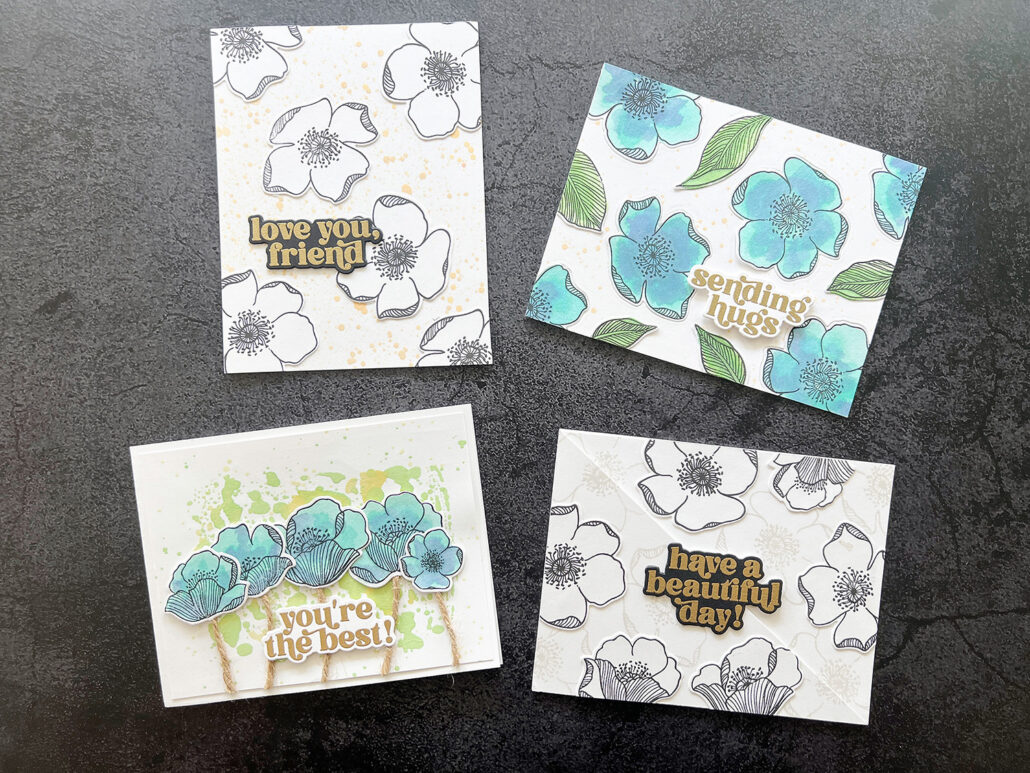
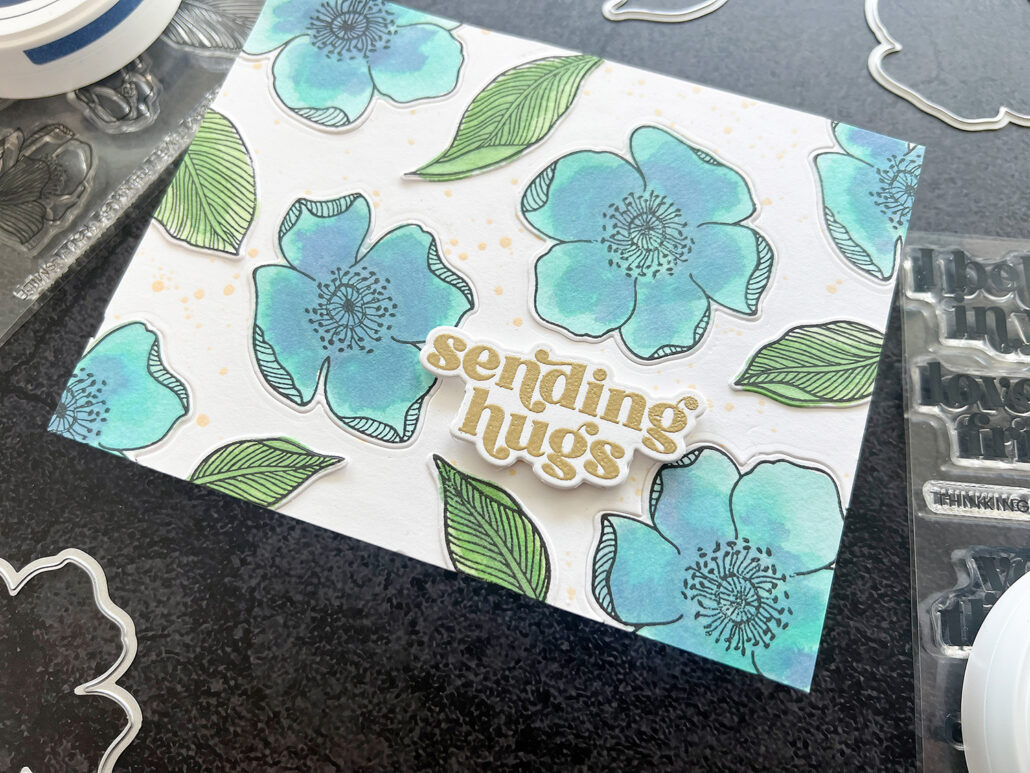
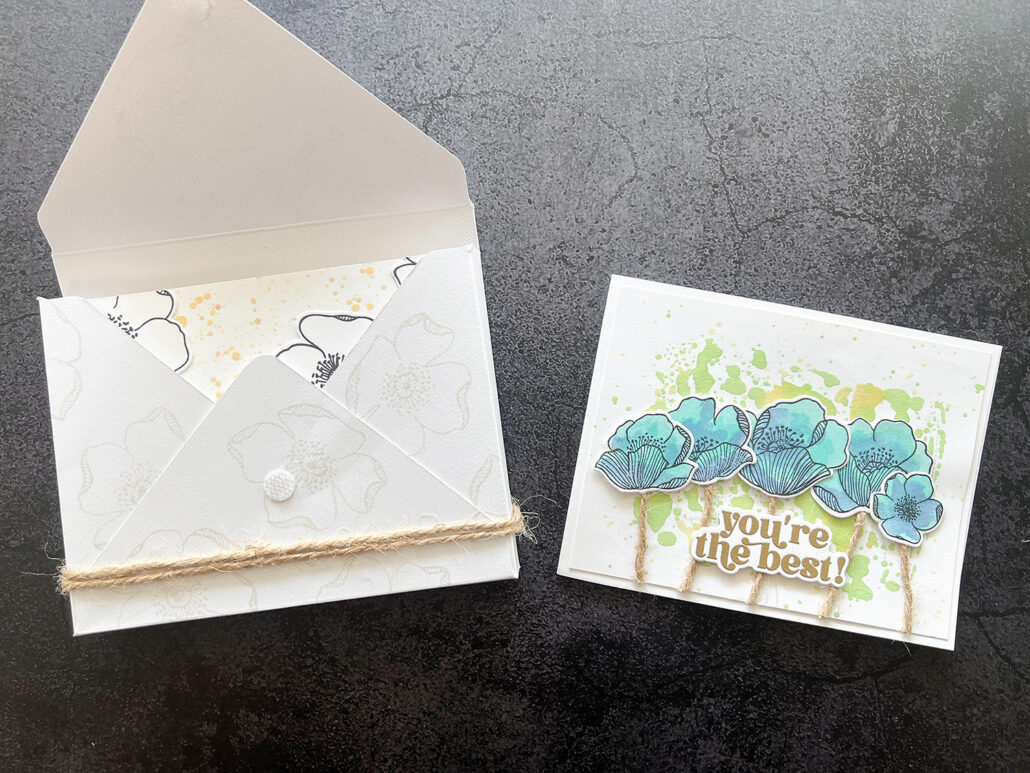
For the His Set I used Pool and Navy. However, for Pool I used the re-inker this time.
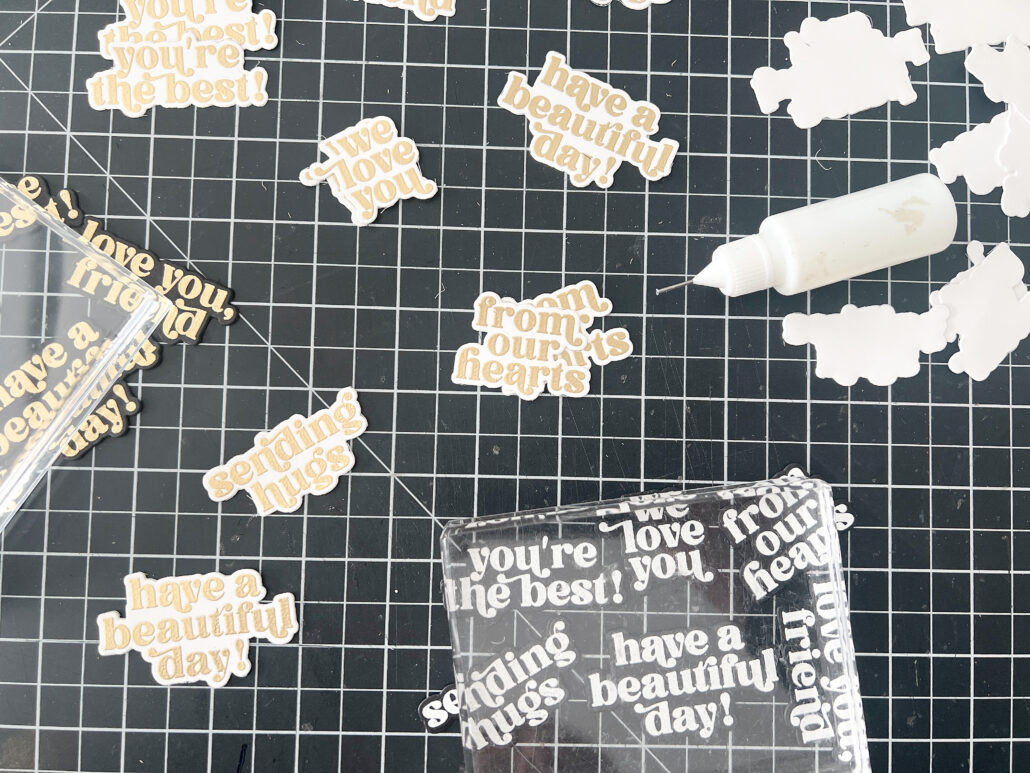
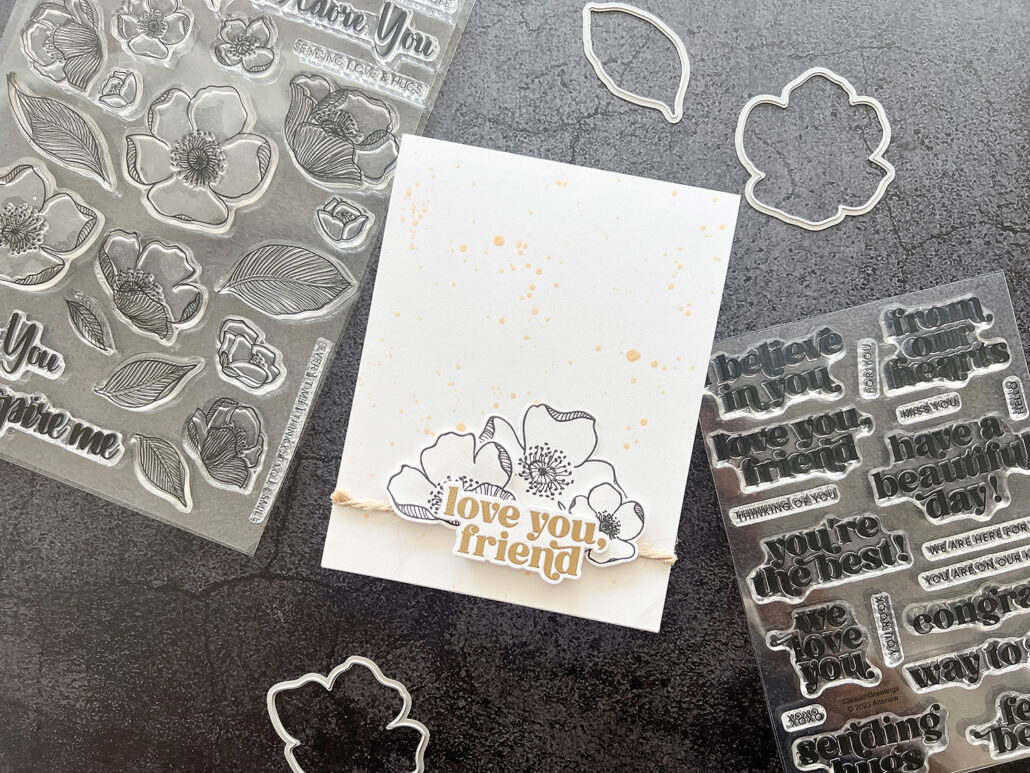
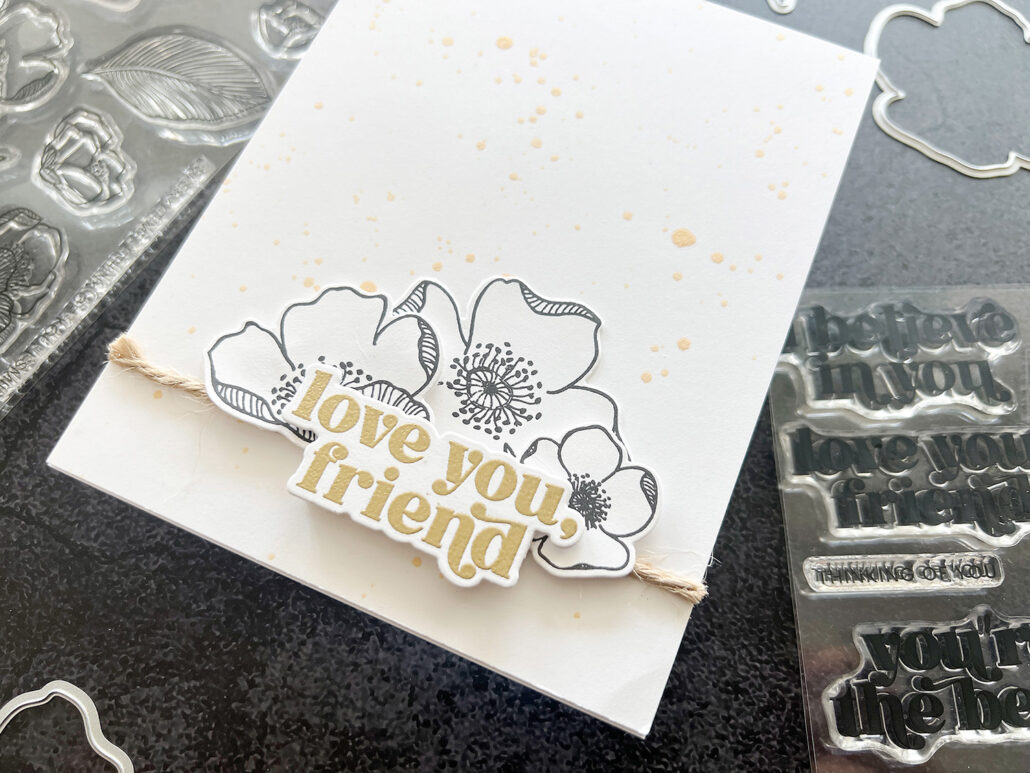
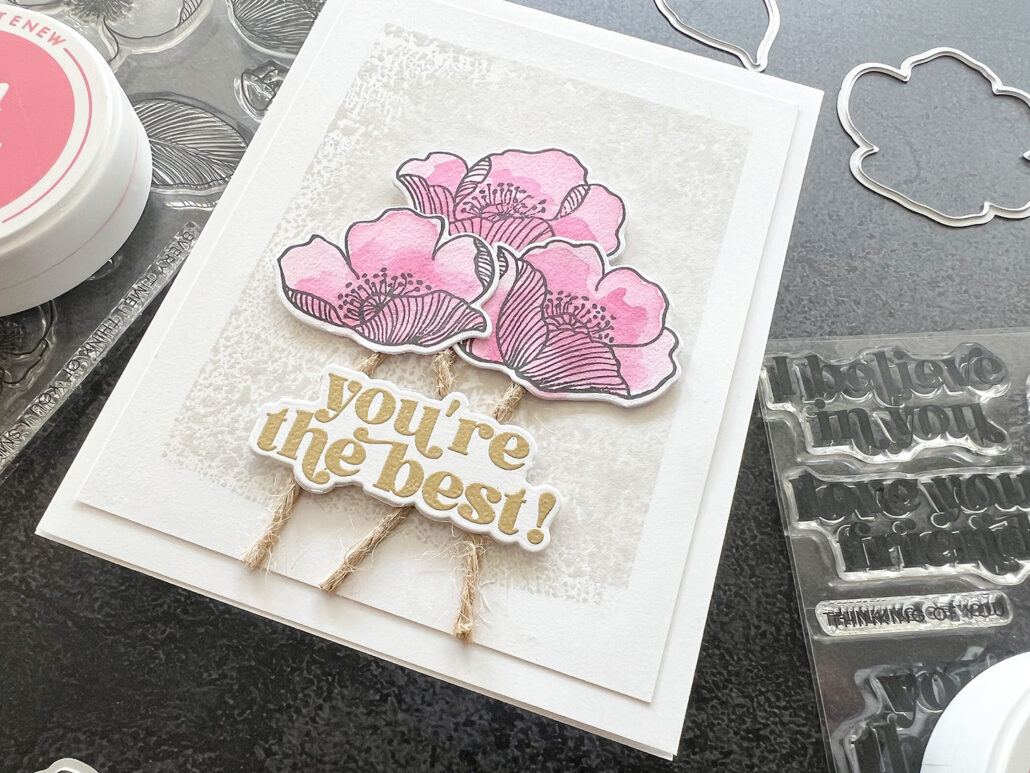
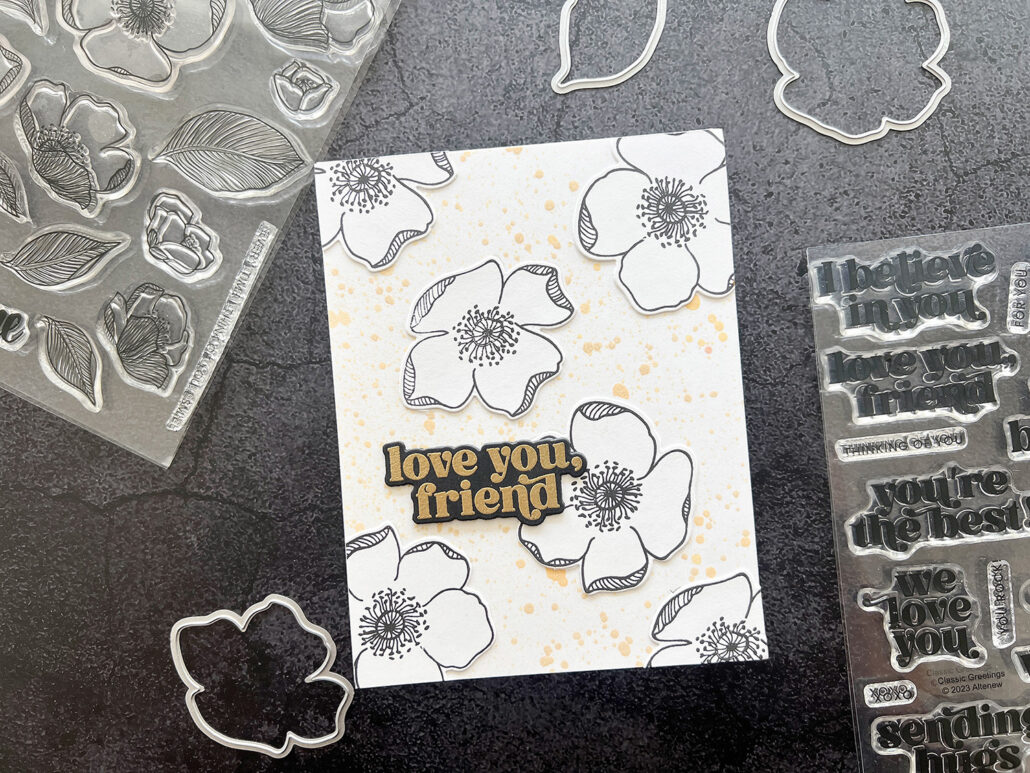
For my sentiments I used the Classic Greetings bundle. Since I wanted to have different options for my sentiments I stamped them black on white and embossed gold on white and black and white on black. In addition, I stacked them two or three times for dimension.
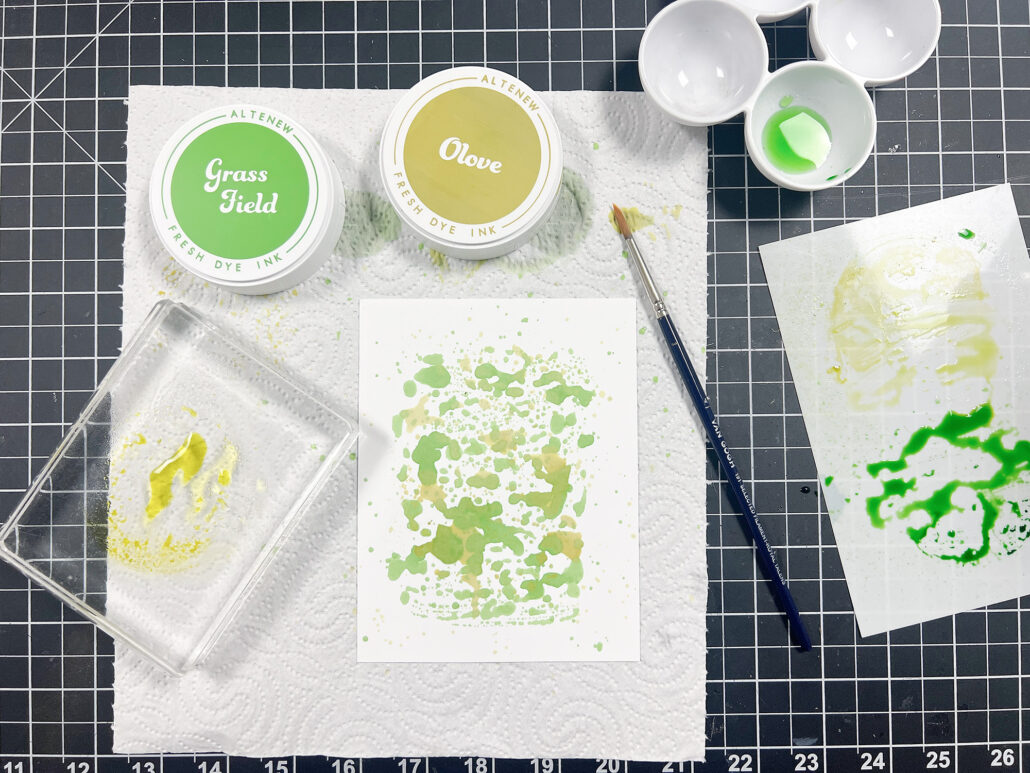
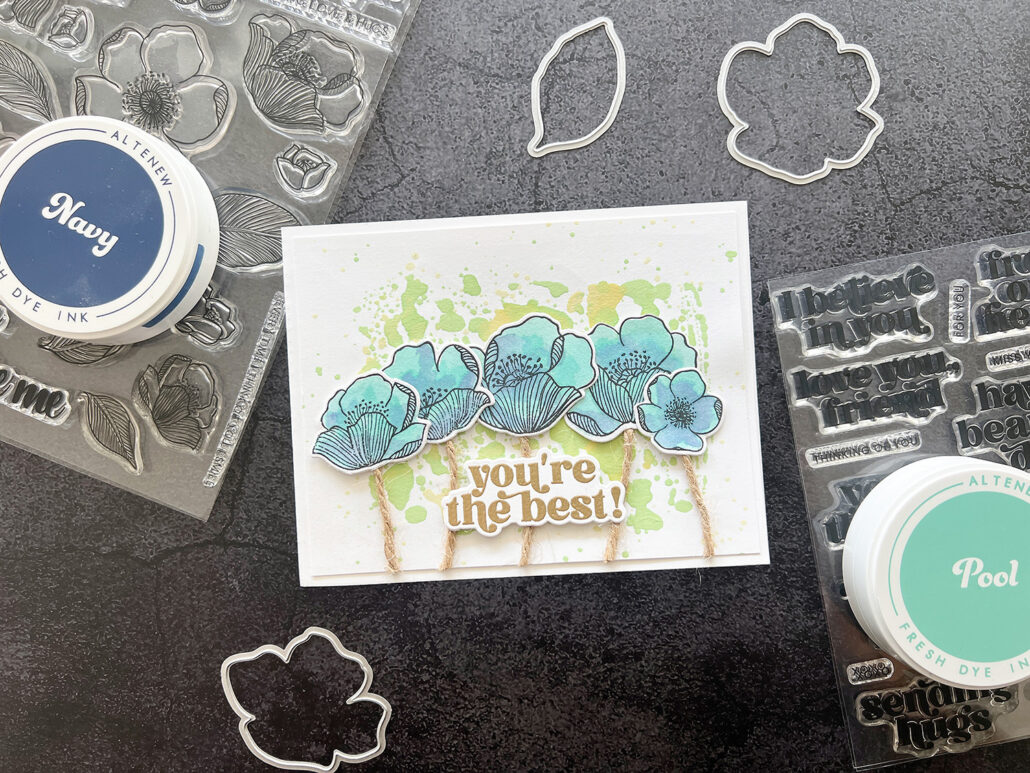
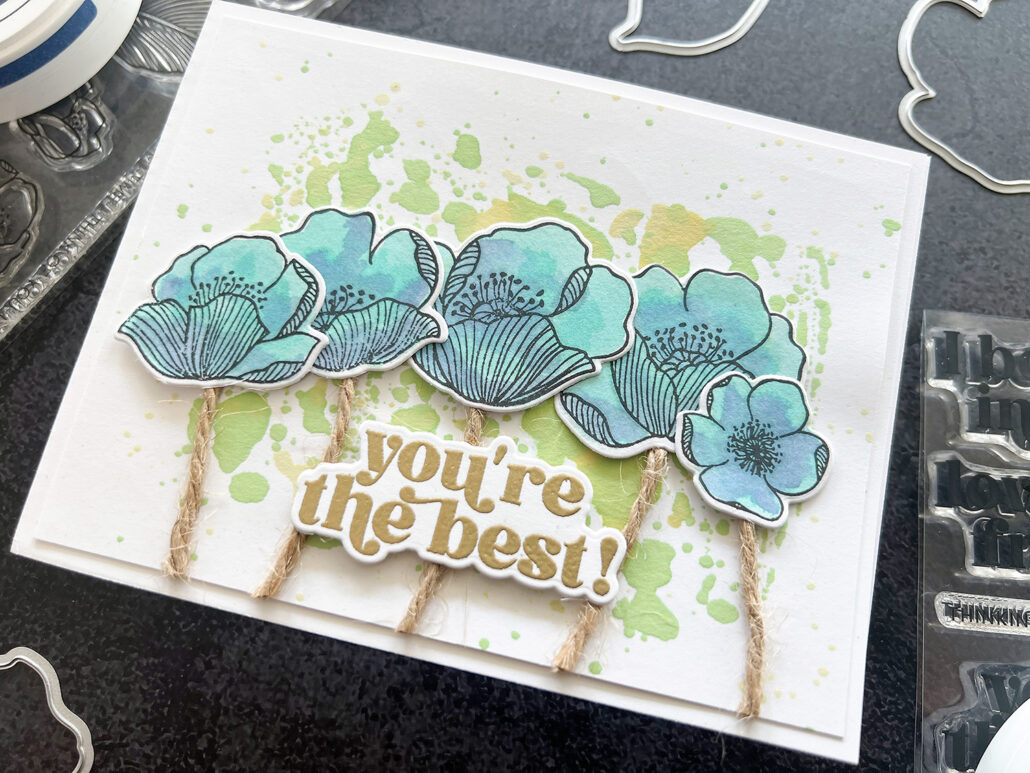
For the background of one card from each set I used the acrylic block stamping from the Irresistible Inking Techniques class. On this background I used Grass Field first and then added Olove.
On the remaining backgrounds I simply added gold splatters with the Gold Metallic Ink Spray. I usually pour a little bit into a small cup so I can use it with a brush.
Once I was finished with the creation of all the parts for my cards, it was time to assemble everything. In middle of filming the Her Set my camera shifted for some reason and I was left with a slightly crooked video which was, unfortunately, not usable. You will see it happening in the video. So that part of the video is a bit shorter.
I used a piece of string, which was part of a gift packaging, as my recycled item on three of my cards and also on the packaging.
Enjoy the process video:
Following are the detailed photos of my cards.
Her Set
His Set
Packaging
I almost forgot about the packaging and when I remembered I had to give it a little thought. Since all the cards have a cohesive theme I wanted them all to be packaged together. I was looking around my craft room for some inspiration when a gift packaging fell into my hands (you will see this in my video below). It was the perfect solution. I remembered that I had an Envelope Punch Board in my stash which was so helpful. Unfortunately, it is currently sold out everywhere I looked. On YouTube I found a video from Jennifer McGuire which helped me with the measurements. Once I created my card box all I had to do was embellish it. I love my packaging!
In the video I’ll show you how I create the card box with the Envelope Punch Board and how I embellish it. After that you’ll see the detailed photos of the packaging.
Enjoy the process video:
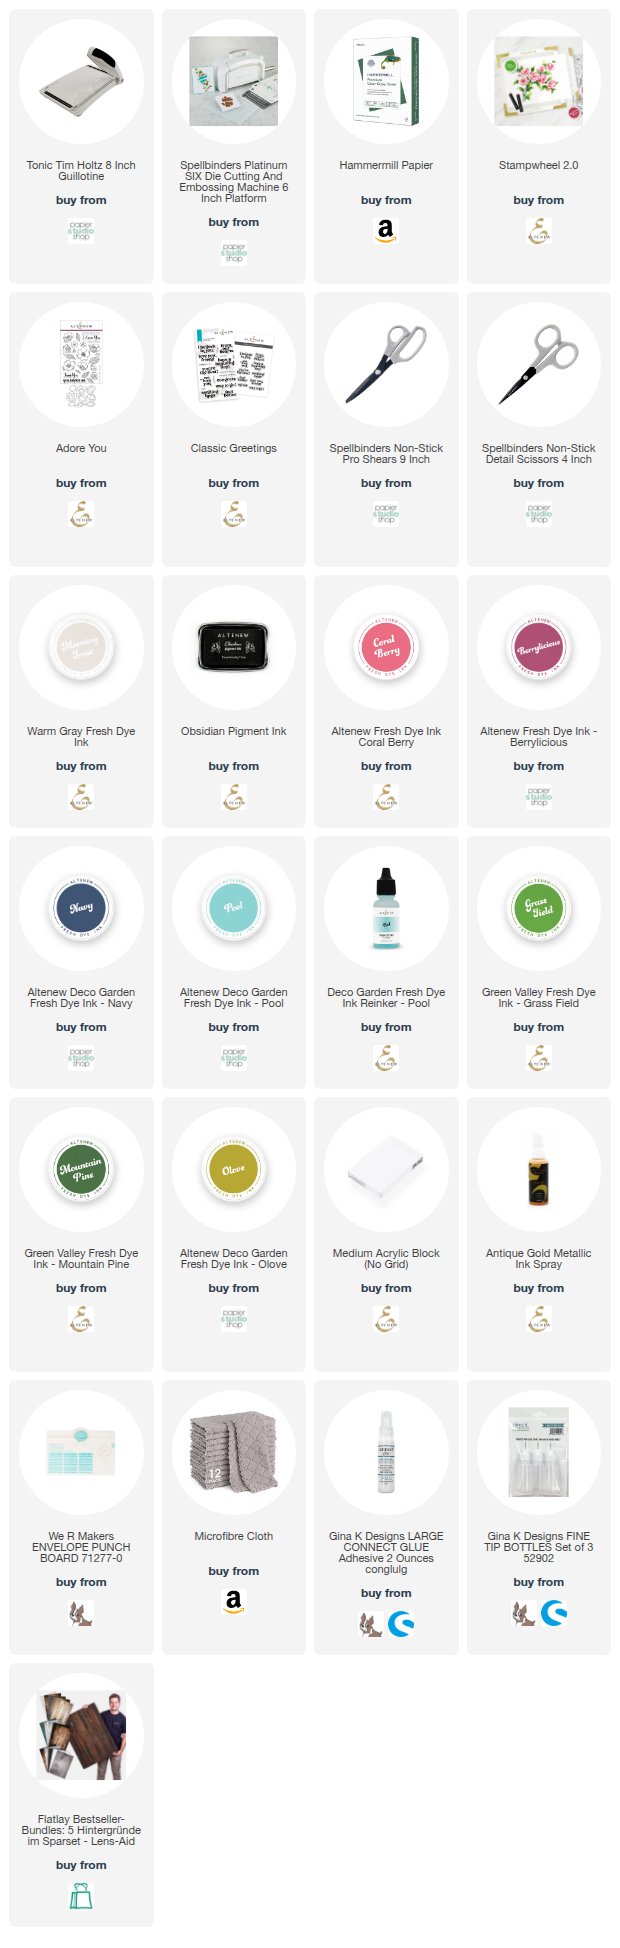
Shop This Post
Want to support my blog and YouTube channel? Buy me a coffee here. Your donations keep all my videos and tutorials free. Every cent is greatly appreciated and is used to cover expenses.
[DISCLAIMER] Only Amazon links are affiliate links. This means if you click on one of the links and purchase through this link, I will receive a small commission at no extra cost for you. This helps support my blog and YouTube channel and allows me to keep making videos. All other links are either links to my own shop or shops where I purchased the products myself or where you can purchase them. These are not affiliate links and I don’t make any money with them. Thank you for your support!
Your cards look beautiful. You have done a great job with the layouts, planning and photography. Thanks for including the video as well. Can’t wait to see what you come up with next!
Thank you so much Erum!
Fabulous cards! You did a great job creating your level 1 challenge project! Keep up the good work!
Thank you Liz!