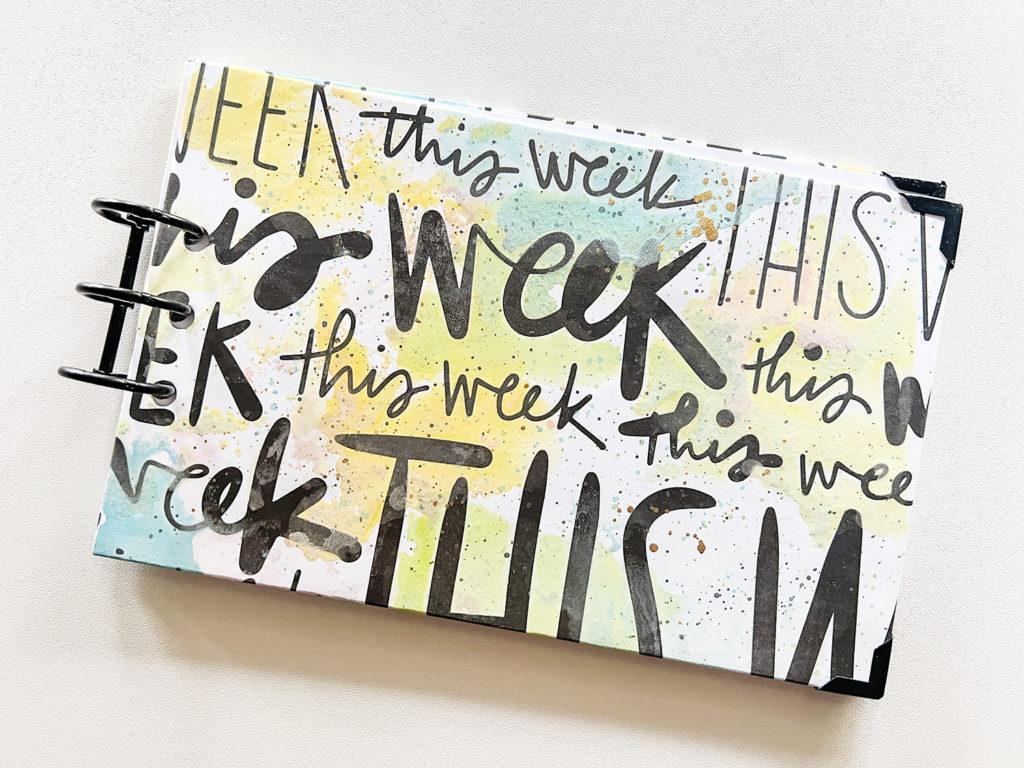
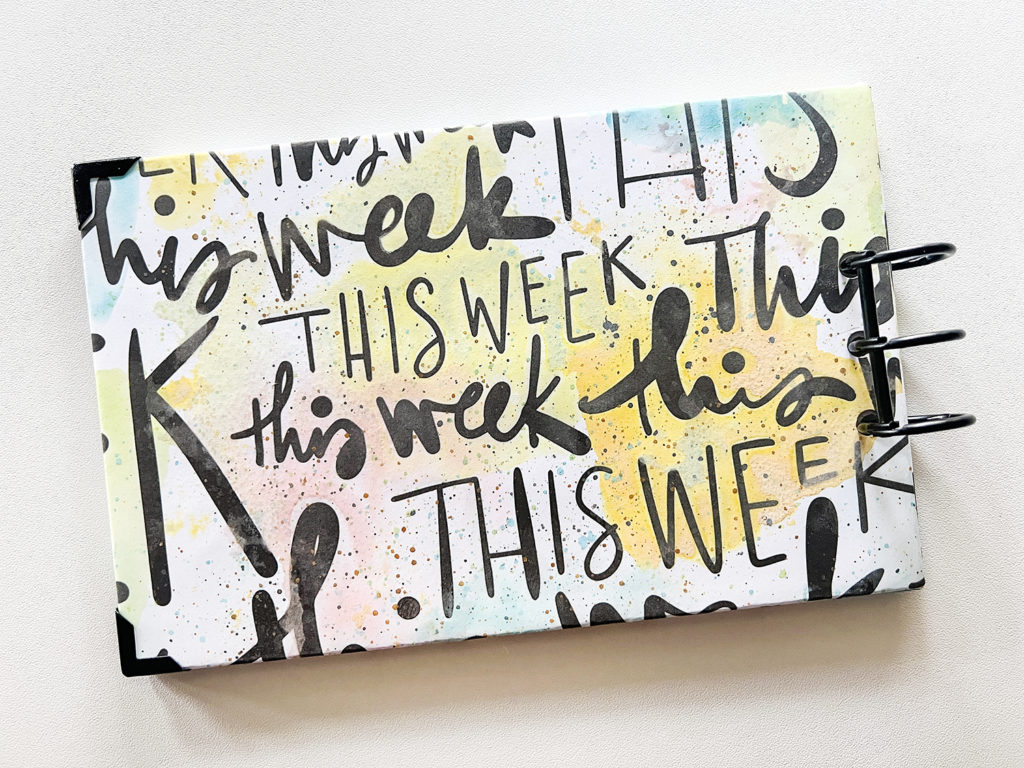
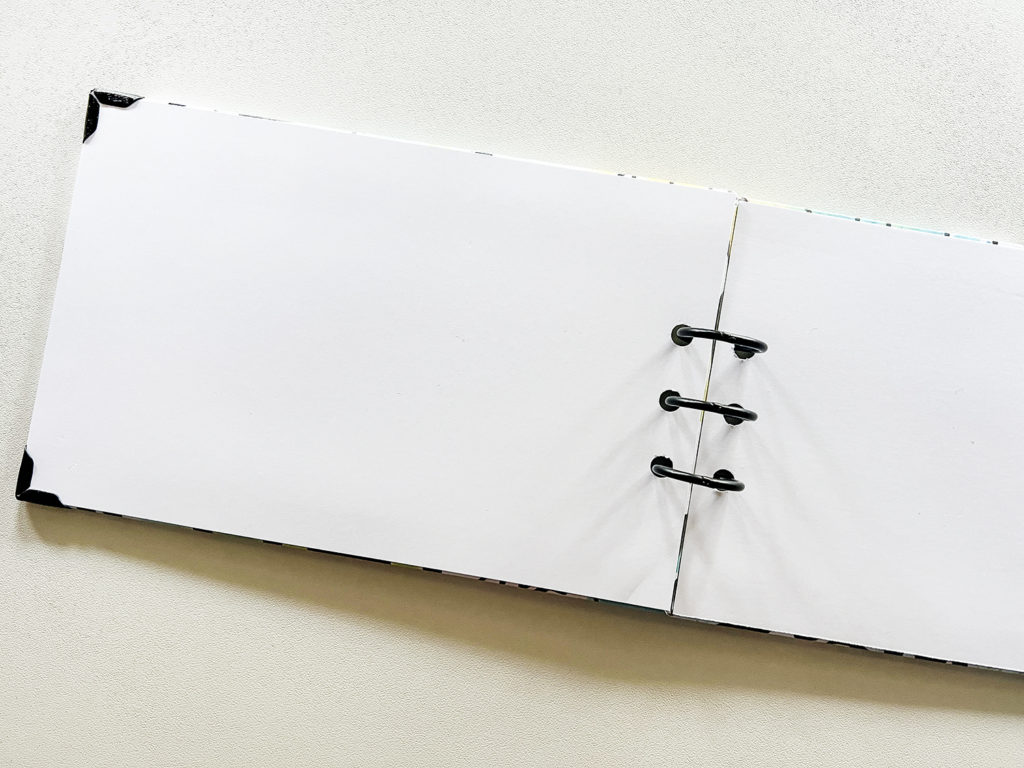
Today I am going to share how I’ve put my 4×6 album together.
For my album cover I had two options: option 1 was to use the paper I created to cover chipboard with it or option 2 was to laminate the paper and use that as the cover. I decided to go with option 1.
If you want to watch the process of how I created my cover paper you can do that here:
Making Of Making Of | Week In The Life™ 2022 | DIY 4×6 Album | Part One
Once I had my chipboard covered with the paper, I used white paper to cover the inside of the album. In addition, I decided to add black book corners and binding rings. You can get those at Amazon. I have linked them below.


Watch the process video below. For the German version check here.
[SUPPLIES]
- Printer: https://amzn.to/3rw81y0
- Paper: https://amzn.to/3tCyhbR
- 12″ Fiskars Paper Trimmer: https://amzn.to/3Fy2ApS
- Fiskars Big Scissors: https://amzn.to/3Al7C5q
- Chipboard: https://amzn.to/3OHC4hR
- Novo Sparkling Spray – Sparkling Mimosa: https://amzn.to/3Qz8i0r
- Fiskars Exactor Knife: https://amzn.to/3tLrnT6
- WRMK Multi Punch: https://amzn.to/3A4djZ9
- Book Rings: https://amzn.to/3xCCr6m
- Book Corners: https://amzn.to/3zNnzoc
- Distress Oxides
Want to support my blog and YouTube channel? Buy me a coffee here. Your donations keep all my videos and tutorials free. Every cent is greatly appreciated and is used to cover expenses.
