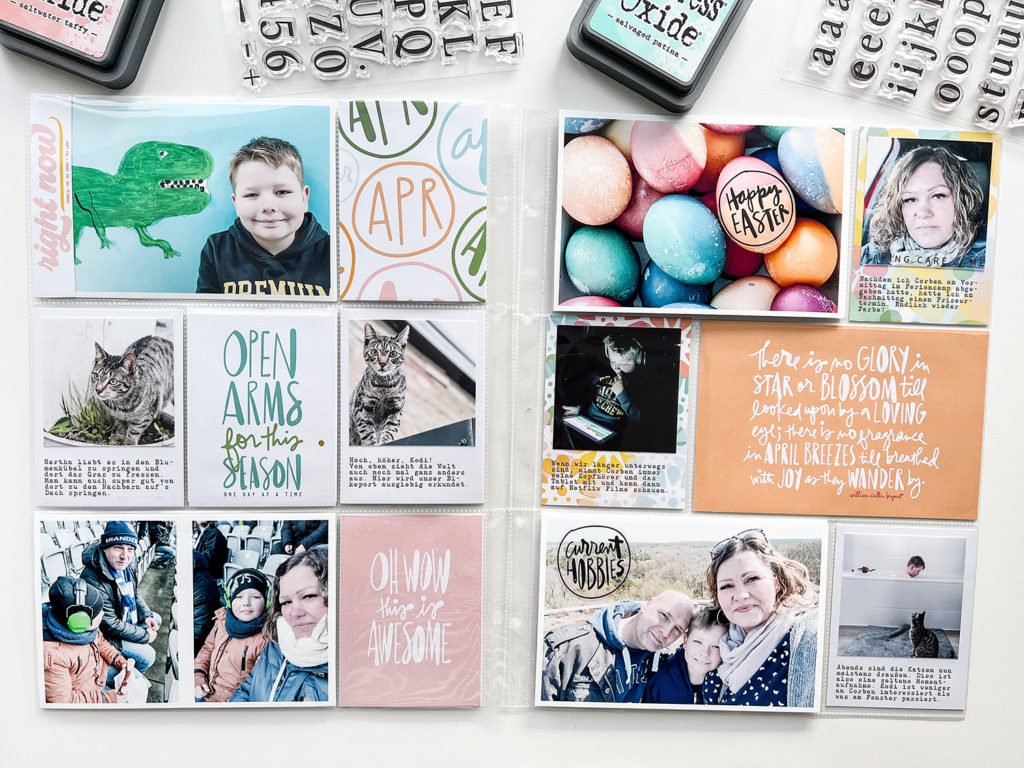
Today I am going to share my April Project Life® 2022 pages with you. I can’t believe that May is almost over, too. Time really is flying but back to business. For my layouts I used Ali Edwards’ Digital Stories by the Month Kit April and pieces from the the Digital AWESOME Story Kit. This month I included lots of photo collages, flip ups and stamping. The stamping includes digital stamping as well as the regular stamping with real ink.
If you want to learn more about creating photo collages in Photoshop check out this tutorial: Creating Templates
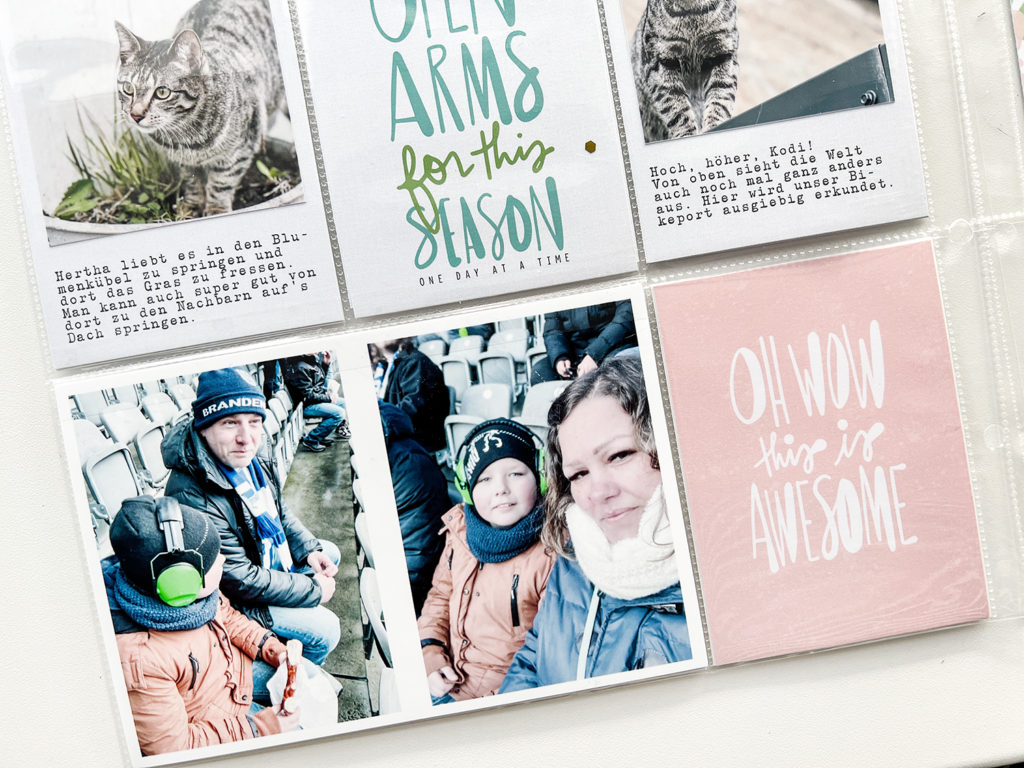
I started my process by going through my photos for April and checking what kind of sizes I wanted to use for the pockets. I wanted to used some of the journal cards as the background for a few photos so I printed these squared photos a little less than 3 inches. In addition, I added my journaling at the bottom of these cards.
You can watch my process video at the end of this post.
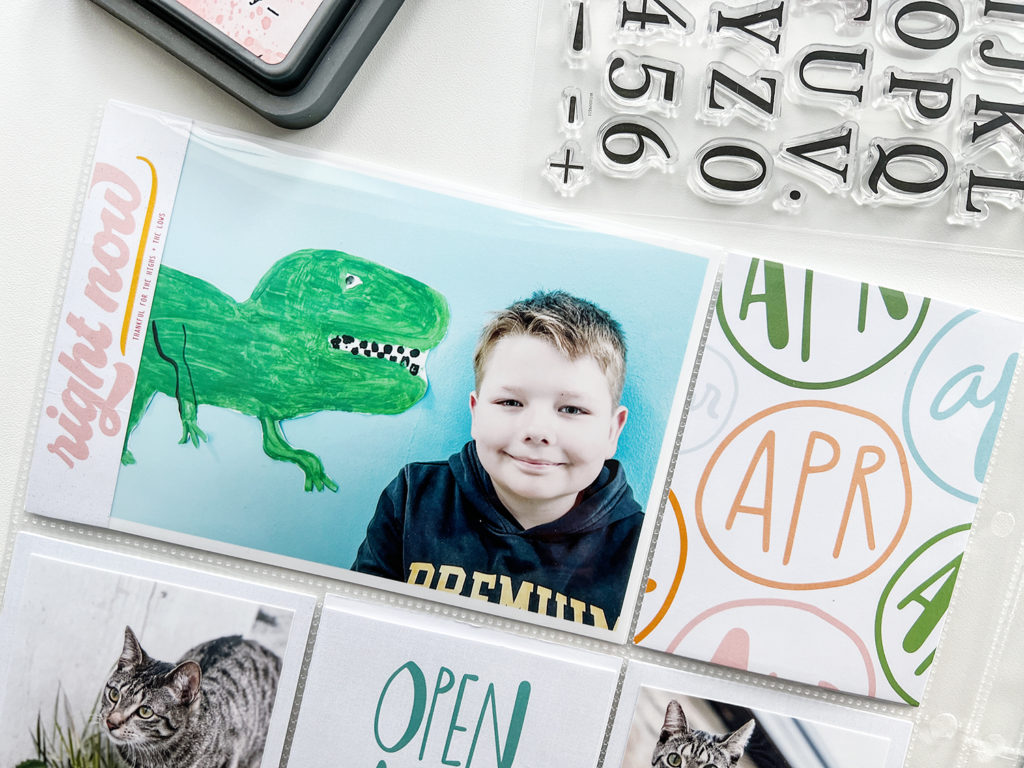
For the flip up I forgot to print a patterned paper for the inside so I just used a neutral card from my stash. Since I was working on the other side of the pocket page there was no opening to slip the cards in for a flip up, so I used Scotch Crystal Tape again to create the flip up outside of the page protector.
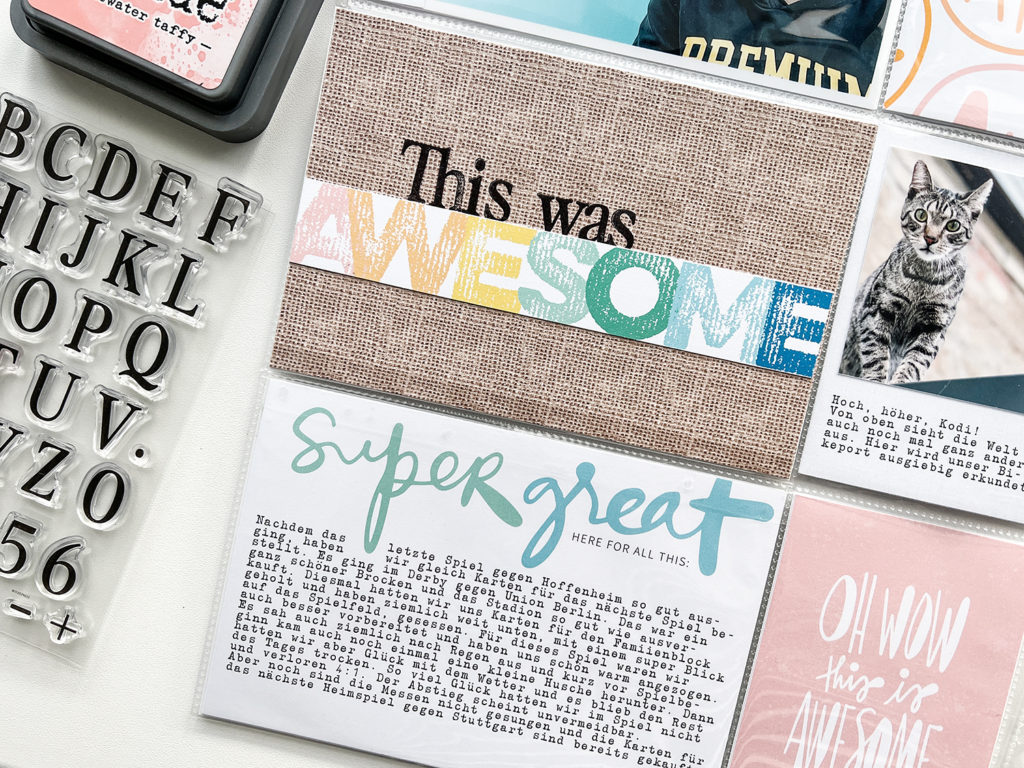
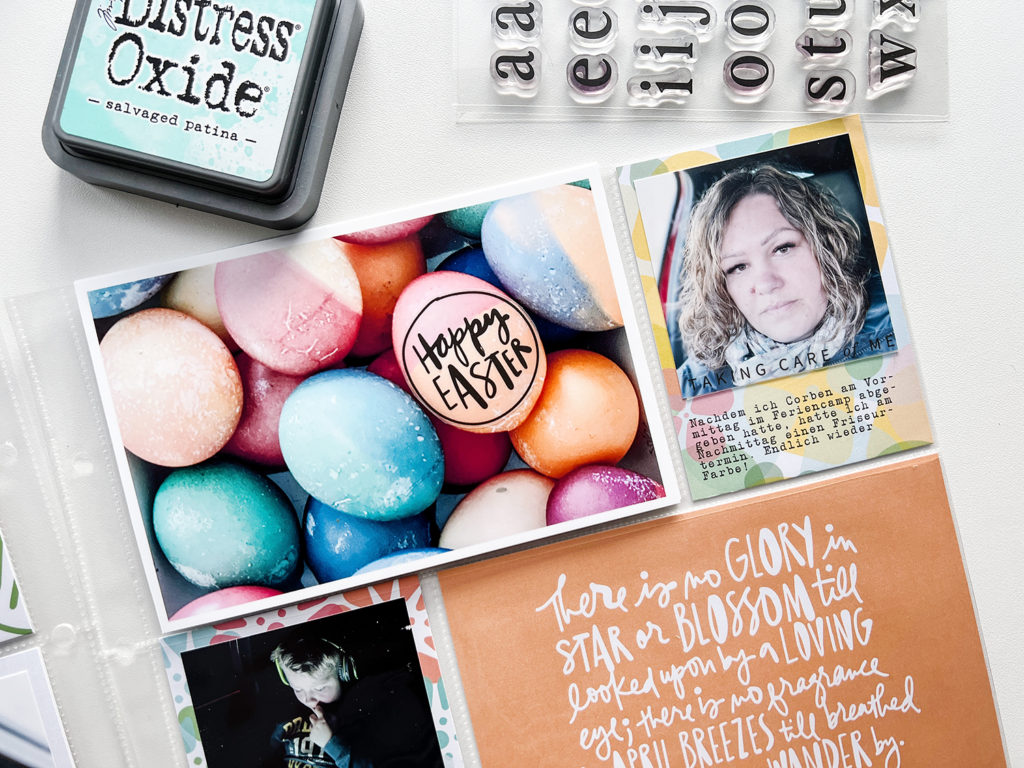
If you are afraid of stamping directly onto your photos digital stamps and clear matte sticker paper are the perfect solution. I think you can’t tell the difference. Another advantage is the fact that with digital stamps you can choose what size you want and are not limited to the size of the physical stamp.
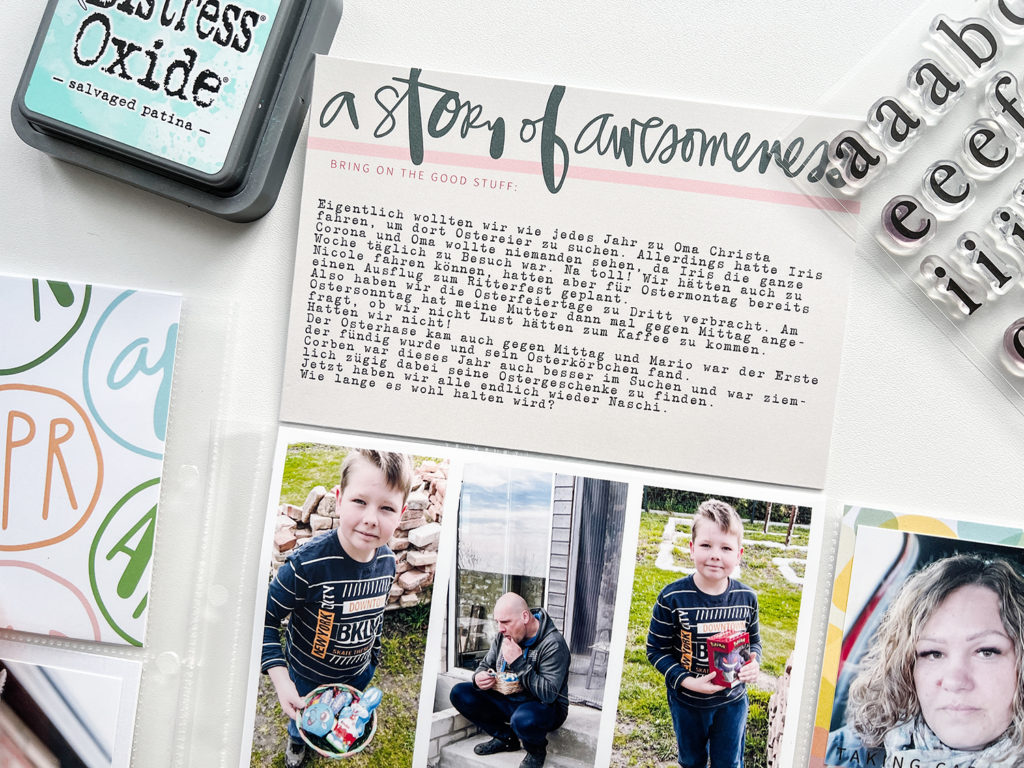
What I like about working with digital journal cards is that I can add my journaling already in Photoshop and have it then printed all at the same time. I haven’t done any handwriting in a very long time because with typing my text up front in Photoshop allows me to add so much more words for my journaling.
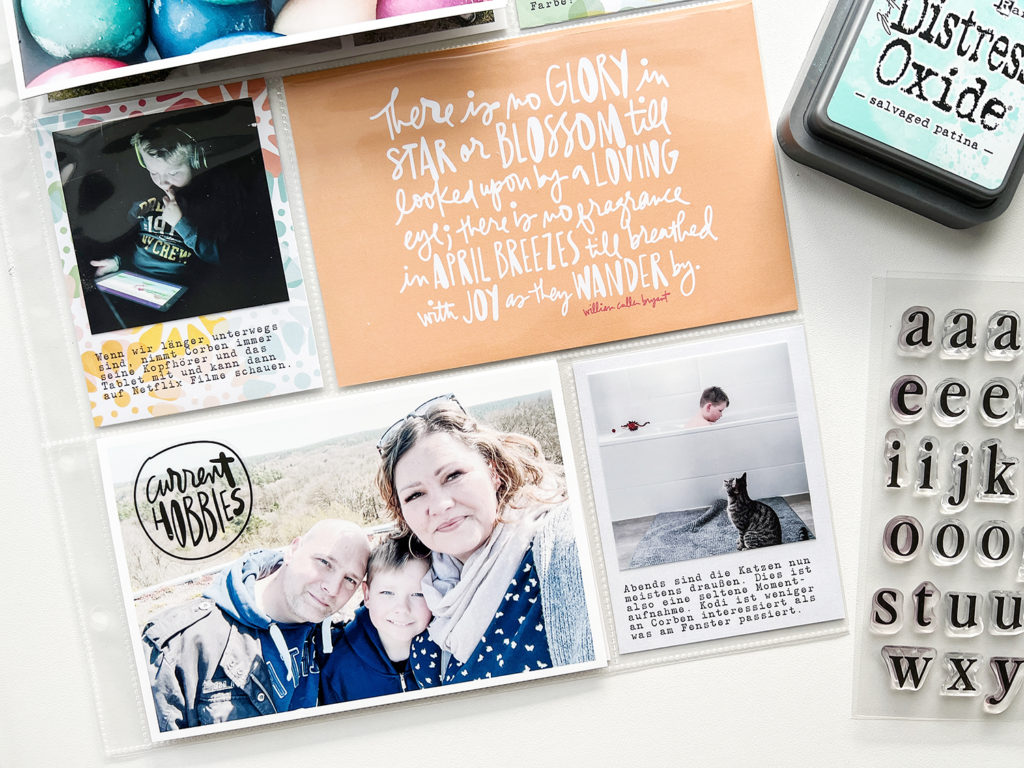
I am just a huge fan of photo collages and especially like how the one with six photos below turned out.
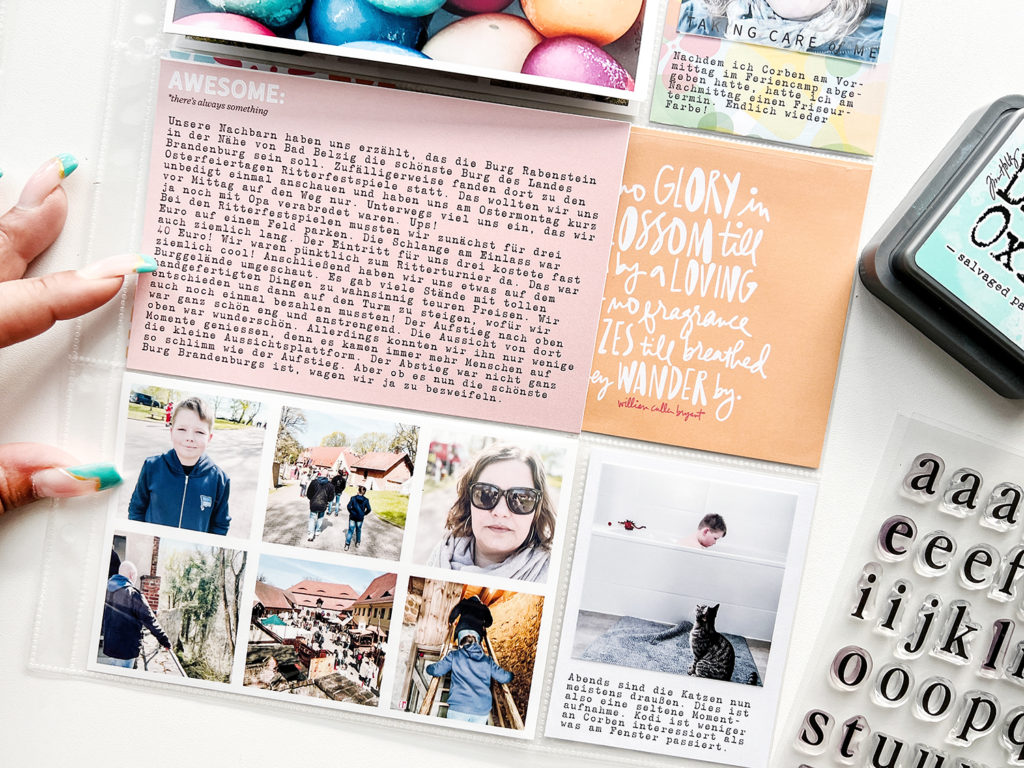
For the insert I started off with a 6×12 pocket page but soon realized that I didn’t have enough photos so I downsized to 6×8.
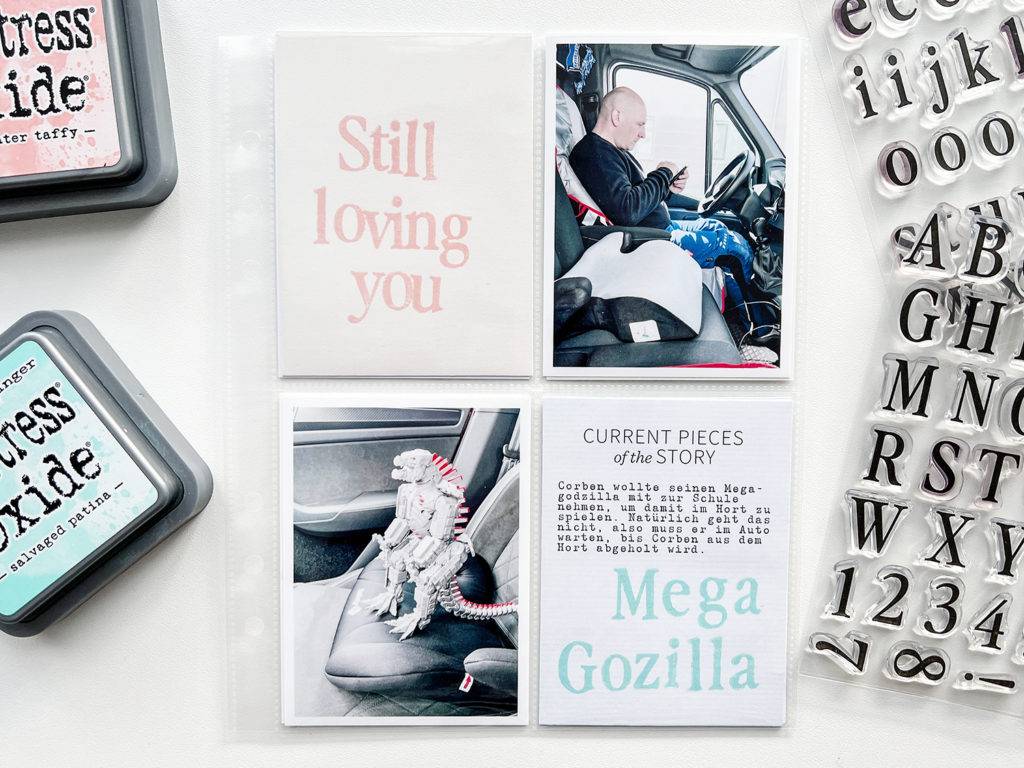
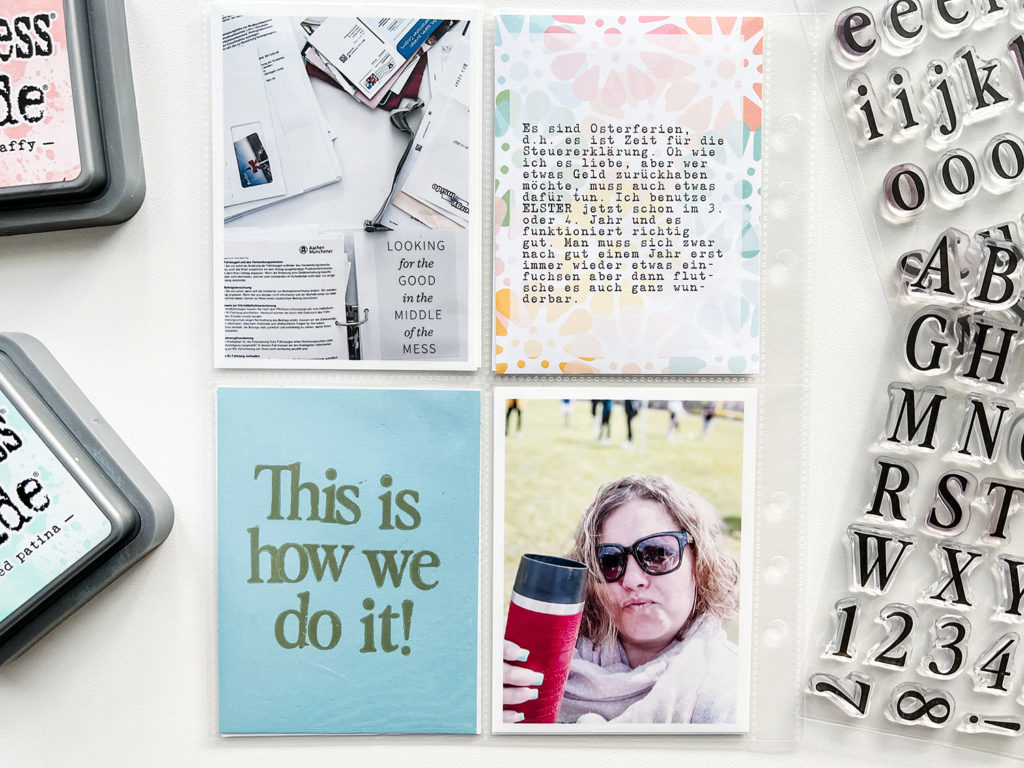
For the top right journal card I simply added a white box for my journaling and changed the opacity so that you are still able to see the background of the card.
Watch the process video below. For the German version check here.
[SUPPLIES]
- Ali Edwards – Digital Stories by the Month Kit: https://bit.ly/3HZinhC
- Album & Page Protectors: https://bit.ly/36QISpM
- Printer: https://amzn.to/3rw81y0
- Photo Paper: https://amzn.to/3tAbCNe
- Paper: https://amzn.to/3tCyhbR
- 12″ Fiskars Paper Trimmer: https://amzn.to/3Fy2ApS
- 6″ Fiskars Paper Trimmer: https://amzn.to/3r7LcC1
- Fiskars Big Scissors: https://amzn.to/3Al7C5q
- Fiskars Small Scissors: https://amzn.to/3ArWOm6
- Tweezers: https://amzn.to/30L1HXX
- Scotch Crystal Tape: https://amzn.to/3risN6m
- Park Avenue Stamps: https://etsy.me/3lLeT9W
- Park Avenue Lower Stamps: https://etsy.me/3GlsTk2
- Avery Transparent Matte Sticker Paper: https://amzn.to/38kFebH
Want to support my blog and YouTube channel? Buy me a coffee here. Your donations keep all my videos and tutorials free. Every cent is greatly appreciated and is used to cover expenses.
